5 Simple Tips to Convert Excel to Word Document

When you're working with data, one of the most common tasks you might face is converting information from Microsoft Excel spreadsheets into Microsoft Word documents for reports, presentations, or other purposes. While Excel is fantastic for data organization and analysis, Word's robust document creation tools can sometimes better suit the final output. Here, we will explore five simple tips to help you efficiently convert your Excel data into a Word document.
1. Copy and Paste
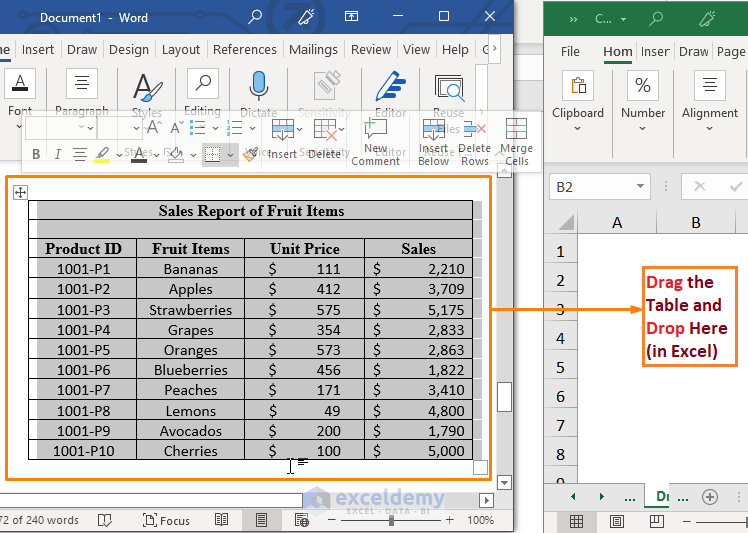
The most straightforward method to move data from Excel to Word is through simple copy and pasting. Here’s how:
- Select the data range in Excel you want to transfer.
- Right-click and choose ‘Copy’ or use Ctrl + C.
- Switch to your Word document and place the cursor where you want the data to appear.
- Right-click and select ‘Paste’ or use Ctrl + V.
By default, Word often tries to match the format of the pasted data to the document style, which can lead to inconsistencies. Here are some options for better control:
Paste Options:

- Keep Source Formatting: Preserves Excel’s formatting.
- Use Destination Styles: Matches Word’s formatting.
- Link & Merge Formatting: Creates a dynamic link between Excel and Word.
- Picture: Pastes the data as an image, which is great for preserving layout.
💡 Note: When using "Link & Merge Formatting", if the Excel data changes, you need to manually update the link in Word.
2. Use Excel’s Built-In Functionality

Excel provides tools like Publish as PDF and Send to Microsoft Word which can streamline the conversion process:
Export Excel to PDF:
- In Excel, go to File > Save As.
- Choose PDF as the format, select the range, and save.
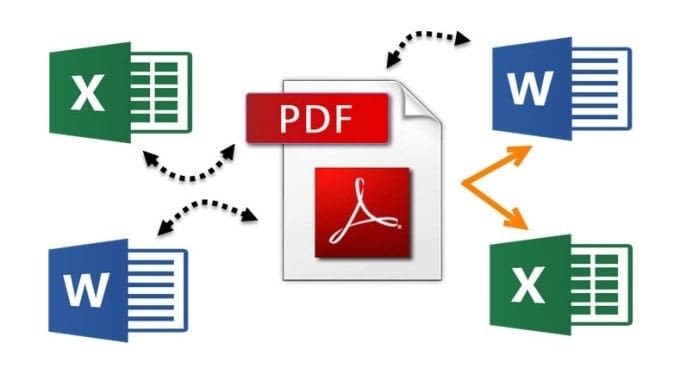
- Open the PDF in Word using ‘Open with Word’ from the context menu.
Send to Microsoft Word:

- In Excel, go to File > Share > Send to Microsoft Word.
- Select ‘Paste Link’ or ‘Paste’ as per your requirement.
- Excel will open Word and transfer the data.
💡 Note: The 'Send to Microsoft Word' feature will only send the visible data from your selected worksheet.
3. Automate with Macros

For users who need to perform this task frequently, automating with macros can save time. Here’s a simple guide:
Steps to Automate:

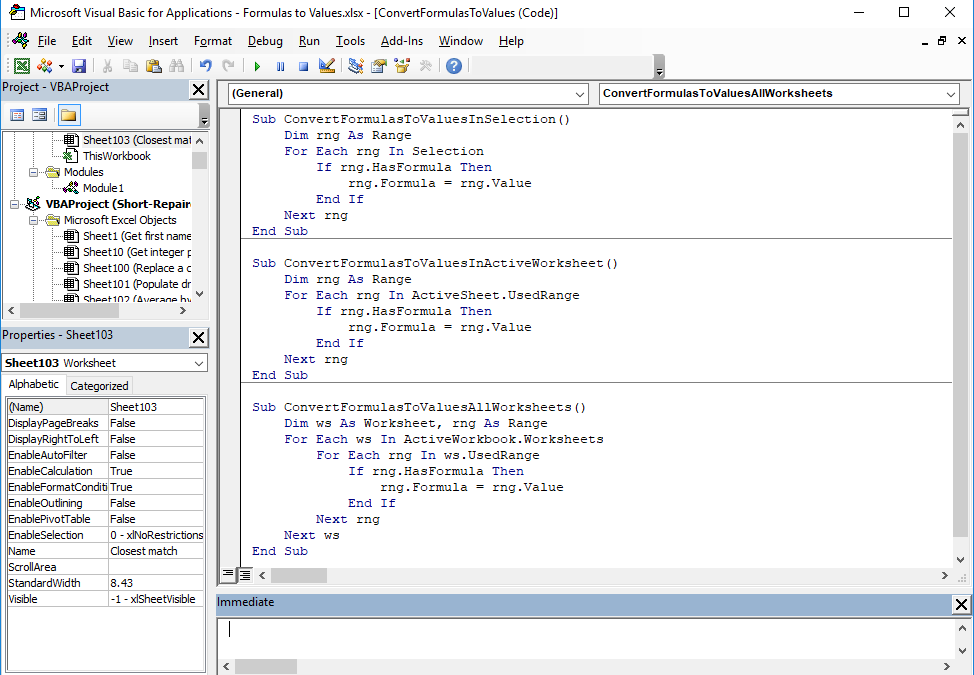
- In Excel, go to Developer tab > Visual Basic (if not visible, enable from options).
- Insert a new module and write VBA code to copy data and export to Word.
- Here’s a sample VBA code to get you started:
Sub ExcelToWord()
    Dim xlApp As Object, wdApp As Object, wdDoc As Object
    Set xlApp = GetObject(, "Excel.Application")
    Set wdApp = CreateObject("Word.Application")

    wdApp.Visible = True
    Set wdDoc = wdApp.Documents.Add

    xlApp.ActiveSheet.Range("A1:D10").Copy
    wdDoc.Paragraphs(1).Range.PasteExcelTable False, False, False

    Set xlApp = Nothing
    Set wdApp = Nothing
    Set wdDoc = Nothing
End Sub
4. Use Microsoft Word’s Import Features

Word itself has options to import data from Excel:
Insert Table:
- Go to Insert > Table > Excel Spreadsheet in Word.
- This will insert an editable Excel grid directly into your Word document.
Insert Object:

- Go to Insert > Object.
- Select ‘Create from File’, browse to your Excel file, and insert it as an icon or a display.
Word also allows embedding an Excel spreadsheet as an OLE object, allowing for edits within Word:
Linking:

- During the ‘Insert Object’ process, choose ‘Link to File’ to maintain a live connection with the original Excel file.
5. Use Online Conversion Tools

Online tools can automate the conversion process. Here are a few steps to consider:
- Search for online tools like SmallPDF, PDF2Go, or similar services.
- Upload your Excel file to their website.
- Convert it to Word format.
- Download the converted file.
These tools often support multiple file formats for conversion, making them versatile for different types of documents.
💡 Note: Be cautious when using online tools, as they might not always respect the formatting nuances of your original Excel document.
By following these simple tips, you can transfer data from Excel to Word in ways that suit your specific needs, whether it's for a one-time report or as part of a regular workflow. Each method has its own set of advantages and considerations:
- Copy and Paste: Quick and easy for occasional use, but can be manual.
- Excel's Built-In Tools: Provide structured output, though with some limitations on dynamic data.
- Automate with Macros: Ideal for recurring tasks, but requires initial setup.
- Word's Import Features: Offers seamless integration for in-document editing.
- Online Tools: Convenient for document conversion without installing software, but with privacy concerns.
The key takeaway is to choose the method that aligns with your workflow and the type of document you're preparing. Whether you're creating formal reports, updating data in real-time, or simply need a static snapshot of data, there's a technique to fit your needs. The seamless integration between Microsoft Office applications, combined with the power of automation, makes handling data across these platforms both efficient and flexible.
Can I update Excel data in Word automatically?

+
Yes, by choosing the ‘Link & Merge Formatting’ option when pasting or using the ‘Link to File’ option in Word’s Insert Object feature, you can keep your Word document updated with changes made in the original Excel file. Remember to refresh the link if changes are not reflected immediately.
What if I don’t have the Developer tab in Excel?

+
Enable it by going to Excel Options > Customize Ribbon > Main Tabs, and check the box next to ‘Developer’. This will make the Developer tab visible for macro creation and use.
Are there risks to using online conversion tools?

+
Yes, there are concerns about data privacy, potential formatting issues, and the accuracy of the conversion. Always ensure you’re using reputable services that offer secure file handling.
