Print Excel Sheets with Cells: Easy Tutorial

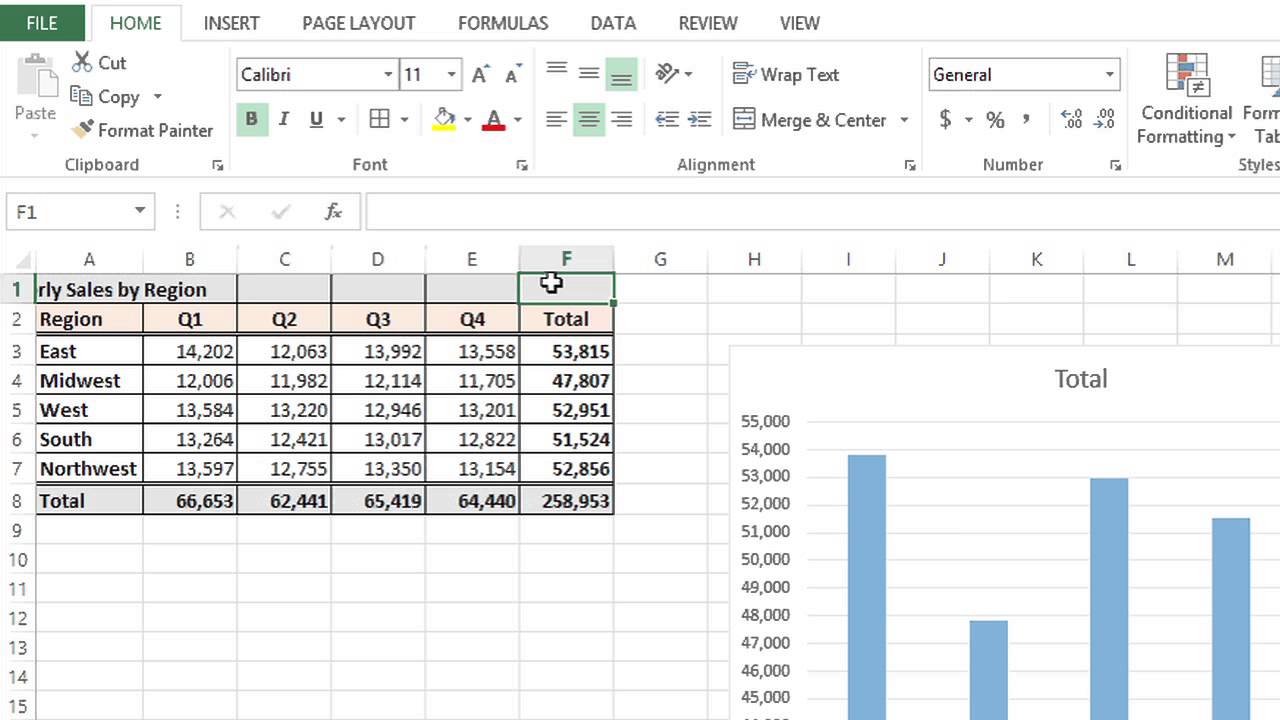
Printing spreadsheets from Microsoft Excel is a common need in both personal and professional environments. Whether you're preparing financial reports, inventory lists, or any data-intensive documents, knowing how to print your Excel sheets with precision can make all the difference in how your data is perceived and understood. This tutorial will guide you through the steps to print your Excel sheets effectively, ensuring your printouts are professional, clear, and easy to read.
Setting Up Your Spreadsheet for Printing

Before you even think about hitting the print button, there are several preparatory steps you should take to ensure your Excel sheet looks its best on paper:
1. Adjust Page Layout

- Orientation: Go to Page Layout > Orientation to choose between portrait or landscape, based on the layout of your data.
- Margins: Adjust the margins under Page Setup to minimize unnecessary white space.
- Fit to Page: Use the Fit to option to ensure your data fits onto one page if possible, reducing the need for multiple sheets.
2. Format Your Data

- Fonts and Sizes: Ensure your fonts are consistent and legible. Increase font size for headings or decrease for data if space is limited.
- Cell Formatting: Use borders to separate cells and apply fill colors judiciously to highlight key information.
- Print Area: Select and set a print area from Page Layout > Print Area if you want to print only a specific section of your sheet.
3. Include Headers and Footers

Headers and footers can provide context or additional information to your printout:
- Go to Insert > Header & Footer.
- Choose to add page numbers, date, time, file path, or custom text.
Printing Your Excel Sheet

Now that your spreadsheet is optimized for printing, here’s how to proceed:
1. Preview Your Document

Before printing, always check the print preview:
- Click on File > Print or press Ctrl + P.
- Review the layout, scaling, and pages setup to ensure everything looks correct.
2. Print Settings

Adjust the settings according to your needs:
- Printer Selection: Choose the right printer from the dropdown.
- Print Quality: Select draft for basic documents or high-quality for important reports.
- Scaling: If your data does not fit, use Fit Sheet on One Page.
- Print Order: Decide between Down, then Over or Over, then Down.
3. Execute the Print Command

Once satisfied with the preview and settings:
- Press Print to begin the printing process.
👀 Note: If your Excel version supports it, consider using Print Titles to repeat row or column headers on each printed page for better readability.
Post-Printing Considerations

After you’ve printed your document, take these steps to ensure the result meets your expectations:
1. Review Printed Sheets

- Check for missing or cut-off data.
- Look for any formatting issues that might have occurred during printing.
2. Make Adjustments

If you find issues:
- Return to your spreadsheet, make necessary adjustments in Excel, and print again.
After carefully adjusting, formatting, and printing your Excel sheets, you'll have professional documents that not only convey data effectively but also look polished and ready for presentations or further distribution. The clarity and presentation of your printed data can significantly impact its reception and utility in both personal and business settings.
How do I ensure all my data fits on one page?

+
Use the ‘Fit to’ option in the Page Setup under the Page Layout tab to scale your sheet so it fits onto a single page.
Why does my printed document look different from the Excel sheet?

+
This can occur due to printer settings, paper size, or Excel’s page setup configuration. Always use print preview to check the layout before printing.
Can I save my Excel sheet with headers and footers?
+Yes, you can save your Excel sheet as a PDF or print it to a PDF printer, which will preserve headers and footers as part of the document.
What can I do if my print area is too small for all data?
+If your data doesn’t fit, you can either adjust the print area to include less data or use scaling options to make the content fit.


