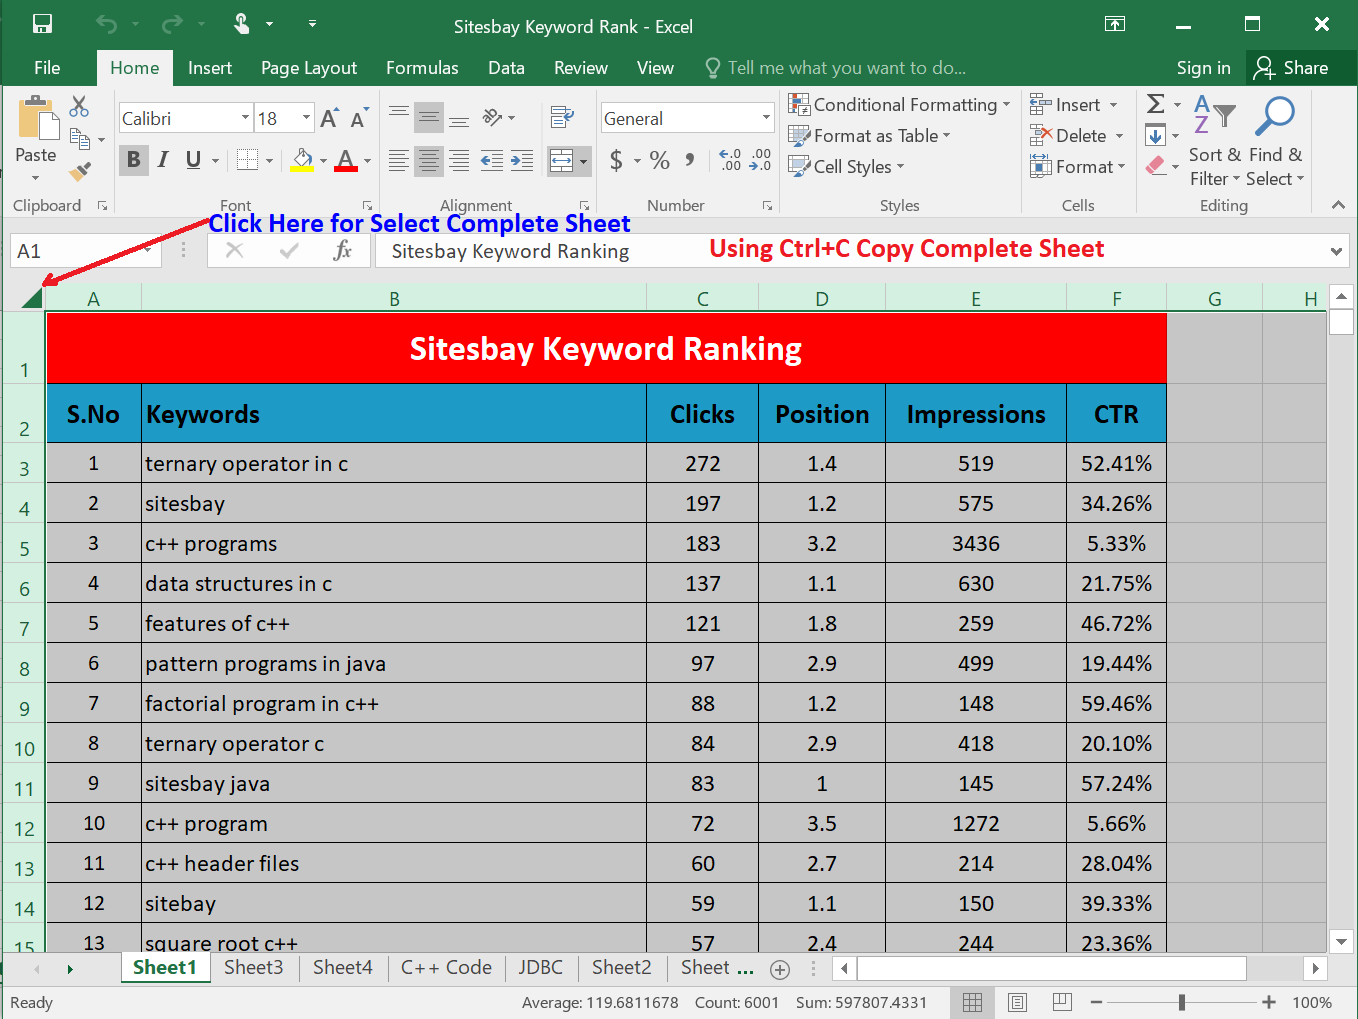
How to Easily Print Excel Sheets in Landscape Mode

Printing Excel sheets in landscape mode can significantly improve the readability and presentation of your data. When dealing with extensive columns or wide data sets, the landscape layout ensures that all your information fits neatly onto the page without being cut off. Here's how you can effortlessly adjust your Excel settings to print in landscape mode, ensuring your data looks as good on paper as it does on screen.
Understanding Page Layout

Before we delve into the specifics of adjusting print settings, it’s essential to understand page layout in Excel. The Page Layout tab in Excel provides tools to customize how your document will appear when printed:
- Orientation: Sets the paper orientation to either Portrait or Landscape.
- Margins: Adjusts the blank space around the edges of your printout.
- Size: Choose the paper size to match your printer’s capabilities.
- Print Area: Select a specific area for printing if you do not want to print the entire worksheet.
Steps to Set Landscape Orientation in Excel

Here are the steps to change your Excel worksheet to landscape mode:
- Open the Page Layout Tab: Located at the top of your Excel window, click on the “Page Layout” tab.
- Select Landscape Orientation: In the “Page Setup” group, find the “Orientation” dropdown menu, and click on “Landscape.”
- Review Preview: Use the “Print Preview” feature to see how your data will appear on the printed page.
Optimizing Your Printout

Once you have selected landscape orientation, consider these additional settings to enhance your printout:
- Adjust Margins: Reduce margins to fit more data onto a single page.
- Choose Fit to Page: Use the “Fit to Page” option if you need all data to print on one page.
- Set Scaling: Adjust the scaling to make sure all necessary information fits without distortion.
- Print Gridlines: Optionally, print gridlines for better cell visibility on paper.
🎯 Note: If your printout includes graphs or charts, ensure they are properly scaled and positioned before printing to avoid cropping or distortion.
Common Printing Issues and How to Fix Them

Here are some common issues you might encounter when printing Excel sheets:
- Paper Size Mismatch: Ensure your printer supports the paper size you’ve selected in Excel’s Page Setup.
- Print Area Not Correct: If only part of your data prints, check and set the print area correctly.
- Alignment Problems: Use the alignment tools in Excel to organize your data for better print results.
| Problem | Solution |
|---|---|
| Blurry Printouts | Check printer resolution settings or use a higher DPI printer if available. |
| Incomplete Data | Adjust your print area to cover all required cells. |
| Wrong Orientation | Reconfirm your page orientation setting. |

Wrapping Up

Landscape printing in Excel isn’t just about changing an orientation setting; it involves understanding how to manage print area, margins, and other layout options to ensure your data is presented clearly and effectively. By following these steps, you can enhance the way your Excel sheets are printed, making your reports, presentations, or any data-driven documents look professional and readable.
Can I print both portrait and landscape pages within the same document?

+
Yes, you can set different orientations for different sheets or sections within the same Excel workbook. Use the Page Setup dialog box for each sheet to specify the orientation.
What should I do if my printer does not support landscape printing?

+
Some older printers might not support landscape mode directly. In this case, rotate the data manually using Excel’s rotation options or use a different printer that supports landscape orientation.
How can I ensure the readability of small text when printing in landscape mode?

+
Use scaling options in Page Setup or zoom in on your worksheet before printing. Also, consider adjusting the font size in cells to make the text more readable when printed.


