Print Entire Excel Sheet Quickly and Easily

Introduction to Quick Excel Printing


Printing entire Excel sheets can be both a daunting and time-consuming task, especially when dealing with large datasets or complex spreadsheets. However, with the right knowledge, you can streamline the process to make it fast, efficient, and error-free. This guide will walk you through various methods and tips for printing entire Excel sheets quickly and easily.
Setting Up Your Excel Sheet for Printing
Before you even press the print button, there are several preparatory steps you can take to ensure your Excel sheet prints exactly as you want it:
- Adjust Page Layout: Navigate to the 'Page Layout' tab. Here you can set margins, orientation (portrait or landscape), and paper size.
- Define Print Area: Highlight the cells you want to print by selecting them and then choose 'Set Print Area' under the 'Page Layout' tab. This limits printing only to the selected range.
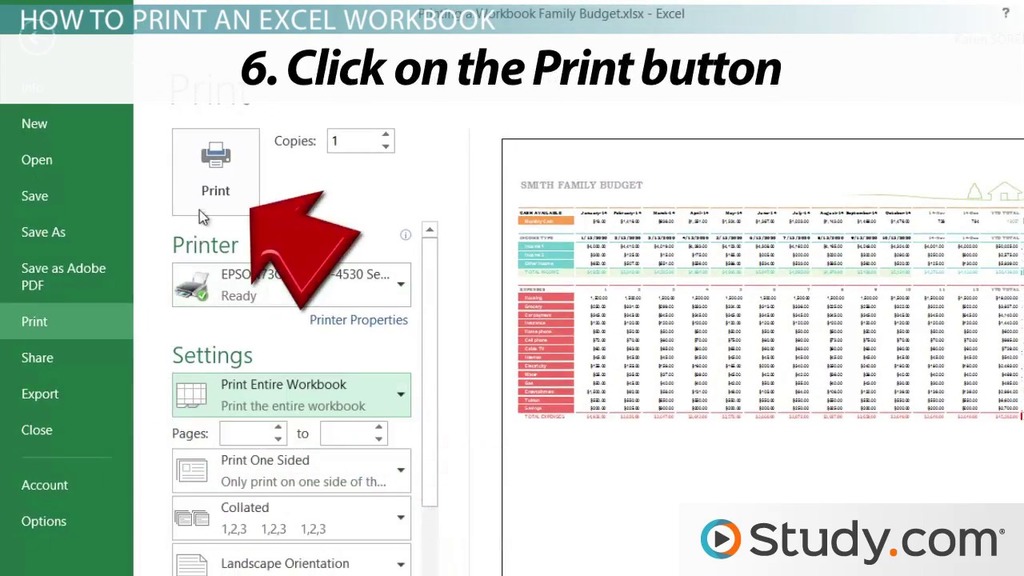
- View Print Preview: Use the 'File' tab, click on 'Print', and then check the preview. This allows you to see how your sheet will look on paper.
🔍 Note: Always check the 'Print Preview' to avoid any surprises with how your data will appear when printed.
Printing the Entire Sheet
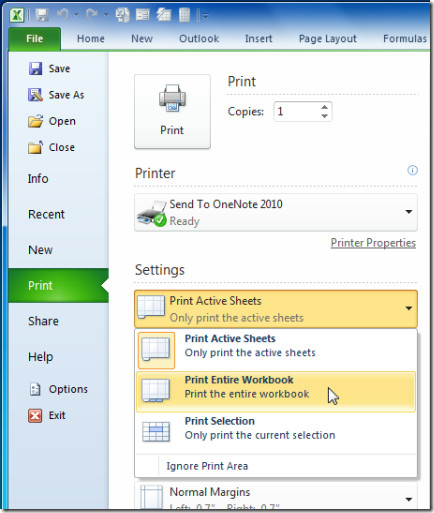
Once your sheet is prepared for printing, follow these steps to print your entire Excel document:
- Select All: Click the triangle at the intersection of the column headers and row numbers to select the entire sheet.
- Print Settings:
- Go to 'File' > 'Print'.
- Ensure 'Print Entire Workbook' or 'Print Active Sheets' is selected under Settings.
- Adjust Scaling: If your data doesn't fit on one page, under 'Settings', you can choose 'Fit Sheet on One Page' or 'Fit All Columns on One Page'.
- Print: After reviewing your settings, click 'Print'.
| Option | Function |
|---|---|
| Print Area | Prints only the selected area |
| Print Entire Workbook | Prints all sheets in the workbook |
| Print Active Sheets | Prints currently active sheets |
| Fit Sheet on One Page | Adjusts the size to fit all data onto one page |
Advanced Printing Options
For more complex sheets, Excel provides advanced options:
- Print Titles: This feature allows you to repeat rows or columns on every printed page, making it easier to read large spreadsheets.
- Print Headings: To print row and column headers, select 'Print Headings' from the 'Sheet Options' group under 'Page Layout'.
- Page Breaks: Insert manual page breaks if you need to control where pages end and begin.
Tips for Optimal Printing Results
Here are some tips to ensure your prints are of high quality:
- Use Grayscale for Savings: If color isn't necessary, print in grayscale to save ink.
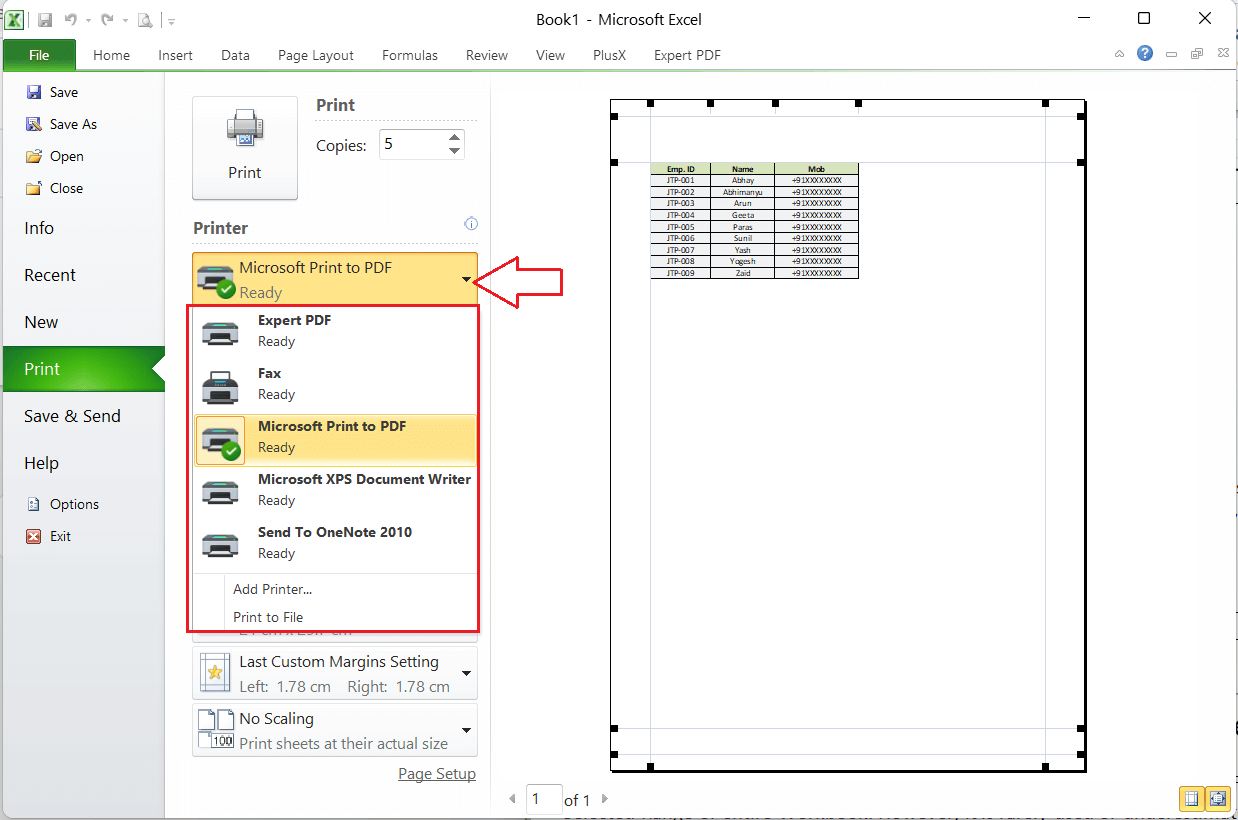
- Print to PDF: Sometimes, it's beneficial to save the Excel file as a PDF first for a more controlled and flexible printing experience.
- Check Printer Settings: Before printing, ensure your printer settings match your document settings for consistency in results.
🎨 Note: Using grayscale can significantly reduce printing costs while still ensuring readability.
Summary

Mastering the art of printing in Excel is about understanding the tools available and how to use them effectively. By setting up your sheet correctly, utilizing features like 'Print Area', 'Fit Sheet on One Page', and considering advanced printing options, you can save time, reduce errors, and optimize your printing output. Remember to adjust printer settings for consistency and consider eco-friendly printing options like grayscale or print-to-PDF when appropriate.
How do I print only part of an Excel sheet?
+
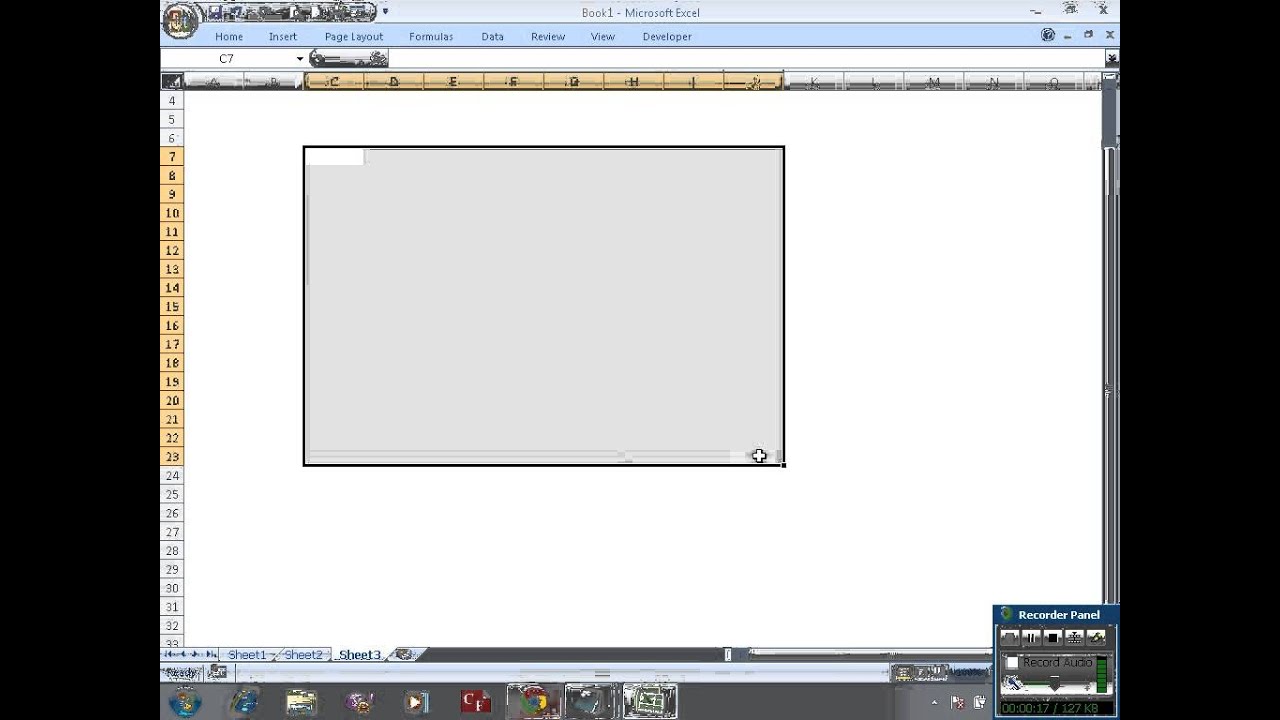
To print only a specific part of your Excel sheet, highlight the area you want to print, then go to the ‘Page Layout’ tab and select ‘Set Print Area’.
Why does my Excel sheet not fit on one page?
+
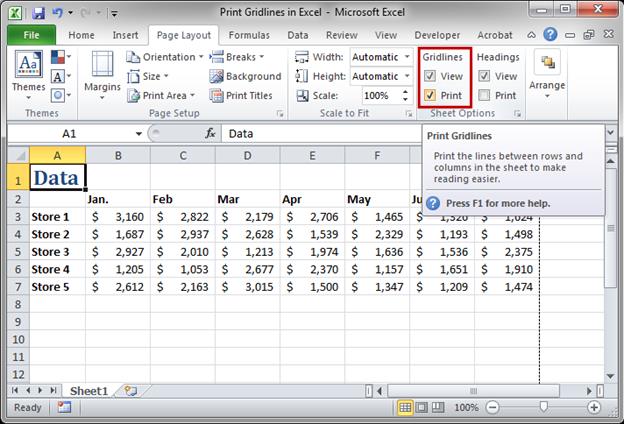
If your Excel sheet doesn’t fit on one page, you can use the ‘Fit Sheet on One Page’ option or manually adjust print settings like margins, scaling, and orientation to better fit your data.
How can I print in grayscale to save on ink?
+
You can print in grayscale by changing your printer settings. Go to ‘File’ > ‘Print’, then look for an option like ‘Grayscale’ or ‘Black & White’ in the printer properties or preferences.
