Print Selected Excel Sheets Easily: Quick Tips

Working with Excel can often feel like a juggling act, especially when you need to print specific sheets from your workbook. Whether for a meeting, project presentation, or simply for record keeping, knowing how to quickly select and print the sheets you need can save you an incredible amount of time and reduce frustration. This comprehensive guide will walk you through the most efficient methods to print selected Excel sheets, ensuring you get your data on paper with ease and precision.
Method 1: Using the Right-Click Method

This method is straightforward and user-friendly, especially when dealing with just a few sheets:
- Open your Excel workbook.
- Select the sheets you wish to print by holding down the CTRL key and clicking on each sheet tab you want to include.
- Right-click on any of the selected tabs.
- From the context menu, choose Print.
📌 Note: If you have more than one printer installed, make sure you choose the correct printer from the printer dropdown in the print settings.
Method 2: Print Dialog Box

If you're dealing with a more complex selection or need more control over print settings:
- Open the workbook and select the sheets by holding CTRL and clicking each sheet tab.
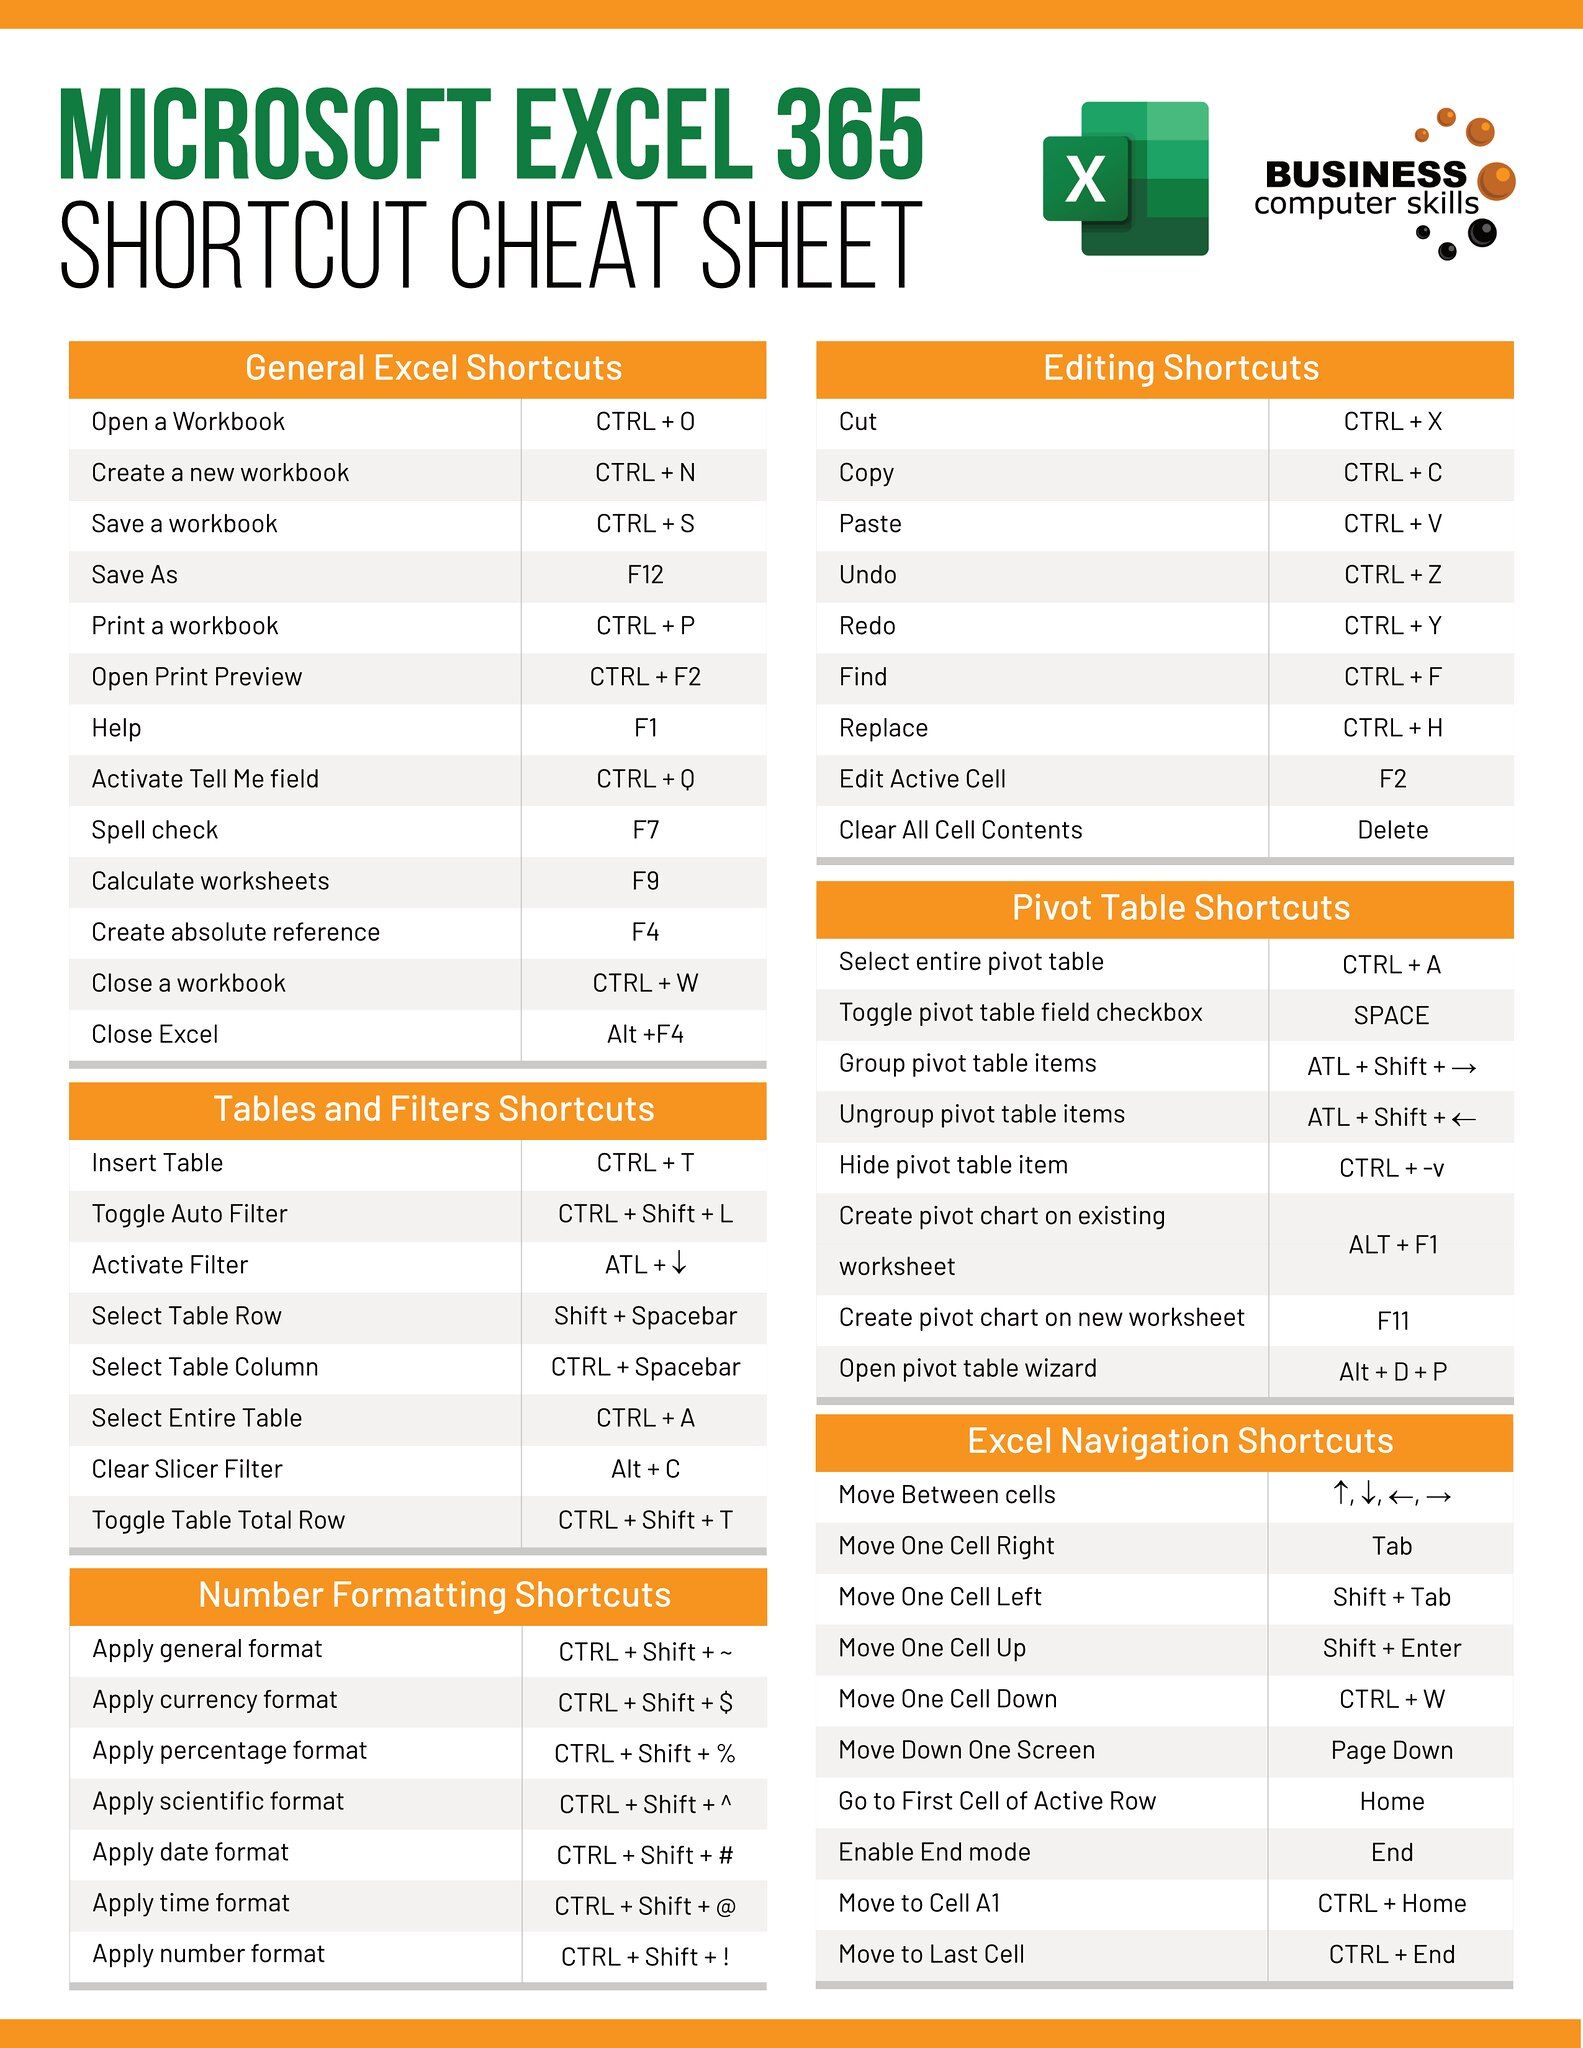
- Go to File > Print or press Ctrl+P to open the Print Dialog Box.
- In the Settings section, choose Print Selected Sheets from the dropdown menu.
- Adjust any other print settings like margins, orientation, or scale as needed.
- Click Print.
📌 Note: You can preview your printout by clicking on the Next Page or Previous Page options if available in the print preview pane.
Method 3: VBA Macro for Printing Selected Sheets

For those who frequently print sets of sheets, a VBA macro can automate the process:
To create a macro:
- Open the Visual Basic Editor by pressing Alt+F11.
- In the Project Explorer, right-click on your workbook's name and insert a new module.
- Paste the following code:
Sub PrintSelectedSheets()
    Dim ws As Worksheet
    Dim wsSelected As Worksheet
    Dim wsArr() As String
    Dim i As Integer
    Dim count As Integer

count = 0
ReDim wsArr(0)

For Each ws In ActiveWorkbook.Worksheets
    If ws.Visible = xlSheetVisible Then
        If ws.Selected Then
            count = count + 1
            ReDim Preserve wsArr(count)
            wsArr(count) = ws.Name
        End If
    End If
Next ws

If count > 0 Then
    For i = 1 To count
        Set wsSelected = ActiveWorkbook.Worksheets(wsArr(i))
        wsSelected.PrintOut
    Next i
Else
    MsgBox "Please select at least one sheet."
End If


End Sub
- Close the editor and go back to your workbook.
- Run the macro by selecting the sheets you want to print and then pressing Alt+F8, selecting PrintSelectedSheets, and clicking Run.
📌 Note: VBA macros need to be enabled in your Excel settings. To enable macros, go to File > Options > Trust Center > Trust Center Settings > Macro Settings, and choose "Enable all macros" with caution.
Important Tips for Printing Excel Sheets

Here are some tips to ensure your printouts are exactly what you need:
- Check Print Area: Use the Page Layout tab to set a print area if you only need to print specific ranges within a sheet.
- Page Break Preview: Switch to Page Break Preview to see exactly how your data will appear on each page when printed. Adjust page breaks manually if needed.
- Print Titles: Set print titles to repeat row or column headings on each printed page. This is particularly useful for large datasets.
- Print Quality: Higher print quality consumes more ink but ensures clarity, especially for charts and small text.
- Scaling: Use Fit to Page scaling to adjust the printout size if your data doesn't fit well on one page.
Printing specific sheets in Excel doesn't have to be a tedious task. With the right techniques, you can streamline the process to be efficient and effective, allowing you to focus more on what truly matters - analyzing and utilizing your data. Whether you opt for the straightforward right-click method, dive into the print dialog for more settings, or automate the task with a VBA macro, Excel provides you with the tools to make printing as simple as possible. Remember, customizing your print settings to match your needs can significantly enhance the quality and utility of your printed work.
Can I print multiple sheets simultaneously in Excel?

+
Yes, you can print multiple sheets at once by selecting them before you print. Use the Ctrl key to select multiple sheets, and then follow any of the printing methods described above.
How do I ensure my data is correctly formatted for printing?

+
Use Excel’s Page Layout options to set print areas, headers, footers, and adjust scaling. Preview your printout to ensure everything fits and looks as intended.
Is it possible to save my print settings for future use?

+
Excel does not have a feature to save print settings directly, but you can use VBA macros to set up common print settings or use the ‘Print Titles’ and ‘Print Area’ functions to keep these settings semi-permanent.


