Master Excel Sheet Creation in Minutes: Step-by-Step Guide

Creating an Excel sheet can seem daunting, especially if you're new to the world of spreadsheets or dealing with complex data sets. However, with the right guidance, mastering Excel sheet creation can become an effortless task. In this detailed guide, we'll walk you through the step-by-step process of setting up an Excel sheet, ensuring you can manage your data effectively and efficiently.
Setting Up Your Excel Environment


Before diving into the data, it’s crucial to set up your Excel environment properly:
- Open Microsoft Excel: Launch the application from your computer or access it through Microsoft 365.
- Navigate to a New Workbook: Click on “File” and then “New” or press Ctrl + N.
- Customize Excel Settings: Go to “Options” to adjust display settings, default file locations, or other preferences.
Understanding Excel’s Interface

Before you start filling in data, familiarize yourself with Excel’s layout:
- Ribbon: Contains tabs like Home, Insert, Formulas, etc., providing access to various tools.
- Formula Bar: Displays the contents of the selected cell, which is crucial for editing formulas.
- Column and Row Labels: Rows are numbered (1, 2, 3…), and columns are lettered (A, B, C…). Each intersection is a cell.
- Worksheet Tabs: Allows you to switch between different sheets within your workbook.
- Status Bar: Shows information about the selected cells, calculations, and more.
Creating Your First Excel Sheet

Here’s how you can start creating your Excel sheet:
- Label Your Columns: Begin by giving your columns clear, descriptive headers. Click on the first cell under each column (A1, B1, etc.) and type your column name.
- Enter Data: Move down the rows, filling in your data accurately. Use the arrow keys or mouse to navigate between cells.
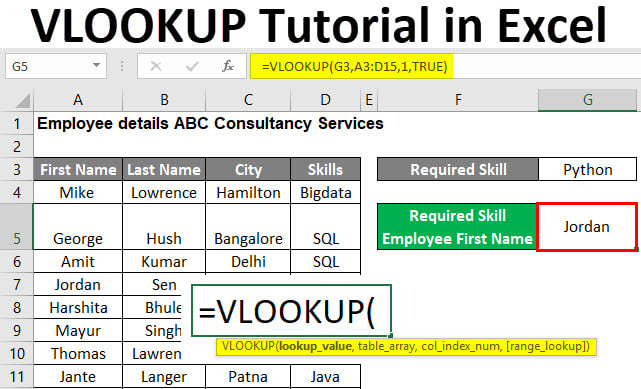
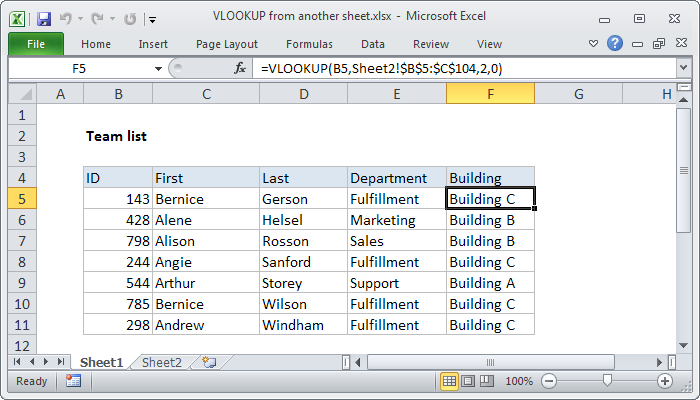
- Use Formulas and Functions: When you need calculations, select the cell where you want the result to appear, and begin with an equal sign (=) to enter a formula or function.
Formatting for Clarity and Professionalism

A well-formatted Excel sheet not only looks professional but also helps in data analysis:
- Font and Size: Use consistent fonts like Arial or Calibri for headers and data.
- Cell Formatting: Adjust cell sizes, use bold or italic for headers, and align text or numbers as needed.
- Table Styles: Access “Format as Table” to apply predefined styles for consistency.
- Conditional Formatting: Highlight data based on specific criteria, making trends or outliers visible.
Advanced Excel Sheet Features

To take your Excel sheet creation to the next level, consider these features:
| Feature | Description |
|---|---|
| Data Validation | Restricts the type of data or values that users can enter in cells. |
| Charts and Graphs | Visualize data with pie charts, line graphs, bar charts, etc. |
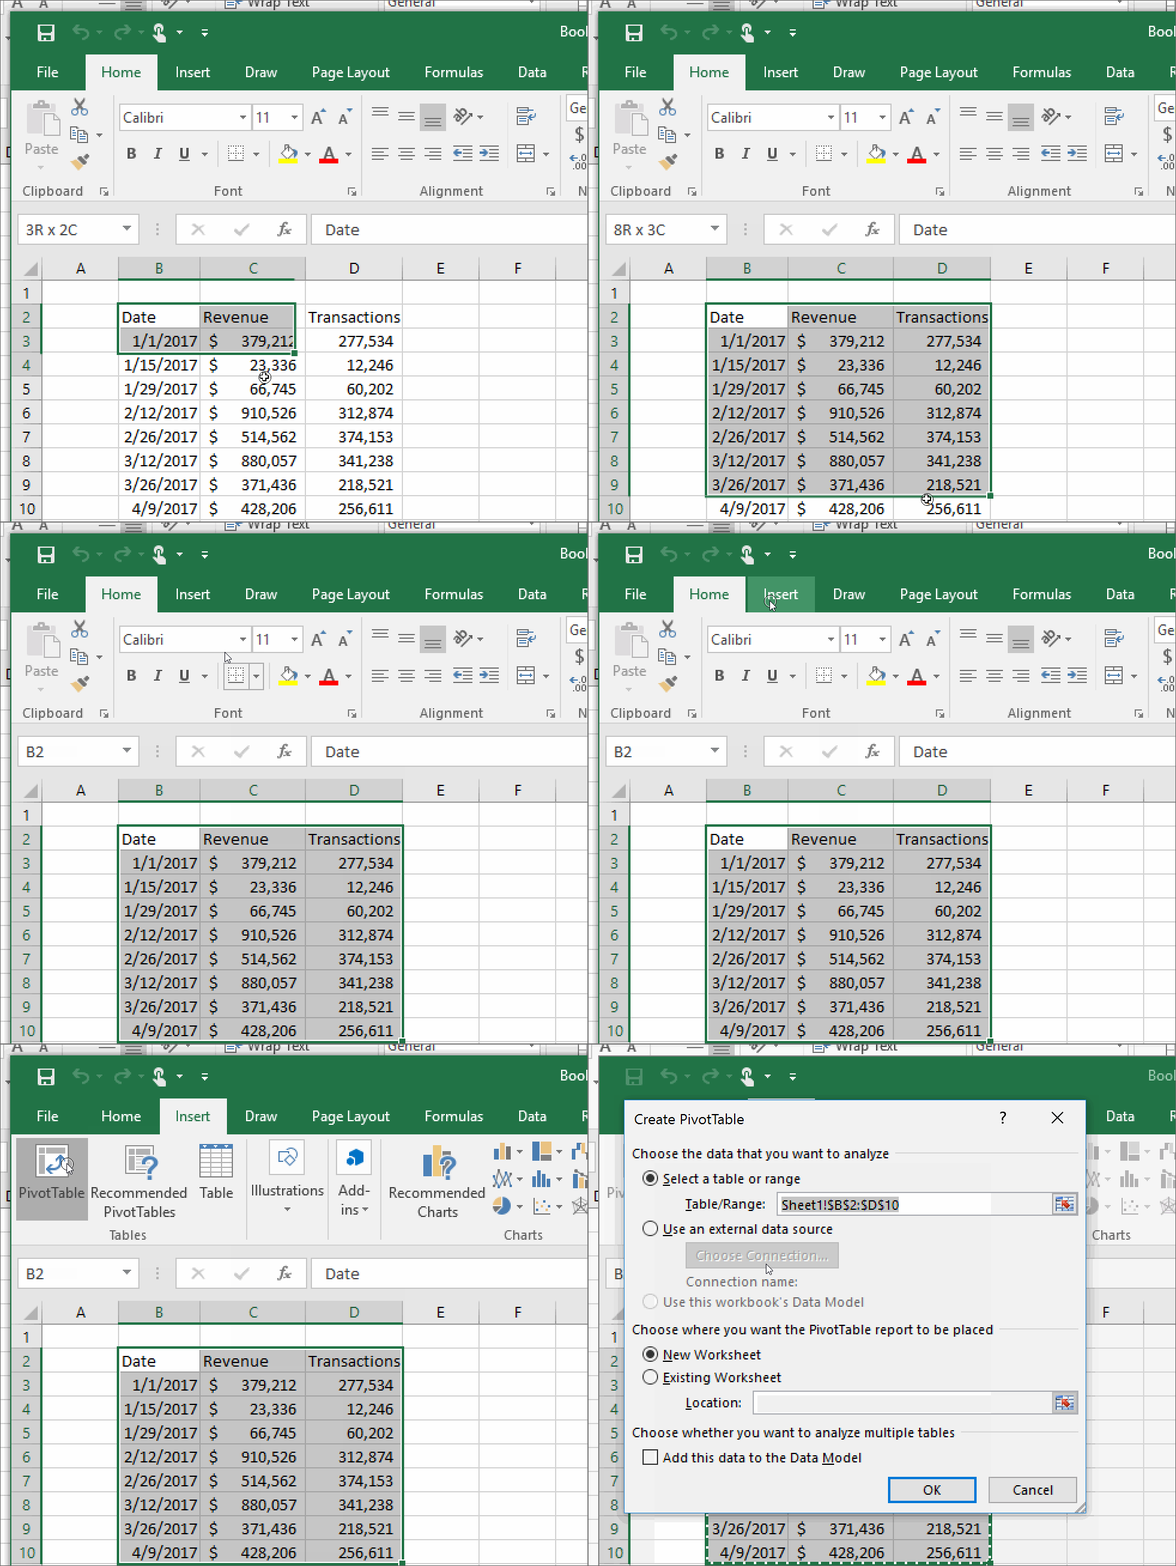
| Pivot Tables | Summarize, analyze, and present data interactively. |
| Macros | Automate repetitive tasks by recording or writing VBA code. |

⚠️ Note: Be cautious with macros as they can run any code, which might pose a security risk if sourced from an untrusted origin.
Organizing Data with Filtering and Sorting

Managing data becomes easier with filtering and sorting:
- AutoFilter: Click the filter dropdown arrow on your headers to filter data by specific criteria.
- Sort: Use the “Sort” option to organize data in ascending or descending order based on one or multiple columns.
Finalizing Your Excel Sheet

Before sharing or saving your work:
- Proofread: Double-check for errors or inconsistencies.
- Freeze Panes: Lock headers in place as you scroll through your data.
- Save and Protect: Save your workbook regularly, and consider protecting worksheets or workbooks from unauthorized changes.
Excel sheet creation can transform from a daunting task to a rewarding skill with practice. By following this guide, you've laid the groundwork for creating efficient, organized, and professional Excel sheets. Whether for personal use, business, or data analysis, mastering these steps will ensure your data management capabilities are top-notch.
How do I create a new Excel workbook?

+
To create a new workbook, open Excel, click on “File” and then “New” or use the shortcut Ctrl + N.
What are some basic formulas to start with in Excel?

+
Begin with common formulas like SUM for adding numbers, AVERAGE for calculating the average, or COUNTIF to count cells that meet certain criteria.
Can I share an Excel sheet with others?

+
Yes, you can share Excel sheets. Use the “Share” option to send a copy via email or collaborate on OneDrive if you have Microsoft 365.


