Pin Your First Excel Sheet in 3 Clicks

Beginner's Guide to Excel: Pinning Your First Sheet
Are you ready to dive into the world of spreadsheets and optimize your productivity with Microsoft Excel? Whether you're managing data for personal projects, organizing a team's workflow, or tracking financials for your small business, one of the first things you'll want to master is pinning or freezing panes. Today, we'll walk through how to pin your first Excel sheet in just three clicks, ensuring that vital information stays in view as you scroll through your data.
The Benefits of Pinning Sheets in Excel

Before we delve into the how-to, understanding why you might want to pin a sheet can help appreciate the tool’s utility:
- Fixed Headers: Ensure column or row headers remain visible when scrolling, making data navigation seamless.
- Comparison Ease: When working with long spreadsheets, comparing distant sections becomes simpler with pinned references.
- Increased Efficiency: Pinning crucial data reduces the need to scroll back and forth, speeding up your work process.
Pinning Your Excel Sheet in 3 Clicks

Here’s how to accomplish this task in Microsoft Excel:
- Identify Your Pinning Point: Decide what you want to keep in view. Commonly, this is the top row or left column. Ensure your cursor is on the cell below and to the right of your desired pinning area.
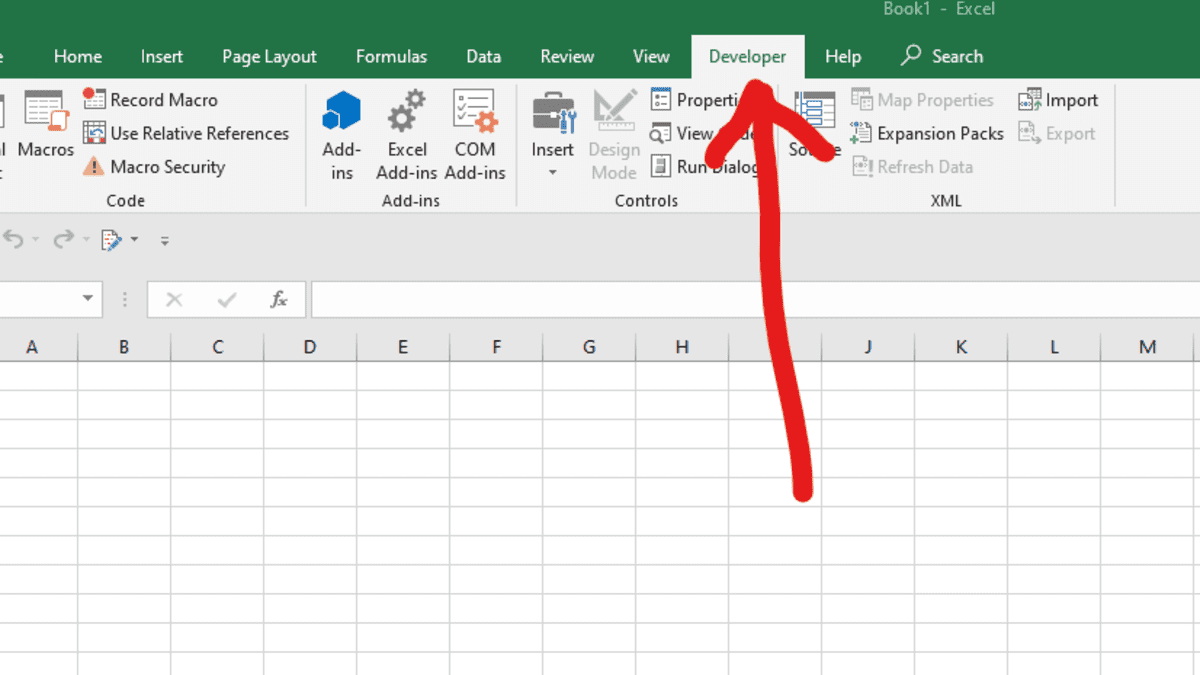
- Click on “View”: In Excel’s toolbar, locate and click on the “View” tab.
- Freeze Panes: Within the “View” tab, find the “Freeze Panes” option, click it, and then choose either “Freeze Top Row,” “Freeze First Column,” or “Freeze Panes” to fix specific rows and columns in place.
⚠️ Note: This function will only work if your cursor is not on the first row or column. Excel needs to know where to freeze from!
Customizing Your Pinning

Beyond basic pinning, Excel allows for some customizations:
- To unfreeze, return to the “View” tab and select “Unfreeze Panes.”
- Adjust your selection if you want to freeze a different set of rows or columns by repeating the process from a new cell.
✨ Note: You can freeze multiple rows or columns simultaneously. Just make sure your cursor is on the first unfrozen cell before freezing.
Integrating Pinning with Other Excel Features

Once you’ve mastered pinning, consider these related Excel functions to supercharge your workflow:
- Sorting and Filtering: Enhance pinned data with sorting and filtering options to work more efficiently.
- Conditional Formatting: Highlight cells based on criteria, making it easier to spot trends or outliers even when the data is extensive.
- Data Validation: Ensure data accuracy by using validation rules directly beneath pinned titles, keeping rules in view.
- Named Ranges: Define named ranges to create dynamic references within your pinned view for quick lookup.
These integrations not only complement pinning but also significantly enhance your overall Excel experience.
Advanced Tips for Excel Sheet Pinning

For users looking to push Excel to its limits, here are some advanced techniques:
- Freeze Multiple Non-Adjacent Columns/Rows: While Excel doesn’t natively support this, you can achieve it by splitting your screen or using additional workbooks.
- Using Scroll Lock: Although not related to pinning directly, the Scroll Lock key can scroll through your sheet while keeping the cursor in place, mimicking the effect of pinning.
- Combining Split Screen and Pinning: Split your window to compare different sections of your sheet and freeze headers independently for each split section.
The final thoughts on managing your Excel spreadsheets revolve around the benefits and applications of pinning:
Pinning or freezing sheets in Excel offers a straightforward yet powerful way to enhance your data management process. By keeping crucial information like headers or key columns visible, you can work more efficiently and reduce the chance of data entry errors. Remember that while these features are easy to access, mastering them involves understanding the broader context of Excel's functionality, integrating them with other tools, and adapting to your workflow's unique needs. Excel continues to be an invaluable tool for data organization, analysis, and reporting, and pinning is one of the many features that can streamline your experience.
What does ‘pinning’ mean in Excel?

+
Pinning, or freezing panes, in Excel means locking specific rows or columns in place, keeping them visible as you scroll through other parts of the spreadsheet.
Can I freeze both rows and columns at the same time?

+
Yes, Excel allows you to freeze both rows and columns at the same time. Just ensure your cursor is placed at the intersection of where you want to start freezing both row and column.
What if I want to freeze multiple non-adjacent rows or columns?

+
Unfortunately, Excel does not support freezing non-adjacent rows or columns directly. However, you can achieve a similar effect by splitting your window and freezing different sections independently.


