Optimize Excel Print Borders: A Simple Guide

In the world of Excel, understanding how to optimize print borders is crucial for producing professional and readable spreadsheets. Whether you're compiling financial reports, academic worksheets, or any data-intensive documents, having well-defined print settings ensures your hard work isn't lost in transit from screen to paper. This comprehensive guide will walk you through the essentials of setting up print borders effectively in Excel, detailing each step with clarity and providing insights to enhance your print quality.
Why Print Borders Matter

Before delving into the mechanics, let’s explore why print borders are significant:
- Clarity: Borders help delineate where one cell ends and another begins, making your printed document easier to follow.
- Professionalism: Well-set print borders give your documents a polished look, enhancing the professionalism of your presentation.
- Comprehensiveness: Ensuring all vital information is printed with clear borders helps prevent misunderstandings or misinterpretations due to missing context.
Basic Setup for Excel Print Borders

Here’s how you can start setting up print borders in your Excel spreadsheet:
- Open Excel and load your workbook: Navigate to File > Open to locate and open your file.
- Select your data: Click and drag to highlight the cells, rows, or columns you wish to print. Remember, selecting too many cells might result in overshooting your page margins.
- Navigate to Page Layout: On the ribbon, find the Page Layout tab. This section houses all the settings related to printing.
-
Set Page Breaks:
- Insert manual page breaks where you want the printer to start a new page. Use Insert > Page Break.
- To remove page breaks, select the cell below or to the right of the break, then choose Delete Page Break.
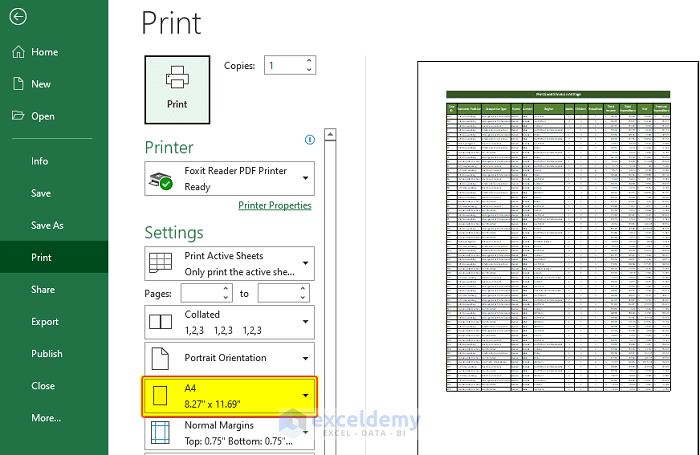
- Print Preview: Click on File > Print or use the Print Preview option to see how your document will appear on paper.
Advanced Print Border Settings

For those looking to customize their Excel print borders further:
Cell Borders

Adjust the borders of individual cells to ensure clarity:
- Highlight cells, go to the Home tab, and click on the ‘Borders’ button to choose from various border styles.
- Consider using ‘All Borders’ for a grid effect or ‘Outside Borders’ for a frame around a specific section.
Page Layout Options

The Page Layout tab provides further control over how your spreadsheet looks when printed:
- Page: Adjust page size, orientation, and margins.
- Sheet: Define the print area, set print titles, or gridlines.
Print Titles

If your document spans multiple pages, setting print titles can keep headers or labels consistent:
- Go to Page Layout > Print Titles. Here, you can select rows to repeat at the top and columns at the left for each page.
Tips for Ensuring Print Borders Accuracy

To ensure your borders print as intended:
- Check Printer Settings: Verify your printer’s DPI and page sizes match Excel’s settings for optimal results.
- Align Data: Ensure your data is aligned to avoid cutting off borders or contents.
- Zoom Out: Sometimes zooming out in Excel’s print preview can reveal alignment issues or border inconsistencies.
Notes Section:

⚠️ Note: Before printing, always preview the layout to catch any visual errors or issues.
💡 Note: If your document has multiple sheets, remember to apply these settings to each sheet individually for consistent printing.
🖨️ Note: Excel’s default printer might not match your current printer; ensure the correct printer is selected in the print settings.
This guide should have equipped you with the knowledge to optimize your Excel print borders efficiently, ensuring your spreadsheets look professional and are fully functional when printed. Taking the time to fine-tune these settings can save resources, prevent frustration, and produce high-quality documents that effectively communicate your data.
How do I ensure that my borders are printed correctly in Excel?

+
Use the Print Preview function in Excel to see how your document will look when printed. This allows you to adjust settings like margins, page orientation, and border styles before printing.
Can I print only the borders without the contents?

+
While Excel does not have a direct feature for printing just borders, you can achieve this by clearing cell contents but keeping the borders intact before printing.
What should I do if my printer cuts off the borders?

+
Check your printer’s settings and align them with Excel’s page setup. Adjust the margins, fit to page, or reduce the scale if necessary to ensure all borders are included in the print area.


