5 Easy Steps to Merge Excel Sheets into One PDF

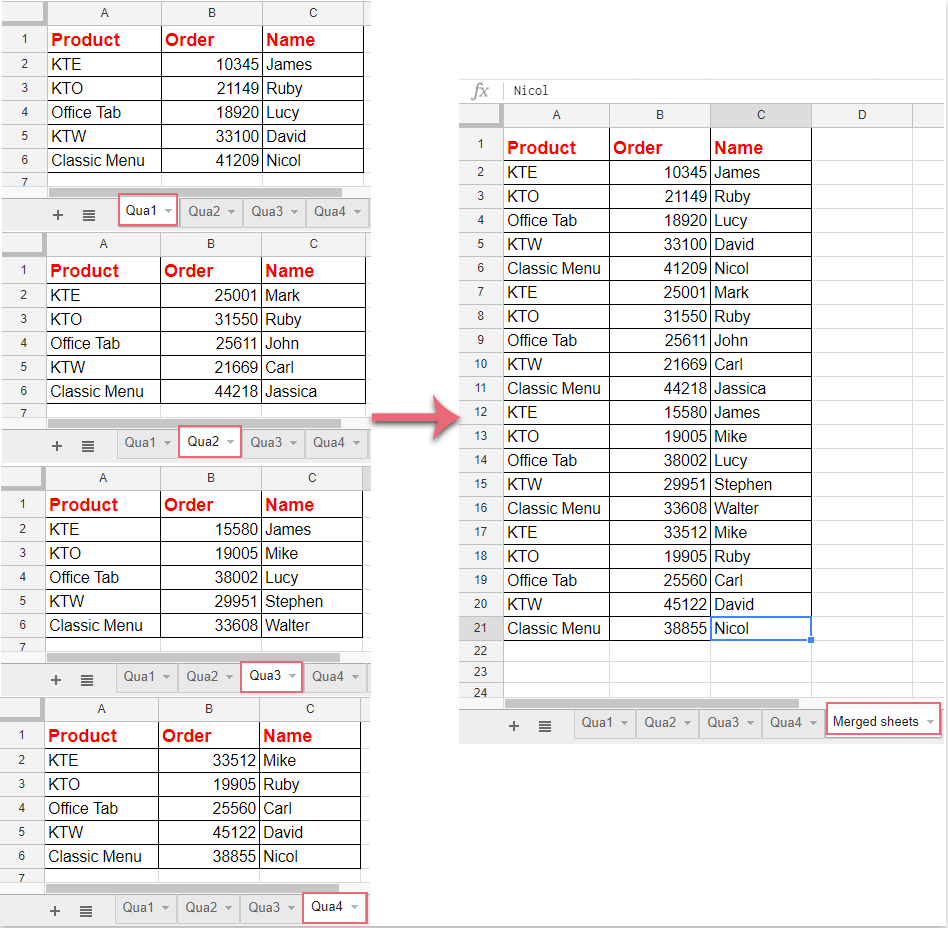
Merging multiple Excel sheets into a single PDF file can be an invaluable tool for professionals dealing with large datasets or intricate spreadsheets. It simplifies data presentation, distribution, and preservation, making it an essential skill in today's data-driven environment. This process can streamline your workflow, reducing the hassle of managing numerous files, and ensures that your data is always accessible and professional. Here's how you can achieve this efficiently, even without advanced technical skills.
Step 1: Preparation of Excel Sheets

Before merging your Excel sheets into a PDF, a little preparation is required to ensure everything aligns smoothly:
- Consolidate Data: Check each sheet for any extraneous information that may not be needed in the final PDF, ensuring only relevant data is included.
- Consistent Formatting: Aim for uniformity in cell formatting, font styles, and sizes to make your final document cohesive.
- Optional: Freeze Panes: If your sheets are large, freezing the top row or left column can improve readability in PDF format.
💡 Note: Avoid using any dynamic content or conditional formatting as these features will not translate well to a static PDF.
Step 2: Open Excel Sheets in a Single Workbook

Here’s how to compile your individual Excel sheets into one workbook:
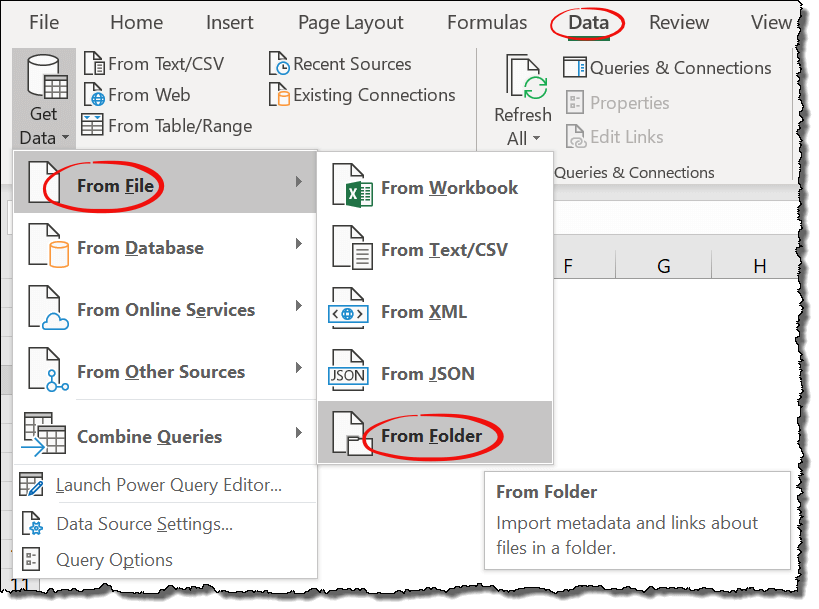
- Open Microsoft Excel and create a new blank workbook.
- Navigate to ‘File’ > ‘Open’, locate your first Excel file, and select ‘Open’ to insert it as a new sheet. Repeat this for all sheets you need to merge.
💡 Note: If your sheets are in different workbooks, copy and paste them into one workbook to simplify the process.
Step 3: Arrange Sheets in Desired Order

The order of sheets in your PDF will reflect the order they appear in Excel. Rearrange them as follows:
- Right-click on a sheet name, select ‘Move or Copy’, and choose where you want to move or copy the sheet to.
| Original Order | Desired Order |
|---|---|
| Sheet 1 | Sheet 3 |
| Sheet 2 | Sheet 1 |
| Sheet 3 | Sheet 2 |

Step 4: Export the Workbook to PDF

The final step involves exporting your workbook into a single PDF:
- Go to ‘File’ > ‘Save As’.
- From the ‘Save as type’ dropdown, select ‘PDF (*.pdf)’.
- In ‘Options’, make sure to check ‘Entire workbook’.
- Provide a filename, choose your save location, and click ‘Save’.
💡 Note: You might want to open the PDF to ensure that all sheets are correctly formatted and in the right order.
Step 5: Verify and Distribute

After your PDF is generated, take the time to verify its contents:
- Check Formatting: Ensure all data is correctly displayed with no issues like text being cut off.
- Distribute: You can now share your single PDF file with colleagues or clients, ensuring everyone has the same, unified document.
In wrapping up, the ability to merge multiple Excel sheets into a single PDF file is not only about organizing your data but also about enhancing its presentation and accessibility. By following these simple yet effective steps, you can ensure that your spreadsheets are professionally prepared, easily shareable, and safeguarded from alterations. This method can significantly streamline your workflow, freeing you up for more critical tasks while maintaining the integrity of your data.
What if my Excel sheets have different formatting?

+
Consistency in formatting is key for a professional PDF output. Adjust the formatting across all sheets to ensure uniformity before merging.
Can I merge sheets from different Excel workbooks?

+
Absolutely. You can open each workbook and copy the sheets into a single workbook, then follow the steps to export to PDF.
How do I ensure my charts and graphs are included in the PDF?

+
Ensure charts and graphs are part of your Excel sheets. They should automatically be included when you export the workbook to PDF.
What if the PDF output has incorrect page breaks?

+
You might need to adjust page break settings within Excel or manually tweak the PDF if necessary.


