5 Easy Steps to Create an Excel Time Clock Sheet

Have you ever found yourself juggling spreadsheets to track the hours your employees work? If your company operates on a traditional office schedule, or if you're a freelancer tracking your own time, an Excel time clock sheet can be a lifesaver. Not only does it simplify time management, but it also assists in accurate payroll computation, project tracking, and productivity analysis. Here, we delve into 5 easy steps to create your Excel Time Clock Sheet to streamline your timekeeping process.
Step 1: Set Up Your Workbook

Begin by opening Microsoft Excel and creating a new workbook. Here’s how you’ll set the foundation for your time clock:
- Name your workbook: Save it with a clear title like “Office Time Tracker” or “Team Hours 2023”.
- Create essential sheets: While you can keep everything on one sheet, separate sheets for different purposes (like one for time clock entries, another for summaries, etc.) can enhance organization. Name these sheets as “Time Entries”, “Summary”, and “Settings”.
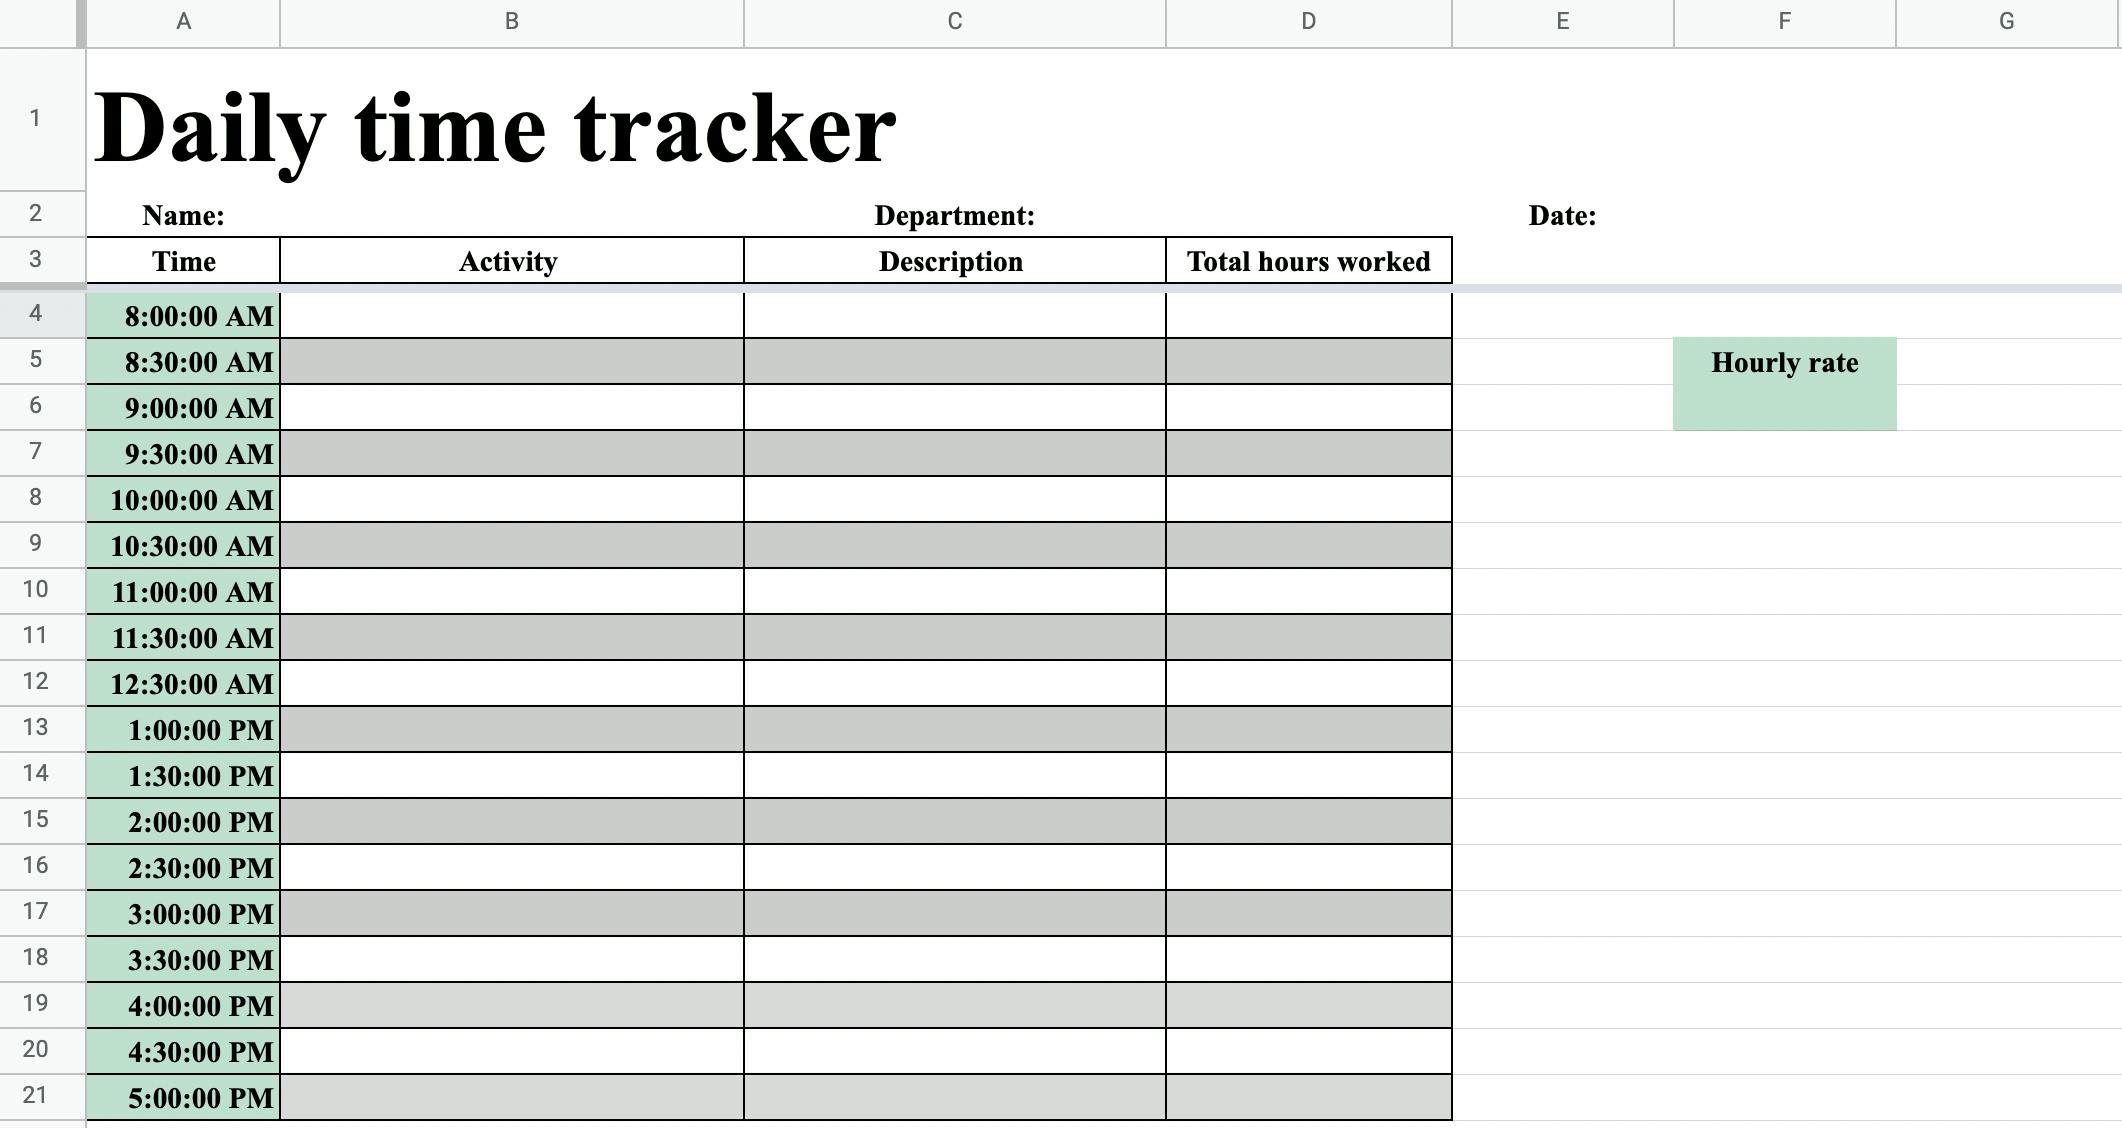
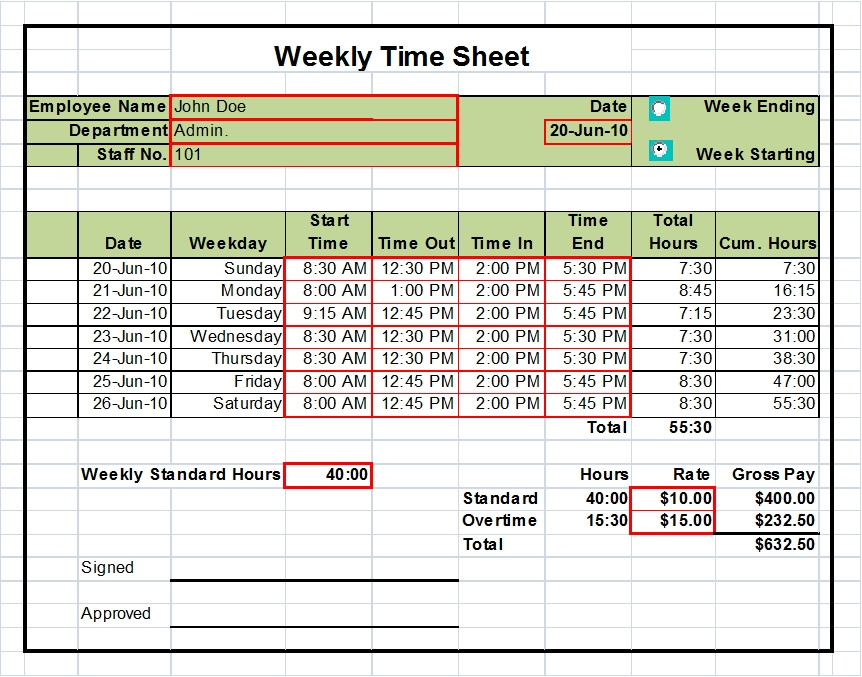
- Design the basic table: In the “Time Entries” sheet, create columns for Date, Name, Clock In, Clock Out, and Total Hours. Use the table below as a reference:
| Date | Name | Clock In | Clock Out | Total Hours |
|---|---|---|---|---|
| 03/11/2023 | John Doe | 09:00 AM | 05:00 PM | 8:00 |

💡 Note: The "Total Hours" column should use Excel's formula to automatically calculate the work duration.
Step 2: Formatting Time Clock Entries

To ensure that your entries are both accurate and visually intuitive:
- Date Format: Format the “Date” column to use a standard date format like “mm/dd/yyyy”.
- Time Format: Format the “Clock In” and “Clock Out” columns as time. Use “h:mm AM/PM” or “hh:mm” if you prefer a 24-hour clock.
- Auto-Calculation: In the “Total Hours” column, enter this formula:
=TEXT(Clock_Out-CLOCK_IN,“h:mm”)to display hours and minutes. This subtracts the clock-in time from the clock-out time. - Color Coding: Apply conditional formatting to highlight late arrivals or overtime.
Step 3: Locking Formulas and Protecting Sheets
To prevent accidental changes or errors, protect your workbook:
- Protect Workbook: Go to Review > Protect Sheet to lock cells that should not be changed by users.
- Allow Editing: Leave cells for clock-in and clock-out times unlocked so employees can enter their data.
- Set Password: Optionally, set a password for extra security.
Step 4: Automating with Macros

While not necessary for a basic time clock, automation can save time:
- Recording Macros: You can record macros to automate common tasks like applying formulas or adding new rows for new employees.
- Assign Shortcuts: Assign keyboard shortcuts to these macros for quick usage.
- Protect Macros: Keep your macros secure to prevent unauthorized changes.
Step 5: Generate Summary Reports

The final step involves creating summaries to analyze productivity:
- Summarize Data: Use functions like SUMIFS or PIVOT tables to create reports by employee, department, or project.
- Visual Data: Add charts or graphs to visually represent data trends.
- Regular Updates: Schedule the workbook to automatically update at certain times or dates.
Setting up an Excel Time Clock Sheet may seem daunting at first, but following these steps ensures a robust and user-friendly system for managing work hours. This approach not only simplifies tracking but also offers valuable insights into workforce productivity. Whether you're managing a large team or just your own freelance work, this time clock sheet will prove to be an invaluable tool in enhancing your organization's efficiency.
Can I share this Excel Time Clock Sheet online?

+
Yes, you can share this Excel Time Clock Sheet online by using cloud services like OneDrive or Google Sheets to enable real-time collaboration.
How do I account for breaks or leave in the time clock?

+
To account for breaks or leave, you can add columns for breaks or manually adjust the clock-out times to reflect these. If breaks are regular, consider using formulas to account for this time.
What if I need to track time across multiple locations or shifts?

+
Create separate sheets for different locations or shifts, then use functions like SUMIFS or VLOOKUP to consolidate data into a master summary sheet.


