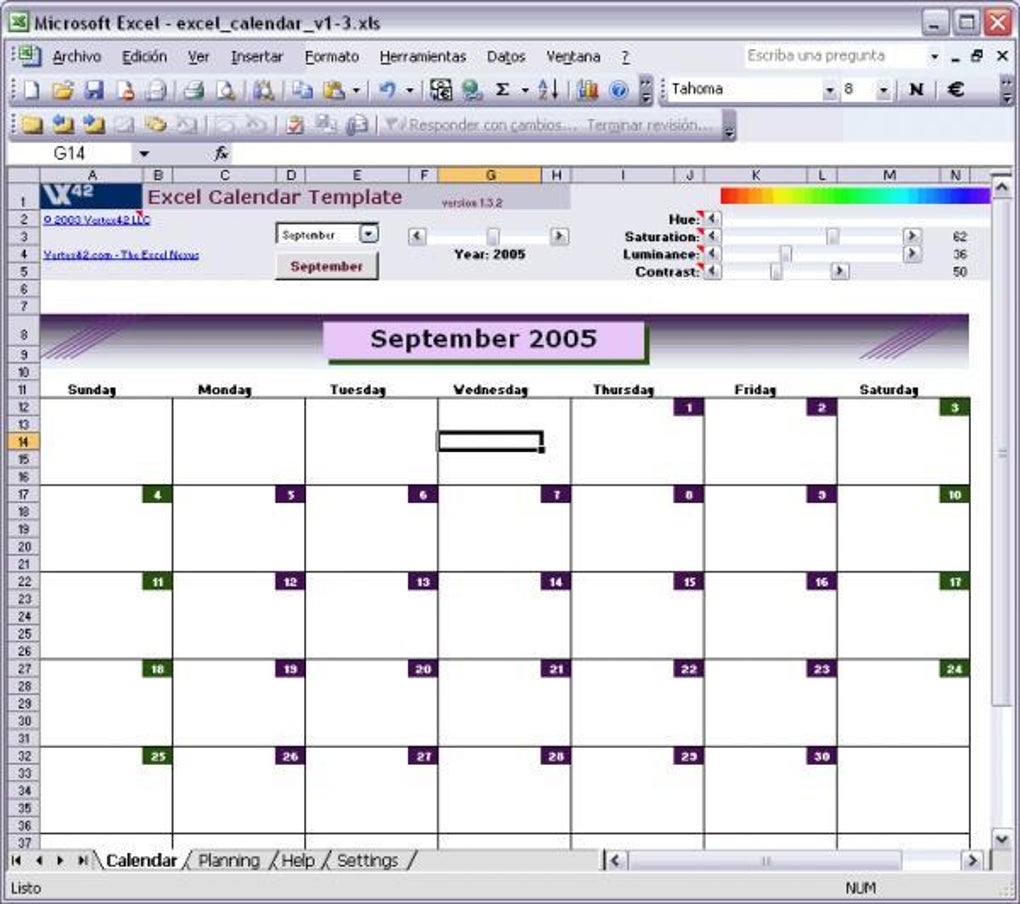
5 Simple Steps to Create a Calendar in Excel

Creating a calendar in Excel is a straightforward process that can greatly enhance your organizational skills and time management. Here's a step-by-step guide to help you craft a personalized calendar that suits your needs.
Step 1: Open Excel and Choose a Calendar Template

To get started, open Microsoft Excel. While you can design a calendar from scratch, using a pre-existing template saves time and effort:
- Go to File > New.
- Search for “Calendar” in the template search bar.
- Select a template that appeals to you. Templates for monthly calendars or yearly calendars are usually available.
Step 2: Customize the Calendar Layout

Once you’ve selected a template, customize it to meet your specific requirements:
- Adjust the cell size to make the calendar more readable or to fit additional information.
- Change the fonts, colors, and background to match your personal style or company branding.
- If the template includes weekends and holidays, consider highlighting these to make the calendar more intuitive.
Step 3: Fill in Dates and Events

Now it’s time to populate your calendar with dates:
- Enter the current month and year at the top.
- Input the dates in the appropriate cells, ensuring the first day of the month aligns correctly with the day of the week.
- Add personal or work events, deadlines, appointments, or any other important information.
💡 Note: To automate date entry, use Excel formulas like TODAY() or DATE() for dynamic updates.
Step 4: Adding Functionality

To make your calendar more interactive:
- Use conditional formatting to highlight specific events or dates (e.g., meetings, due dates).
- Integrate drop-down lists for event categorization.
- Employ Excel’s data validation features to ensure data entry accuracy.
Step 5: Saving and Sharing Your Calendar

After you’ve set up your calendar:
- Save your calendar as a template or workbook in an easily accessible format (e.g., .xlsx).
- Consider saving different versions (e.g., monthly, yearly) for various needs.
- Share the calendar with others through email, shared drives, or collaboration tools like OneDrive or SharePoint.
💡 Note: If you're sharing the calendar, consider using Excel's Share feature to collaborate in real-time or set permissions for editing.
The above steps provide you with a simple yet effective way to create a calendar in Excel. This tool not only helps in organizing your personal or professional life but also serves as a visual reminder of your schedule and commitments. Remember, the beauty of Excel is in its flexibility; you can continue to refine and adapt your calendar over time to better fit your evolving needs.
Can I automate the calendar?

+
Yes, Excel allows for automation through functions like TODAY() or DATE(). You can also use VBA scripts for more complex automation tasks.
How can I make my calendar more visually appealing?

+
To enhance the visual appeal, use colors, conditional formatting, and different fonts. Also, consider adding icons or small images to represent different event types.
Can I create a yearly calendar in Excel?

+
Yes, you can make a yearly calendar either by using a template or by creating multiple tabs in Excel, each representing a different month, and then linking them together with navigation arrows.


