Lock Your Excel Sheets: Make Them Uneditable Easily

Why Locking an Excel Sheet is Essential

Excel spreadsheets are one of the most versatile tools in data management and analysis. Whether it’s for personal use, like managing a budget, or for professional tasks like financial reporting, the integrity of the data within these spreadsheets is crucial. Locking an Excel sheet ensures that:
- Data Security: Protects sensitive information from unauthorized access or modification.
- Consistency: Prevents accidental or intentional alterations that could disrupt the analysis or calculations.
- Professional Presentation: Ensures that the data or formulas are viewed in the intended state, maintaining the professional appearance of your work.
Knowing how to lock an Excel sheet is not only a technical skill but also a safeguard for your work. Here’s how you can lock your Excel sheets to make them uneditable:
Step-by-Step Guide to Locking Your Excel Sheet

Protecting the Entire Sheet

- Select All: Click the triangle at the top-left corner of the sheet to select all cells, or press Ctrl + A.
- Unlock Cells: Right-click on any cell and choose “Format Cells.” Go to the “Protection” tab and uncheck “Locked,” then click OK. This step ensures that only specific cells are locked.
- Choose the Cells to Protect: Select the cells you want to lock by clicking and dragging or using the Shift key.
- Re-Lock Selected Cells: With the cells selected, go back to the “Protection” tab, check “Locked,” and confirm.
- Protect the Sheet: Go to the “Review” tab, click “Protect Sheet,” and set a password if desired.
💡 Note: Remember, the default setting in Excel is for all cells to be locked, but this only applies when sheet protection is active.
Protecting Specific Ranges

| Step | Action |
|---|---|
| 1 | Select the range of cells you want to lock. |
| 2 | Right-click, choose “Format Cells” -> “Protection” -> Ensure “Locked” is checked. |
| 3 | Go to “Review” -> “Allow Users to Edit Ranges.” |
| 4 | Create a new range by selecting “New” and adding a password. |
| 5 | Apply protection to the entire sheet by selecting “Protect Sheet.” |

With this method, only those who know the password can edit the locked ranges, while others can only view or edit the cells outside these ranges.
🔑 Note: Avoid using common or easily guessable passwords to maintain security.
Locking Cells with Data Validation

You can also use data validation to lock cells:
- Select the cells you want to restrict.
- Go to “Data” -> “Data Validation.”
- Under “Allow,” choose “Custom,” and enter a formula to restrict data input.
- Then protect the sheet to enforce these rules.
Advanced Locking Techniques

Beyond simple protection, Excel offers several advanced ways to manage and secure your data:
- Protecting Structure and Windows: You can prevent users from adding, deleting, or renaming worksheets, and even lock window positions.
- Using VBA (Visual Basic for Applications): For a higher level of security or specific requirements, VBA can automate locking or customize protection settings.
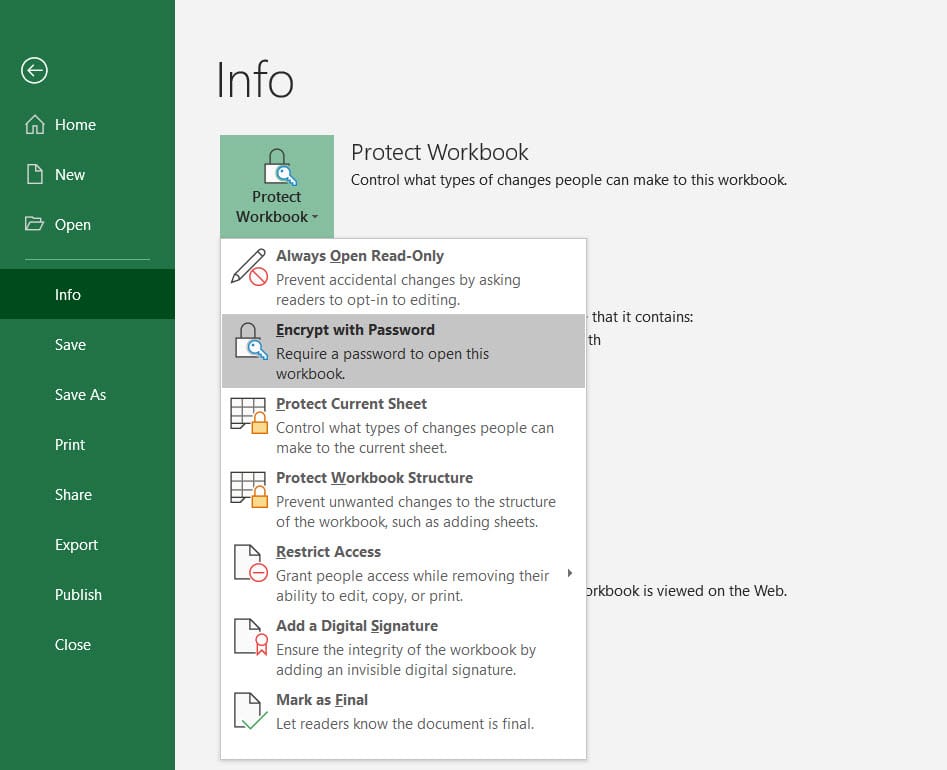
Protecting Workbook Structure

To protect the structure of your workbook:
- Go to “Review” -> “Protect Workbook.”
- Choose “Structure” or “Windows” or both.
- Set a password if needed.
Using VBA for Custom Locking

Here’s an example of how you might use VBA to lock a specific range:
Sub LockSpecificRange()
    With ActiveSheet
        .Range(“A1:B10”).Locked = True
        .Protect DrawingObjects:=True, Contents:=True, Scenarios:=True
    End With
End Sub
💼 Note: VBA code can be executed by someone with the necessary permissions, potentially bypassing protection if they know how.
In conclusion, knowing how to lock an Excel sheet or its parts is vital for maintaining the security and integrity of your data. By following the steps provided, you can customize the level of protection to suit different needs, from simple data protection to complex workbook structure maintenance. Whether for personal use or professional settings, these techniques empower users to control who can edit their spreadsheets, ensuring that the information remains consistent and reliable.What does locking an Excel sheet do?

+
Locking an Excel sheet prevents users from making changes to the data or formulas within the locked cells, preserving the integrity and confidentiality of the data.
Can I unlock an Excel sheet if I forget the password?

+
If you forget the password, you cannot unlock the sheet. It’s crucial to remember your password or store it securely.
Is there a way to lock only part of a sheet?

+
Yes, you can protect specific ranges by using the “Allow Users to Edit Ranges” feature in combination with sheet protection.
How does protecting the workbook differ from protecting a sheet?

+
Protecting a workbook secures its structure, preventing actions like adding, deleting, or renaming sheets, while sheet protection controls who can modify or view data within individual sheets.


