5 Easy Ways to Lock Cells in Excel

One of the most practical skills for any Excel user is knowing how to lock cells. This feature is crucial for protecting your formulas from accidental changes and ensuring data integrity across your spreadsheets. Whether you're using Excel for personal budgeting, business reporting, or data analysis, locking cells can significantly enhance the functionality and security of your workbook. Here, we explore five easy methods to lock cells in Excel, ensuring your data remains safe and your spreadsheets are mistake-proof.
1. Basic Cell Locking

The simplest way to lock cells involves three basic steps:
- Select the Cells: Click on the cells you want to lock.
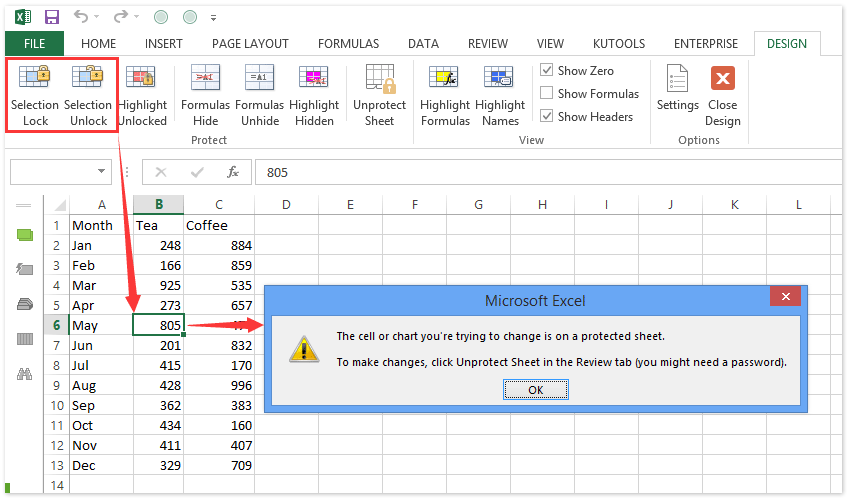
- Lock the Cells: Right-click, choose “Format Cells,” and under the “Protection” tab, ensure the “Locked” box is checked. Note that by default, all cells are locked, but this doesn’t mean they are protected yet.
- Protect the Worksheet: From the “Review” tab, click “Protect Sheet,” set a password if needed, and specify the user permissions.
2. Locking Specific Ranges

If you need to lock specific ranges while leaving others editable:
- Choose the range of cells you wish to lock.
- Right-click, go to “Format Cells,” ensure “Locked” is checked.
- Then, select all cells outside of this range and unlock them by unchecking the “Locked” box.
- Protect the worksheet as described in step 3 above.
📌 Note: Ensure you unlock cells that you want users to edit before protecting the worksheet, or users won't be able to interact with them.
3. Using Group Protection

When you need to lock cells in a more structured way, using grouping can be beneficial:
- Select the cells to be locked and create a new group with “Group” under the “Data” tab.
- With the group selected, apply the lock as described previously.
- Then, protect the worksheet.
4. Locking With VBA

For those comfortable with VBA, you can automate cell locking:
| Code | What it does |
|---|---|
Range(“A1:A10”).Locked = True |
Locks the range A1 to A10. |
ActiveSheet.Protect |
Protects the active sheet. |

📚 Note: Remember to enable the Developer tab in Excel to access VBA.
5. Locking Specific Formulas

Sometimes, you only want to protect formulas while allowing data entry elsewhere:
- Select the entire sheet, press Ctrl + G, and click “Special” then “Formulas.”
- Use the “Format Cells” dialog to ensure these cells are locked.
- Protect the worksheet as described earlier.
By employing these methods, you can ensure your Excel sheets are well-organized, secure, and tailored to the needs of different users. Locking cells not only prevents unauthorized changes but also guides users on where they can and cannot make edits, which is especially useful in shared work environments.
These techniques, while simple, provide a robust foundation for safeguarding your data. Remember, locking cells is part of a broader approach to data protection in Excel, which might also include password-protecting the entire workbook or utilizing user permissions for more complex scenarios.
Can I unlock cells later if needed?

+
Yes, you can unlock cells by unprotecting the worksheet, changing the cell’s locked status, and then re-protecting the sheet.
What if I forget the password to unprotect the sheet?

+
There is no official method to recover or reset a forgotten password. You’ll need to use third-party tools or rebuild the sheet.
How do I know which cells are locked?

+
You can use conditional formatting to highlight locked cells or check via VBA.


