Effortlessly Connect Excel Sheets to Word Documents

Are you tired of manually copying and pasting data from Excel into Word documents? Learning how to connect Excel sheets to Word documents can streamline your workflow, increase accuracy, and save you a tremendous amount of time. In this detailed guide, we'll explore how you can automate this process effectively, ensuring your documents are always up to date with the latest data from your spreadsheets.
Understanding the Need for Integration

Before we dive into the technical steps, let’s understand why integrating Excel with Word is beneficial:
- Efficiency: Automate data transfer to reduce manual labor.
- Accuracy: Minimize human error in data entry.
- Scalability: Easily manage large datasets in a structured manner.
How to Link Excel Data to Word

Here’s a step-by-step process to connect your Excel data to a Word document:
-
Open Excel and Prepare Your Data:
- Ensure your data is organized neatly.
- Save your Excel workbook.
-
Select and Copy the Data:
- Select the cells containing the data you want to link.
- Copy the selection (
Ctrl + C).
-
Open Your Word Document:
- Place the cursor where you want to insert the data.
-
Choose Paste Options:
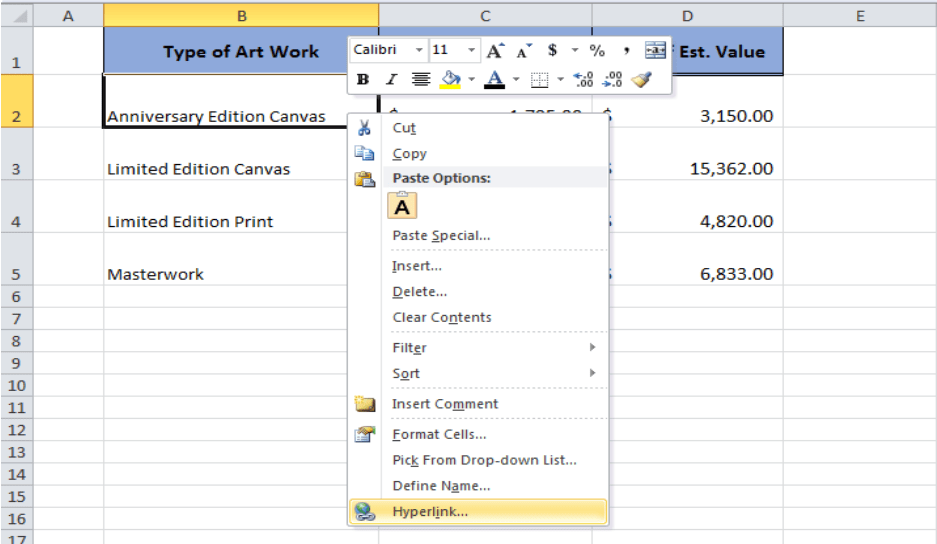
- Right-click and select
Paste Specialfrom the context menu. - Choose
Paste Linkand selectMicrosoft Excel Worksheet Objectfrom the list.
- Right-click and select
Formatting and Updating Linked Data

After inserting the link, here’s what you need to know:
- Formatting: You can format the pasted Excel table within Word, but remember that changes will only apply to the pasted object.
- Updating: To reflect changes from the original Excel file, right-click the linked data in Word and select
Update Link.
💡 Note: Any formatting done in Word will not affect the source data in Excel.
Advanced Integration Techniques

For a more advanced approach:
- Use OLE (Object Linking and Embedding): OLE allows dynamic updates from Excel to Word. If Excel data changes, Word will automatically reflect those changes.
- Employ Macros: Automate complex tasks with VBA (Visual Basic for Applications). Here’s a simple example:
Sub AutoUpdate()
    Dim wd As Object
    Set wd = CreateObject("Word.Application")
    wd.Visible = True
    wd.Documents.Open "C:\Path\To\Your\Document.docx"
    wd.Selection.TypeText Text:="This document was last updated on " & Format(Now(), "dd-mm-yyyy hh:mm")
    wd.ActiveDocument.Fields.Update
    wd.Save
    wd.Quit
End Sub
This script opens a Word document, adds a timestamp, updates the fields, and closes the document. You can customize this further to meet your needs.
Troubleshooting Common Issues

When integrating Excel with Word, you might encounter these issues:
- Broken Links: If the source file is moved or renamed, links will break. Update the link by right-clicking on the object in Word, choosing
Link, and browsing to the new file location. - Automatic Update Settings: Ensure Word is set to update links on open or upon change in Excel.
⚠️ Note: Be cautious with dynamic updates. If not managed properly, they can lead to bloated document sizes or performance issues.
In summary, linking Excel to Word can dramatically enhance your productivity by ensuring that your documents always reflect the latest data. From basic to advanced techniques, you now have multiple methods at your disposal to manage this integration. Remember, while automation saves time, keeping your files organized and up to date is key to a smooth workflow.
What if I accidentally break a link?

+
If you accidentally break a link, you can repair it by right-clicking the object, selecting Link, and browsing to the file’s new location or resetting the source file.
Can I link more than one Excel sheet to a Word document?

+
Yes, you can link multiple sheets. However, ensure each link is managed correctly to avoid confusion or document clutter.
How do I automate the updating of links?

+
Automate updates through Word’s Auto Open feature or by writing VBA code in Excel to trigger updates in Word documents when the data changes.


