Formatting Excel Sheets Made Simple with C# .NET

The world of data organization is constantly evolving, with Excel sheets serving as a staple tool for businesses, researchers, and individuals alike. Understanding how to manipulate and format these sheets efficiently can lead to significant productivity gains and clearer data presentation. In this blog, we'll delve into using C# .NET to format Excel sheets, providing a comprehensive guide that will turn complex Excel tasks into manageable steps.
Why Use C# for Excel Formatting?

Before we dive into the technicalities, it’s worth understanding why C# is a great choice for Excel operations:
- Performance: C# compiles to an Intermediate Language (IL) code, which makes it faster than scripting languages like VBA.
- Flexibility: With C#, you can build complex systems that interact with Excel, extending beyond the limitations of in-built Excel functions.
- Integration: C# can be easily integrated into web applications, services, or any other .NET projects.
- Extensibility: Libraries like EPPlus or ExcelDataReader offer robust tools for Excel manipulation in C#.
Setting Up Your Environment

To begin formatting Excel sheets with C#, you’ll need to:
- Install Visual Studio (Community or Professional).
- Create a new C# project or add Excel libraries to an existing project.
- Choose a library for Excel operations. For this tutorial, we’ll use EPPlus, a popular choice for its simplicity and powerful features.
Here’s how to set up EPPlus:
- Open NuGet Package Manager in Visual Studio.
- Search for EPPlus and install the latest stable version.
🎓 Note: Ensure you are using .NET Framework 4.0 or later for compatibility with EPPlus.
Basic Excel Operations with C#

Let’s start with some foundational tasks:
- Creating a new Excel file.
- Adding and formatting cells.
- Inserting data.
using OfficeOpenXml;

public void CreateExcelFile()
{
    using (var package = new ExcelPackage())
    {
        // Add a new worksheet
        var worksheet = package.Workbook.Worksheets.Add("Sheet1");

        // Set the title
        worksheet.Cells["A1"].Value = "Employee Information";
        worksheet.Cells["A1"].Style.Font.Bold = true;

        // Add some sample data
        worksheet.Cells["A2"].Value = "Name";
        worksheet.Cells["B2"].Value = "Department";
        worksheet.Cells["C2"].Value = "Salary";

        worksheet.Cells["A3"].Value = "John Doe";
        worksheet.Cells["B3"].Value = "Marketing";
        worksheet.Cells["C3"].Value = 75000;

        // Save the Excel file
        FileInfo excelFile = new FileInfo("Sample.xlsx");
        package.SaveAs(excelFile);
    }
}
Advanced Formatting Techniques

Once you’ve got the basics down, let’s move onto some advanced formatting techniques:
Conditional Formatting

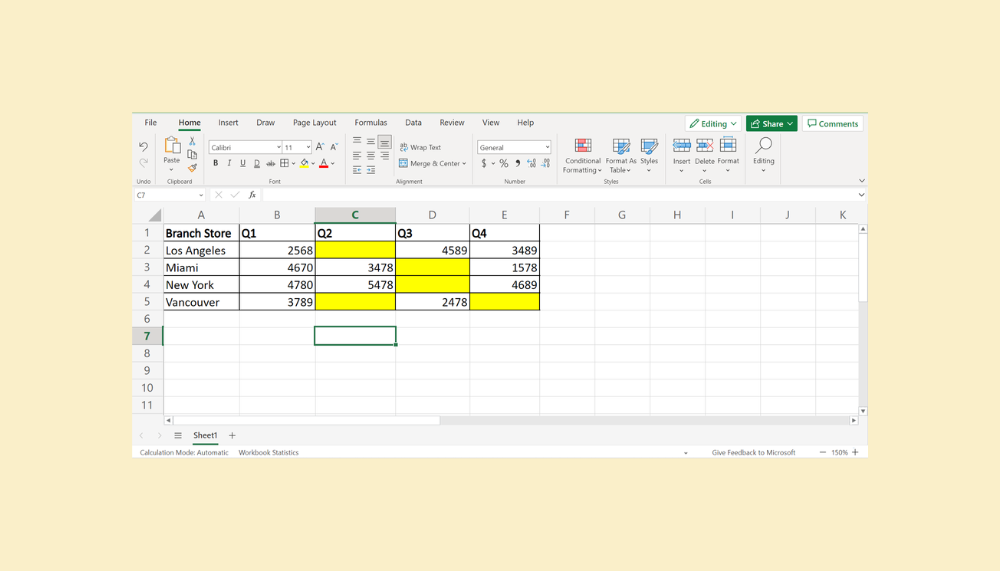
Conditional formatting changes the appearance of cells based on rules. Here’s how to do it with C#:
// Apply conditional formatting to highlight cells with salaries above 50000
var conditionRule = worksheet.ConditionalFormatting.AddGreaterThan(worksheet.Cells["C3:C100"]);
conditionRule.Style.Fill.PatternType = OfficeOpenXml.Style.ExcelFillStyle.Solid;
conditionRule.Style.Fill.BackgroundColor.SetColor(Color.Yellow);
conditionRule.Formula = "50000";
Formulas

You can also insert formulas into cells:
// Insert a formula to calculate total salary
worksheet.Cells["D3"].Formula = "=C3*B3";
Cell Merging

To merge cells for headers or summaries:
// Merge cells to create a header spanning across columns
worksheet.Cells["A1:C1"].Merge = true;
worksheet.Cells["A1"].Style.HorizontalAlignment = OfficeOpenXml.Style.ExcelHorizontalAlignment.Center;
Formatting Table of Contents

When dealing with large Excel sheets, a table of contents can be invaluable:
| Sheet | Description | Link |
|---|---|---|
| Employee Data | Details of all employees | ='Employee Data'!A1 |
| Sales Report | Monthly sales figures | ='Sales Report'!A1 |
| Performance Metrics | Key performance indicators | ='Performance Metrics'!A1 |

📝 Note: Excel does not natively support internal links, but you can simulate this by using cell references and hyperlinks created through C#.
Wrapping Up

This guide has covered the essentials of using C# with EPPlus to format and manipulate Excel sheets, offering you a powerful means to automate and enhance your Excel work. With the ability to perform operations like creating files, applying styles, conditional formatting, inserting formulas, and even simulating a table of contents, you’re now equipped to handle complex Excel tasks with ease and precision.
Remember that while these techniques streamline your work, they also open the door to developing applications that interact seamlessly with Excel, which can be a game-changer in data analysis and reporting. Keep exploring, and don't hesitate to leverage the .NET ecosystem to maximize your productivity and data management capabilities.
Can I use EPPlus with .NET Core?

+
EPPlus is now compatible with .NET Standard 2.0, which means it works with .NET Core applications as well.
How do I protect my Excel sheets when using C#?

+
You can protect your worksheets using the worksheet.Protection.IsProtected property in EPPlus.
What if I need to work with large Excel files?

+
EPPlus provides methods for reading and writing Excel files in streams, which can help manage memory usage with large files.
Can I create charts in Excel using C#?

+
Yes, EPPlus allows for the creation of charts, though it requires more coding than simple cell formatting.


