A3 Printing Made Easy: Fit Excel Sheet on One Page

Printing large Excel spreadsheets onto a single page can often be a daunting task, especially when you need to keep all your data legible without compromising on the page layout. In today's digital era, optimizing your printed documents for clarity and conciseness is as crucial as managing digital spreadsheets. This blog post will guide you through the straightforward steps to fit your Excel sheet on one A3 page for an A3 printer, ensuring your data looks as good in print as it does on the screen.
Why Choose A3 Printing?

A3 printing allows you to:
- View more data at a glance without having to piece together multiple sheets.
- Preserve readability, especially when dealing with complex spreadsheets or charts.
- Reduce clutter by consolidating information onto one large page.

Step-by-Step Guide to Fit Excel Sheet on A3

1. Scale Your Excel Sheet

To ensure that your Excel sheet fits onto one page:
- Open your Excel worksheet.
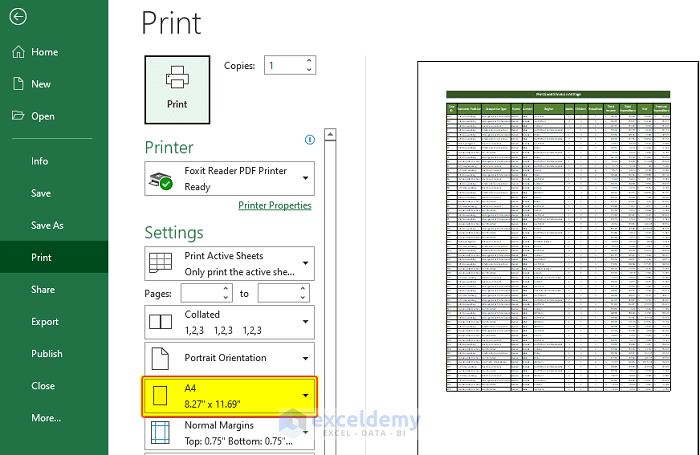
- Go to File > Print.
- In the print settings, locate the “Fit Sheet on One Page” option or choose Page Layout from the ribbon, then select Scale and adjust to fit your data onto one page.
💡 Note: Be aware that excessive scaling might affect readability. Find a balance that makes your data legible.
2. Adjust Page Layout

If scaling alone isn’t enough, consider modifying:
- Margins: Narrow them to accommodate more content.
- Orientation: Change to Landscape for broader views.
- Print Area: Set the print area to focus only on necessary data, minimizing wasted space.
3. Format and Optimize

To enhance your printout:
- Use Autofit for columns to make them fit within page limits automatically.
- Condense fonts and remove unnecessary formatting to save space.
- Merge and Center cells where possible to reduce clutter.
- Employ Print Titles for repetitive headers or labels across pages if you end up with multiple pages.
| Setting | Purpose | How to Adjust |
|---|---|---|
| Margins | To accommodate more content | Adjust via Page Layout > Margins |
| Orientation | For broader views | Change in Page Setup > Orientation |
| Print Area | To minimize wasted space | Set via Page Layout > Print Area |

Key Points to Remember

When printing on A3:
- Always preview your printout to ensure everything is visible and legible.
- Check for any truncated text or cut-off information which might need readjustment.
- Consider the practical use of A3 sheets; if you need to distribute or store the prints, think about the convenience.
By following these steps, you’ll not only save time but also ensure that your printed Excel documents are optimized for clarity and ease of use.
What is the difference between A3 and A4 printing?

+
A3 paper is double the size of A4 paper, making it ideal for larger spreadsheets, charts, or documents where you need more space to view or present data.
Can I print multiple A4 pages on one A3?

+
Yes, some printers and printing software allow you to select multiple A4 pages to print on one A3 sheet, essentially creating a poster-like output.
Why does my Excel data get cut off on A3 print?

+
This might happen due to incorrect scaling settings or because the print area exceeds the A3 page size. Adjust your print settings and review the print preview.
Ultimately, understanding how to manage print settings in Excel for A3 printing can significantly enhance your presentation capabilities, making your data analysis and reporting processes more efficient and professional-looking. With the right adjustments, you can turn complex data into an easily digestible A3 printout, perfect for presentations, detailed analyses, or sharing with colleagues.


