Fit Your Long Excel Sheet on One Page Easily

Managing large datasets in Excel often poses the challenge of making all the necessary information fit onto a single page when printing. This can be particularly tricky when dealing with extensive data sets or when you need to present data in a clear and concise manner. Here's how you can ensure your Excel sheet fits on one page effectively:
Adjusting Margins and Scale

- Set Print Area: Define the print area by selecting the cells you want to print. Go to Page Layout > Print Area > Set Print Area.
- Margins: Adjust the margins to make room for more data. Navigate to Page Layout > Margins > Custom Margins, where you can change the top, bottom, left, and right margins.
- Scale: In the same "Page Layout" tab, under the "Scale to Fit" group, you can scale your worksheet to fit on a single page either by width, height, or both. This scaling can reduce the size of your content to fit within the printable area.

Page Layout Adjustments

- Orientation: Change the orientation to landscape if you have more columns than rows. Access this setting via Page Layout > Orientation > Landscape.
- Fit to: If scaling doesn't produce the desired result, use the "Fit to" option. This will automatically adjust the sheet to fit within one page without altering the text size too much.
- View Page Breaks: Enable page break preview under View > Page Break Preview to see how your data will split across pages and adjust accordingly.

Font Size and Page Breaks

- Font Size: Decreasing the font size can help fit more information on a page. Be cautious not to make it too small to read, though.
- Manual Page Breaks: Insert manual page breaks to control where the page ends or starts. Use Page Layout > Breaks > Insert Page Break to do this.
⚠️ Note: When reducing font size, ensure readability by not going below a size that is legible for your audience.
Column Width and Row Height

- Autofit: Use the 'Autofit' feature to resize columns or rows to fit their content. Select the columns or rows, right-click, and choose "AutoFit Column Width" or "AutoFit Row Height."
- Hide Columns or Rows: If some data is not essential for printing, consider hiding less relevant columns or rows to save space. Right-click on the row or column number and select 'Hide'.
Using Excel's Print Titles

- Excel's Print Titles option allows you to repeat certain rows or columns on every page when printing. This feature is particularly useful when your data spans multiple pages.
The above adjustments can significantly help in ensuring your Excel sheet fits onto one page without losing crucial data or readability. Here are some additional considerations:
Formatting for Clarity

- Reduce White Space: Minimize white space by adjusting cell padding and reducing unnecessary spacing between rows and columns.
- Align Text: Center alignment can make data look more organized, especially when dealing with numbers.
💡 Note: Always double-check your print preview after each adjustment to ensure the changes have the desired effect.
Data Representation

- Condense Data: If possible, consolidate data into more compact forms like pivot tables or summary sheets.
- Merge Cells: For headers or labels that span multiple columns or rows, consider merging cells to avoid redundant text.
Final Adjustments Before Printing

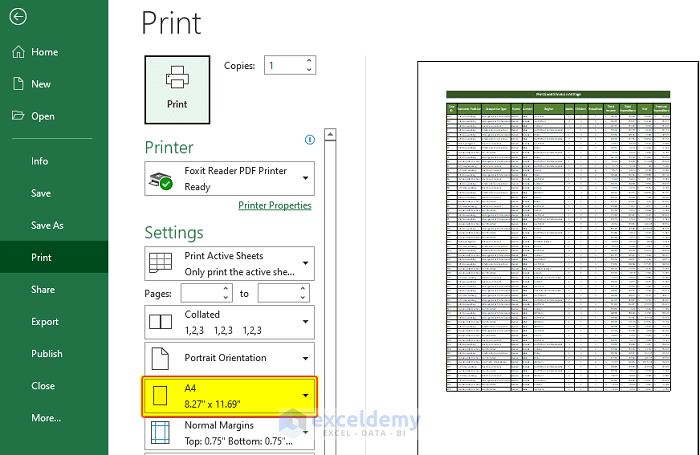
- Print Preview: Use the print preview function frequently to check how your adjustments look on paper.
- Header/Footer: Insert headers or footers if they're necessary for identification, but keep them minimal to preserve page space.
After applying these tips, your Excel worksheet should now be ready to fit onto one page for printing or presentation. Remember, the key is balance - ensure that while fitting the data on one page, you don't compromise on its legibility or the integrity of the information presented. When in doubt, review your sheet in print preview mode to make final tweaks.
By following these steps, you're not just making your Excel data fit; you're enhancing the way it communicates essential information, making it a powerful tool in data presentation. Whether for meetings, reports, or personal recordkeeping, mastering the art of fitting your Excel sheet onto one page can streamline your workflow significantly.
How do I set the print area in Excel?

+
Select the cells you want to print, then go to Page Layout > Print Area > Set Print Area.
Can I fit my Excel sheet to one page without losing readability?

+
Yes, by adjusting margins, scaling, orientation, and font size. The key is to balance fitting on one page while maintaining readability.
Is there a way to repeat headers on every page when printing?

+
Yes, use Excel’s Print Titles feature to set rows or columns to repeat on each printed page.


