5 Simple Steps to Lock Your Excel Sheets

Introduction

If you’re like many professionals today, Microsoft Excel is an integral tool in your daily work. Whether you’re managing data, crunching numbers, or sharing reports, keeping your Excel spreadsheets secure is crucial. Today, we’ll delve into 5 simple steps to lock your Excel sheets, ensuring that your confidential information stays safe, but your workflow remains efficient.
Step 1: Open Your Excel Workbook

Begin by opening the Excel workbook you wish to secure:
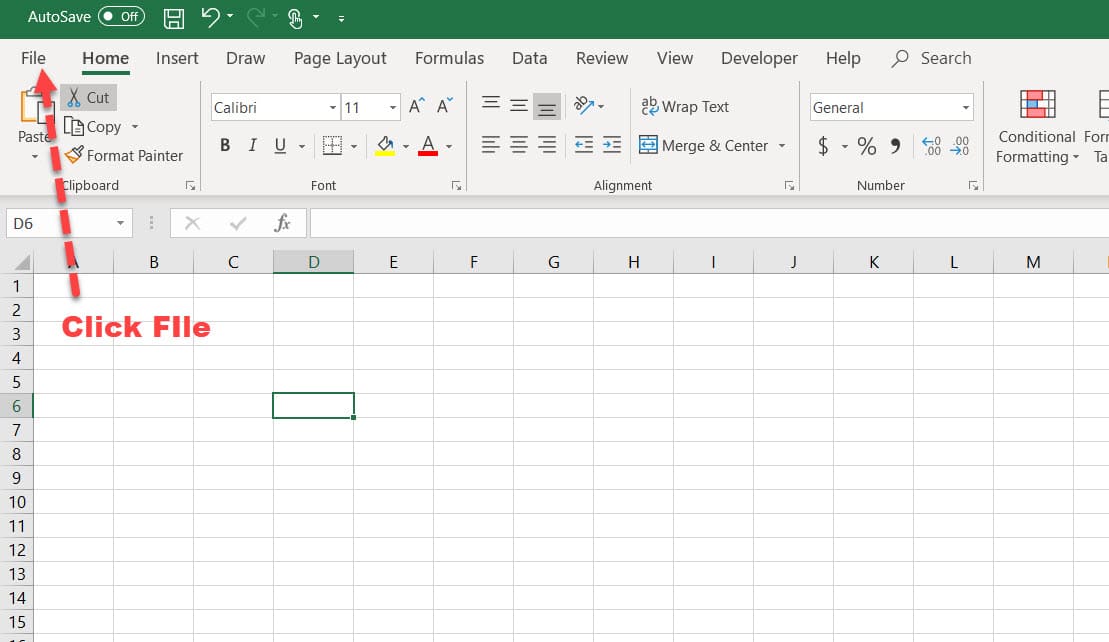
- Navigate to File > Open, and select your workbook.
- If you haven’t saved your workbook yet, do so now. It’s always a good practice to work on a saved file when making security changes.

💡 Note: Ensure you have the latest version of Excel installed to access all security features.
Step 2: Select the Worksheet(s) to Lock

You can choose to lock specific sheets or the entire workbook:
- Click on the tab of the worksheet you wish to lock. To select multiple sheets, hold the Ctrl key while clicking each tab.
- To lock the entire workbook, skip to the next step.

Step 3: Protecting the Worksheet

To protect a worksheet:
- Go to the Review tab on the Ribbon.
- Click on Protect Sheet.
Here you can set a password to unlock the sheet, allow certain users to edit ranges, or prevent the deletion of cells. Customize these settings to meet your security needs:

💡 Note: Remember your password! There’s no way to retrieve it if forgotten.
Step 4: Protecting the Workbook Structure

Besides locking individual sheets, you might want to protect the workbook structure:
- In the Review tab, click Protect Workbook.
- Choose to password protect the structure and windows, which prevents changes to sheet order, addition or deletion of sheets.

Step 5: Saving Your Secure Excel File

After locking your sheets and protecting the workbook structure, remember to save the file:
- Go to File > Save As.
- Choose your desired location, enter a file name, and ensure to save as an Excel Workbook (.xlsx).
This step ensures that the security settings you’ve applied are retained:

Final Thoughts

By following these 5 simple steps to lock your Excel sheets, you’ve taken significant steps to secure your work. Excel provides a robust set of tools to protect your data from unauthorized changes, yet it’s important to remember a few key points:
- Your workflow should remain as seamless as possible. Ensure you share passwords with trusted parties if needed.
- While locking sheets can prevent accidental or unauthorized changes, it won’t stop all forms of data theft or hacking attempts.
- Regular backups and using cloud storage with good security practices can further enhance your data safety.
Can I lock cells individually?

+
Yes, you can. First, unlock the worksheet, select the cells you wish to protect, and then reapply the protection, ensuring those cells are locked.
What happens if I forget my password?

+
Unfortunately, Microsoft does not provide a way to recover or reset a forgotten password for Excel files. It’s crucial to keep your passwords safe and share them only when necessary.
How can I share my secure Excel file?

+
You can share your Excel file through OneDrive or SharePoint, granting specific access permissions or using password protection. Always ensure you’re sharing the file with the intended recipients only.
Now you’re equipped with the knowledge to secure your Excel spreadsheets effectively. Remember, security is an ongoing process, and staying vigilant about your data protection practices is key to maintaining the integrity of your work.


