Excel Time Tracking: Easy Actual Timesheets

Discover the powerful world of Excel time tracking for streamlined and accurate timesheet management. Whether you are a freelancer, project manager, or part of a large organization, mastering Excel time tracking can significantly boost your productivity. In this guide, we'll dive into how you can use Excel for efficient time tracking, why it's beneficial, and steps to set up your timesheets.
Why Use Excel for Time Tracking?

Excel offers versatility and customization when it comes to tracking time:
- Customization: Tailor timesheets to fit specific project requirements or company policies.
- Automation: Leverage formulas and macros to reduce manual entry errors and save time.
- Accessibility: Excel is widely available and familiar to most users, making it an easy choice for time tracking.
- Integration: Integrate data from Excel into other systems for reporting or further analysis.
Setting Up Your Excel Time Sheet

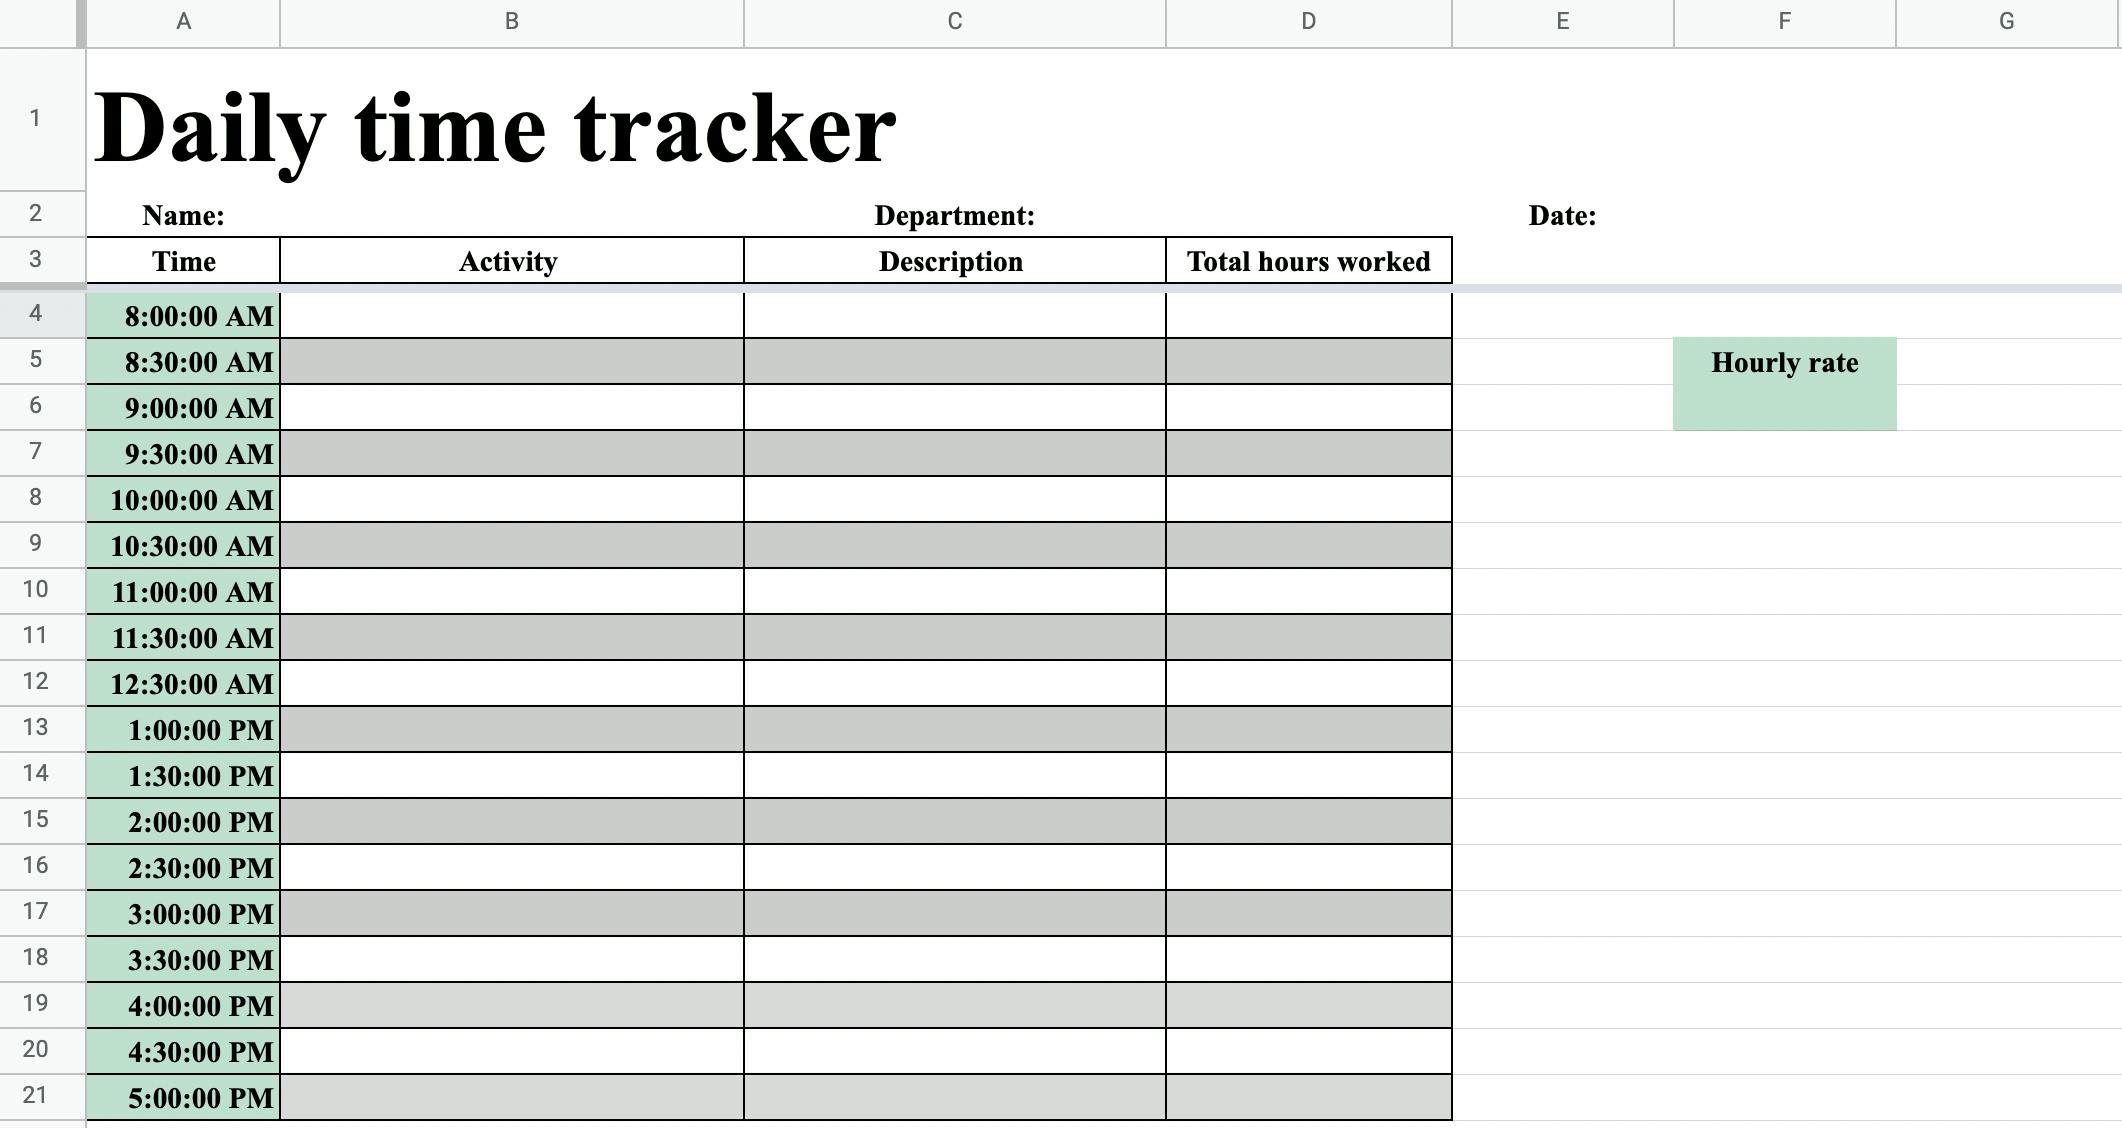
Step 1: Create a Basic Structure

Begin by opening a new Excel workbook:
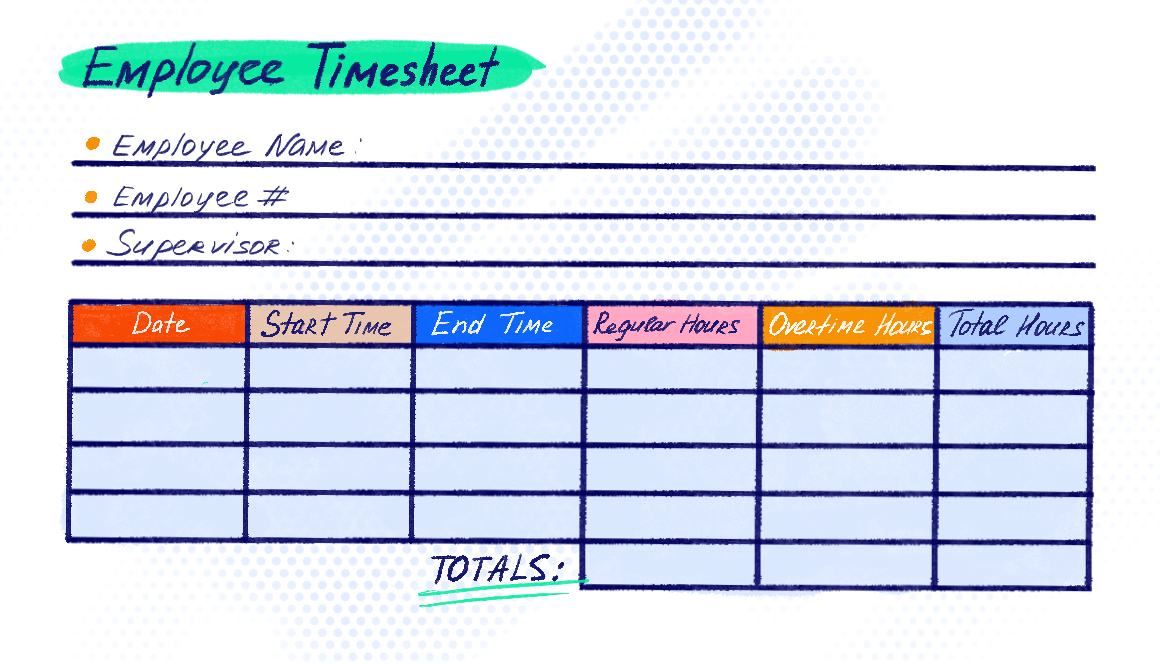
- Label columns with the following headers:
- Date
- Task/Activity
- Start Time
- End Time
- Break
- Total Time
- Set up your row headers for each day of the week or project phase.
⏱️ Note: Use Freeze Panes to keep your headers in view while scrolling.
Step 2: Inputting Data

Enter your time entries:
- Make sure to use the 24-hour clock format for consistency.
- For breaks, record the duration in minutes.
Step 3: Calculating Total Time
Use Excel formulas to calculate the total time spent on tasks:
Total Time Formula: =TEXT(End Time - Start Time - Break,“HH:MM”)
Step 4: Formatting for Clarity
Format your Excel sheet:
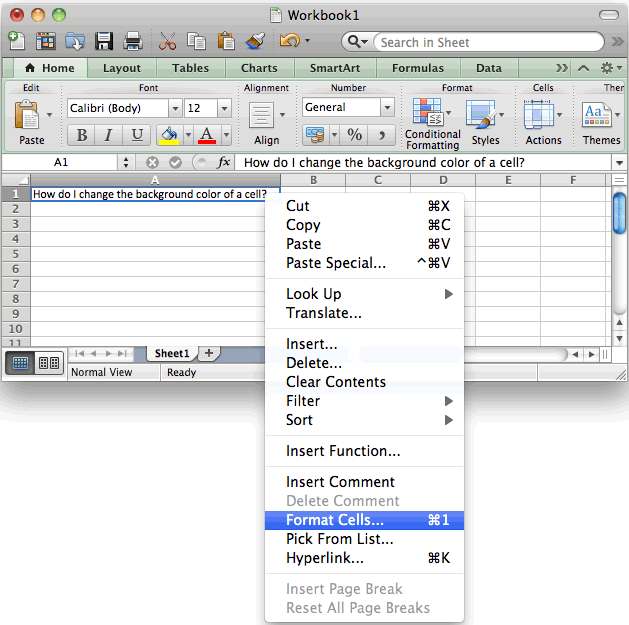
- Use different cell colors or borders to distinguish weekdays from weekends or important tasks.
- Apply conditional formatting to highlight overtime hours or milestones.
Step 5: Automation and Efficiency
Enhance your time tracking with automation:
- Macros: Record a macro to auto-fill repetitive entries like daily check-ins.
- Data Validation: Set rules to ensure time entries are within a realistic range.
💡 Note: Use Excel’s data validation feature to avoid entry errors.
Step 6: Analyzing Your Data
Once your timesheets are populated, analyze:
- Create pivot tables to summarize data by task, project, or team member.
- Generate charts or graphs for visual representation of time distribution.
Excel’s analytical tools provide insights into productivity, helping with project planning and time allocation for future tasks.
Advanced Excel Time Tracking Techniques
Explore advanced Excel features to further optimize your time tracking:
- VBA Scripts: Automate data processing with Visual Basic for Applications.
- Power Query: Pull time data from various sources to consolidate into one sheet.
In summary, Excel's time tracking capabilities offer a dynamic way to manage your timesheets. By setting up a structured template, automating where possible, and analyzing your time data, you can gain insights that drive efficiency. Remember, the key to success with Excel time tracking is consistency and customization to fit your specific needs. Whether you're tracking time for invoicing, project management, or productivity analysis, Excel provides the tools to streamline your process and ensure accuracy.
What are the benefits of using Excel for time tracking?
+
Excel allows for customization, automation, wide accessibility, and integration with other systems, making it an efficient tool for time management and analysis.
Can Excel automatically calculate overtime?
+
Yes, by using conditional formatting and formulas, Excel can highlight overtime and calculate it for you based on your input parameters.
How can I ensure the accuracy of my time tracking in Excel?
+
To ensure accuracy, use data validation rules, automate calculations with formulas, and implement checks through macros or conditional formatting.


