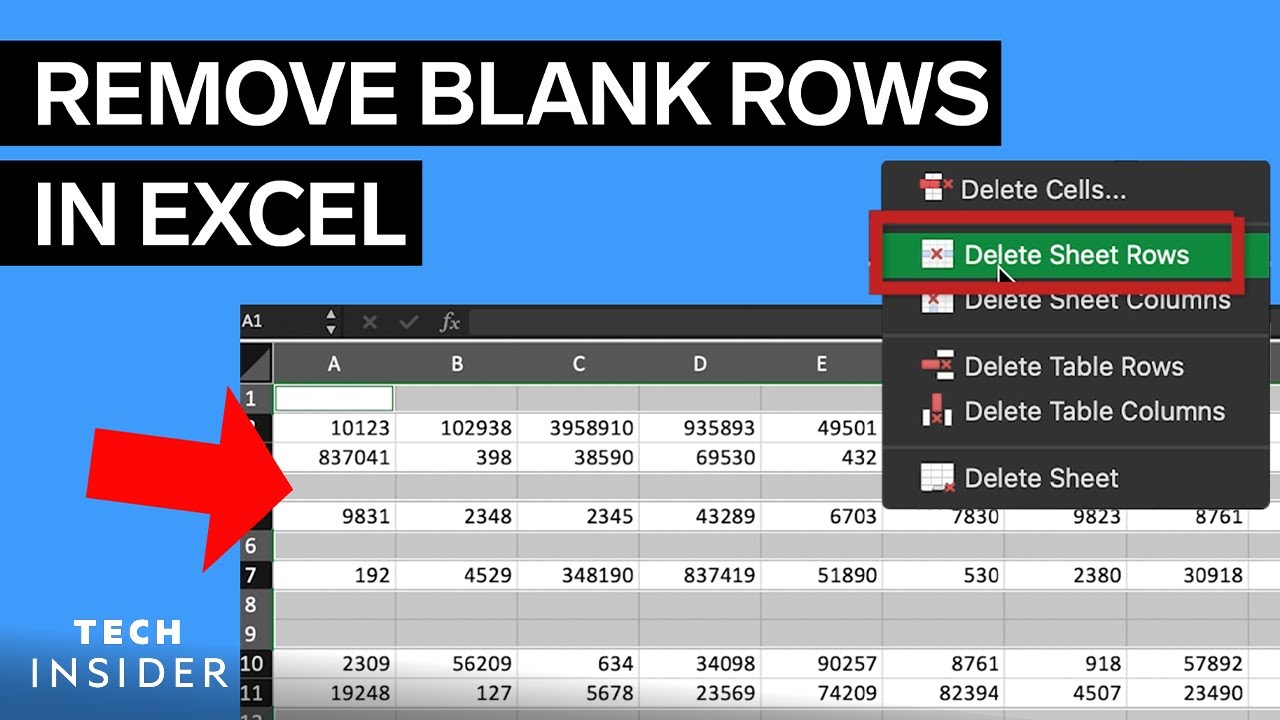
5 Simple Steps to Delete Empty Cells in Excel

Deleting empty cells in Microsoft Excel can streamline your data, making it more organized and easier to analyze. Whether you're managing financial records, inventory lists, or any kind of tabulated data, you'll often encounter empty cells that clutter your spreadsheet. Here are 5 simple steps to help you efficiently remove these unwanted blanks.
Step 1: Select the Range or Entire Worksheet

To begin, decide whether you want to delete empty cells from a specific range or the entire worksheet. Here’s how:
- Selecting a Range: Click and drag your mouse over the cells you’re interested in, or hold down Ctrl while clicking to select non-adjacent ranges.
- Selecting the Entire Worksheet: Click the grey rectangle in the top-left corner where the row and column headers meet.
Step 2: Navigate to Find & Select

Navigate to the ‘Home’ tab in Excel’s ribbon, and then:
- Click on ‘Find & Select’ in the Editing group.
- Choose ‘Go To Special’ from the dropdown menu. This brings up the ‘Go To Special’ dialogue box.
Step 3: Choose Blanks and Delete

In the ‘Go To Special’ dialogue box:
- Click on ‘Blanks’ to select all empty cells within the chosen range or the entire worksheet.
- Click ‘OK’. You’ll now see all empty cells highlighted with a grey background.
- Right-click one of the highlighted cells to get the contextual menu.
- Choose ‘Delete’ from the menu.
Step 4: Decide How to Shift Cells

After clicking ‘Delete’, you’re presented with a choice:
- Shift cells up: This removes the empty cells and shifts the remaining cells upwards, reducing the row count.
- Shift cells left: This removes the empty cells and shifts the remaining cells to the left, reducing the column count.
- Entire row: Removes the entire row if even one cell is empty.
- Entire column: Removes the entire column if even one cell is empty.
💡 Note: Consider the type of data in your sheet to decide how to shift the cells. If your data isn’t contiguous, choose wisely between ‘Shift cells up’ and ‘Shift cells left’ to maintain data integrity.
Step 5: Review and Finalize

After deleting the empty cells:
- Review your worksheet to ensure that no unwanted data was shifted incorrectly.
- If needed, use the Undo function (Ctrl+Z) to correct any mistakes.
Your worksheet should now appear more streamlined, with empty cells removed, making it easier to process and analyze data.
Remember, when dealing with large datasets, Excel can sometimes slow down or freeze when performing these operations. Be patient and let the software work through the process.
What happens to formulas when I delete empty cells?

+
If your formulas reference cells that are deleted or shifted, they may produce errors or incorrect results. Make sure to update your formulas if necessary.
Can I recover data if I accidentally delete it?

+
Yes, you can quickly recover accidentally deleted data by using Ctrl+Z (Undo). However, once you save and close Excel, recovery becomes much harder.
What’s the difference between deleting cells and clearing contents?

+
Deleting cells shifts other cells in your worksheet, while clearing contents leaves the structure of your worksheet intact but removes the data.
Can I use VBA to automate deleting empty cells?

+
Yes, you can write a VBA macro to automate this process. Macros can speed up repetitive tasks and ensure consistency across multiple worksheets.


