Delete Duplicate Rows in Excel Easily

If you've ever found yourself spending hours sifting through Excel spreadsheets to manually delete duplicate rows, you're in for a treat. Excel, a powerhouse in data manipulation, offers several straightforward methods to automate this tedious task. In this comprehensive guide, we'll delve into various techniques to delete duplicate rows in Excel, ensuring your data remains clean and your productivity stays high.
Why Removing Duplicate Rows is Essential

Duplicate data can skew your results, waste space, and cause confusion in data analysis. Here are a few reasons why cleaning up duplicates is crucial:
- Accurate Data Analysis: Duplicate rows can lead to incorrect aggregation, producing misleading analytics.
- Data Integrity: Clean data ensures that your dataset is reliable and ready for accurate decision-making.
- Database Optimization: Removing duplicates saves storage space, reducing costs and enhancing system performance.
How to Delete Duplicate Rows in Excel

Let’s walk through some effective methods to delete duplicate rows:
Using the Conditional Formatting Feature

Conditional Formatting can visually highlight duplicates, although it won’t delete them:
- Select the range where you want to find duplicates.
- Go to the Home tab, then Conditional Formatting, and choose Highlight Cells Rules > Duplicate Values.
- Choose the formatting style for duplicates.
This will color-code or format duplicates, allowing for visual identification, but you would need to manually delete them.
Remove Duplicates Command

Excel provides a direct method to remove duplicates:
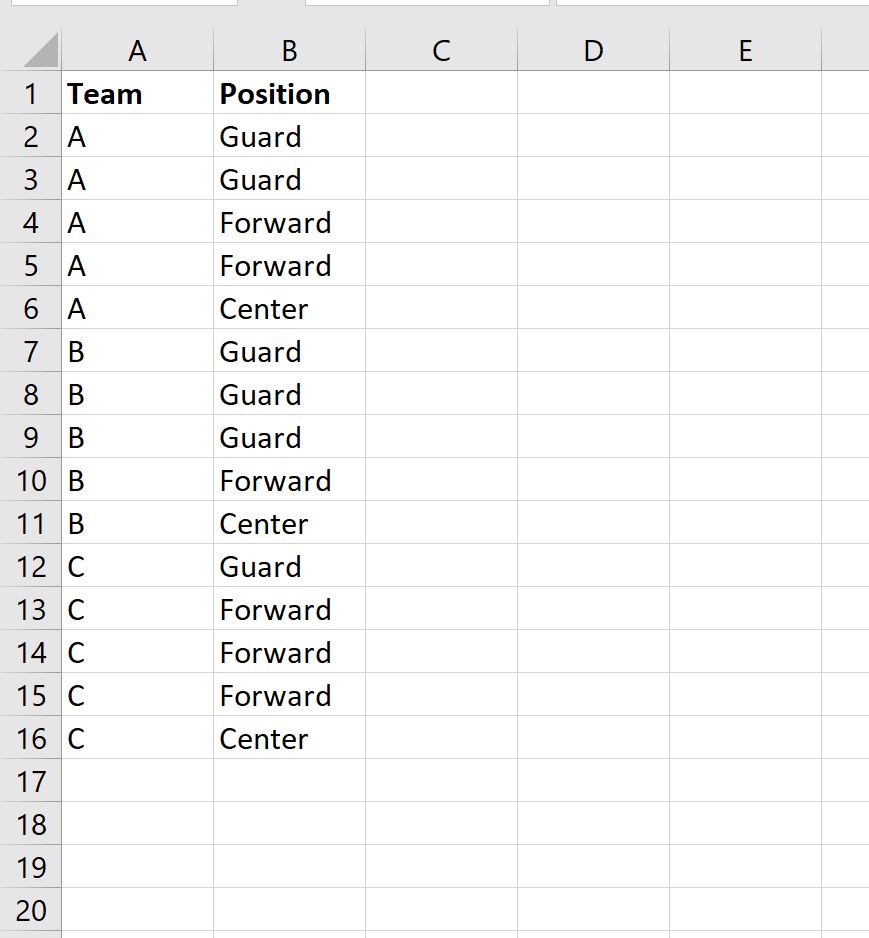
- Select the range of cells or the entire table.
- Navigate to the Data tab and click on Remove Duplicates.
- In the dialog box, choose the columns where you want Excel to identify duplicates.
- Click OK, and Excel will remove duplicates based on your selection.
⚠️ Note: This method removes entire rows where duplicate data is found in the selected columns. Ensure you back up your data before using this feature.
Advanced Filtering

Advanced Filters provide more control over what you define as a duplicate:
- Select your data range.
- Go to the Data tab, click on Filter, then choose Advanced from the Sort & Filter group.
- Set the options:
- Action: Filter the list, in-place
- Criteria range: (If applicable)
- Unique records only
- Click OK, and Excel will filter out duplicates.
To delete the filtered rows, right-click on any cell in the visible range, choose Delete, and then select Shift cells up to move the data up.
Power Query

Power Query is a powerful tool for data transformation in Excel:
- Select your data and go to Data > Get Data > From Other Sources > From Table/Range.
- After loading your data into Power Query Editor:
- Go to the Home tab, then click on Remove Rows and select Remove Duplicates.
- Apply the changes by selecting Close & Load.
💡 Note: Power Query not only removes duplicates but can also help with merging, splitting, and transforming data.
Manual Method for Small Datasets

For smaller datasets, you might choose a manual approach:
- Sort your data by the column likely to contain duplicates.
- Manually scan for and delete any duplicate rows.
Although time-consuming, this method can be handy when you want to review each duplicate case.
Using VBA for Automation

If you often deal with duplicates, creating a VBA macro can automate the process:
Sub RemoveDuplicates()
    Dim ws As Worksheet
    Set ws = ActiveSheet
    ws.Range(“A1:D100”).RemoveDuplicates Columns:=Array(1, 2, 3, 4), Header:=xlYes
End Sub
This macro will remove duplicates from cells A1 through D100, using columns 1 through 4 to identify duplicates.
✅ Note: Customize the range and columns according to your needs before running the macro.
Best Practices for Avoiding Duplicates

To prevent duplicates from becoming a problem in the first place:
- Data Validation: Use data validation rules to limit entries.
- Regular Cleaning: Set up a schedule for regular data cleansing.
- Data Entry Protocols: Establish protocols for how data should be entered to avoid duplicates.
Considerations Before Removing Duplicates

- Verify whether you really need to remove duplicates or if preserving some information is beneficial.
- Consider your data structure and how duplicates might impact related fields.
- Always backup your data before executing any operation that modifies your spreadsheet.
In conclusion, deleting duplicate rows in Excel is an essential skill for anyone dealing with data management. By understanding and applying the methods outlined above, you can streamline your workflows, ensure data integrity, and make more informed decisions. Whether you prefer a manual approach for smaller datasets or utilize Excel's built-in features like Power Query or VBA for larger ones, the key is to maintain clean, accurate, and reliable data.
Can I undo the removal of duplicates in Excel?

+
Yes, but only if you’ve not performed any other action after removing the duplicates. Use the undo command (Ctrl+Z) immediately after.
What if I want to keep the first occurrence of each duplicate?

+
When using the “Remove Duplicates” feature, Excel will automatically keep the first row of the duplicate set by default.
How do I customize which columns Excel uses to identify duplicates?

+
When you select the “Remove Duplicates” option, a dialog box appears where you can check or uncheck the columns you want to consider for duplicate detection.


