5 Easy Steps to Create an Excel Sheet Table

Creating an Excel sheet table is an essential skill for anyone looking to organize data efficiently. Whether you're managing a personal budget, organizing project tasks, or dealing with business data, Excel provides powerful tools for sorting, analyzing, and presenting information. Let's walk through five easy steps to create your first Excel sheet table.
Step 1: Open Microsoft Excel and Start a New Workbook


Begin by launching Microsoft Excel on your computer. If you don’t have Excel installed, you can use online alternatives like Google Sheets or Microsoft Excel Online. Here’s how to start:
- Click on the Microsoft Excel icon in your applications menu or type “Excel” in the start menu search.
- Once open, select ‘Blank Workbook’ to start with a clean slate.
Step 2: Enter Your Data


Now that you have your blank workbook:
- Click on the cell where you want to start entering your data. For a table, this is usually in the top left corner.
- Input your data row by row. Use the Tab key or the arrow keys to move between cells.
- Organize your data logically; put headers in the first row to label each column, e.g., ‘Name’, ‘Date’, ‘Amount’, etc.
Step 3: Select Your Data and Convert to Table


With your data entered, converting it into a table enhances functionality:
- Click and drag to highlight all the cells containing your data, including the headers.
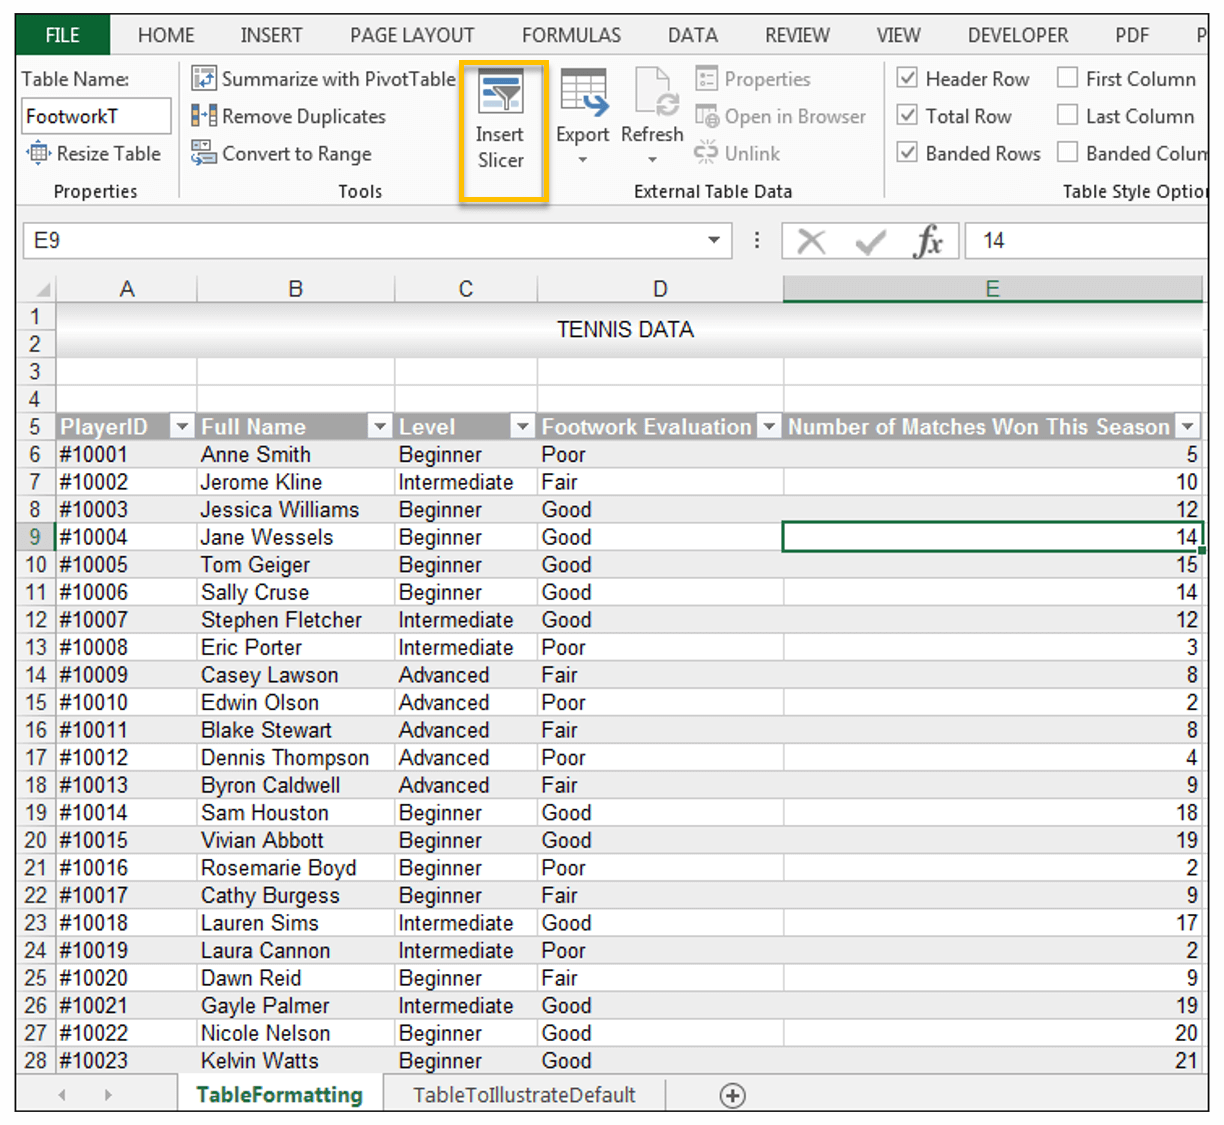
- On the ‘Home’ tab, under the ‘Styles’ group, click ‘Format as Table’. Choose a style you prefer.
- In the dialog box that appears, ensure the ‘My table has headers’ option is checked and confirm.
Step 4: Enhance Your Table with Excel Features


Now, your data is in a structured table format. Here are some enhancements you might consider:
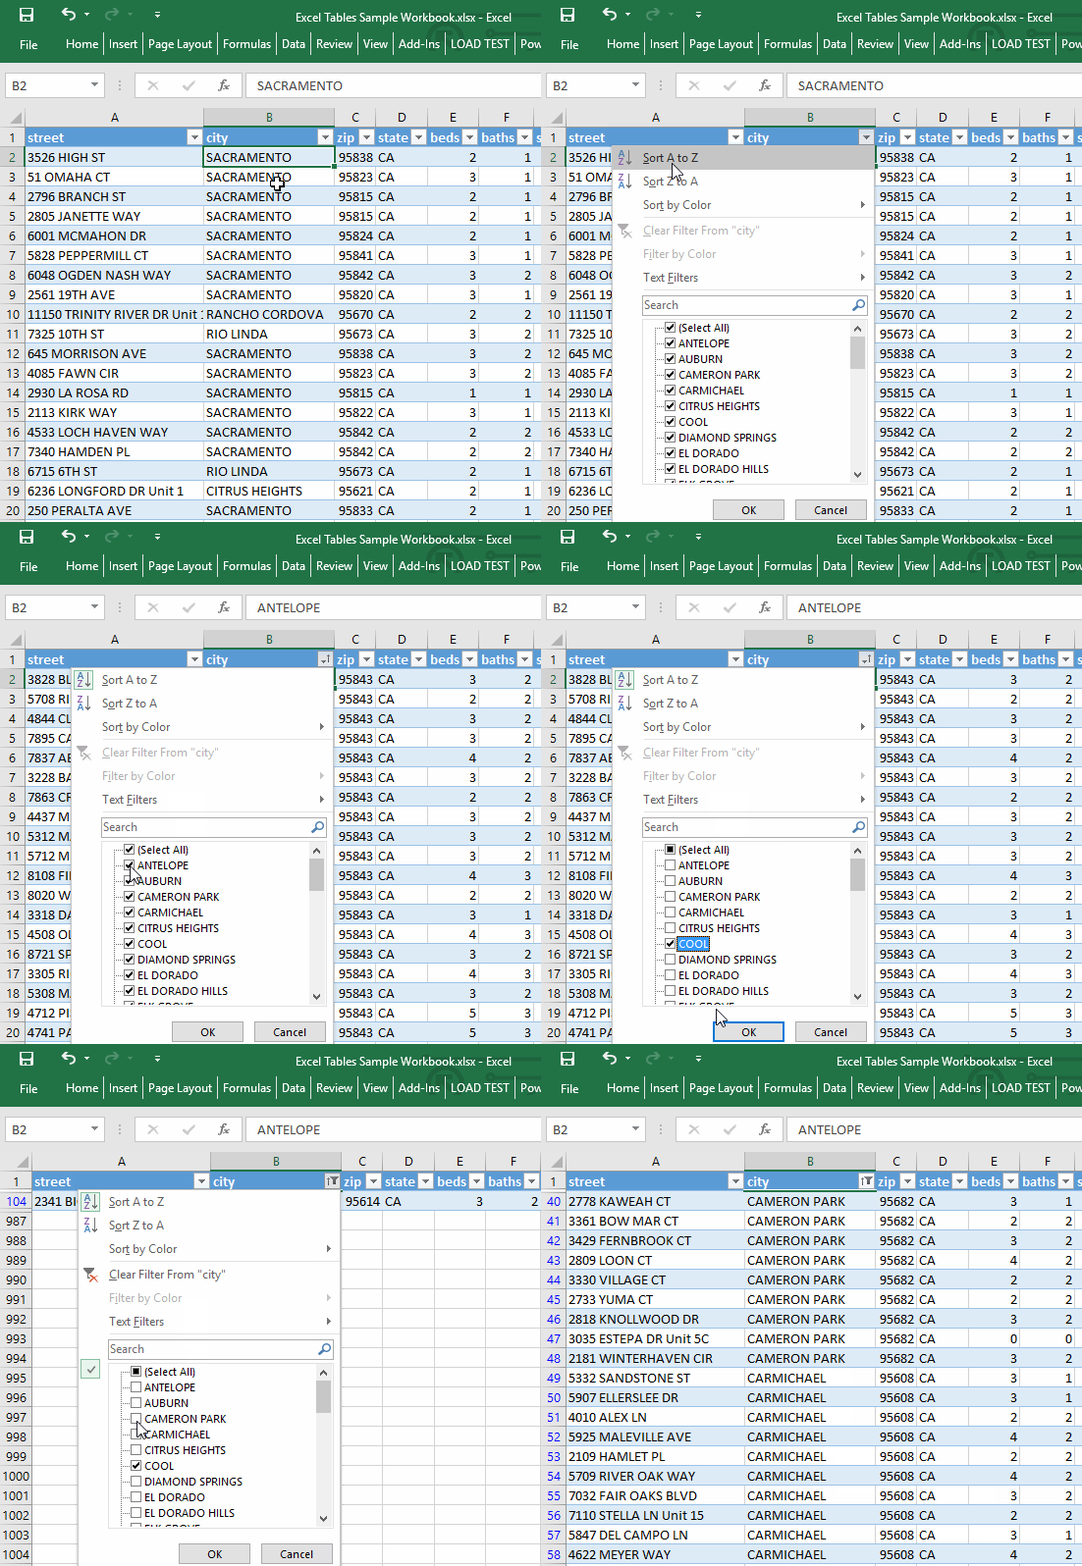
- Filter: Use the drop-down arrows in the header row to sort and filter your data.
- Autofill: Drag down the bottom-right corner of a cell to automatically fill data or formulas.
- Formatting: Highlight cells or rows, then apply formats like color, font size, or conditional formatting to make your table more visually appealing.
- Totals: Use the ‘Total Row’ feature to sum or calculate averages, min, max values, etc.
Step 5: Save and Share Your Excel Table


After you’ve created and enhanced your table:
- Save your work: Go to ‘File’ > ‘Save As’ to choose where to save your file. Select ‘.xlsx’ as the file format for compatibility with newer versions of Excel.
- Share: You can share the file via email, cloud services, or even embed it in a website using Microsoft’s online publishing tools.
While you're setting up your Excel table, here are some important tips to keep in mind:
💡 Note: Ensure that your headers are unique to avoid confusion when sorting or filtering. Also, avoid empty columns or rows within your data range, as this can interfere with table functionality.
Throughout these steps, you've learned not just to create a table but also how to make it interactive and insightful with Excel's robust features. Understanding and utilizing Excel tables can significantly improve your data management and analysis processes. From basic data entry to advanced analytics, Excel tables are versatile tools that adapt to your needs.
Excel's power extends beyond these basics. You can perform complex calculations, create charts, use PivotTables for in-depth analysis, or even integrate with other software for enhanced reporting. The steps above give you a solid foundation to explore these advanced features as you become more comfortable with Excel.
What if my data is too large to fit on one sheet?

+
If your dataset exceeds the capabilities of a single Excel sheet, you can split your data across multiple sheets or even workbooks. Use features like Power Query or Excel’s advanced filtering tools to manage and analyze large datasets efficiently.
Can I link data from one Excel table to another?

+
Yes, Excel allows you to link data between tables or sheets using cell references or named ranges. This can keep your data synchronized across multiple locations.
How do I protect my data in an Excel table?

+
You can protect your Excel file by setting a password under ‘File’ > ‘Info’ > ‘Protect Workbook’ to prevent unauthorized changes or access to sensitive information.


