Create an Excel Sheet for Grades Easily

Have you ever found yourself in a situation where you need to create a grade sheet for a class, group, or your personal records, but you're overwhelmed by the complexity of the task? With Microsoft Excel, you can transform this daunting task into a straightforward and even enjoyable process. Let's walk through the steps to create an Excel sheet for grades easily, making organization and data analysis a breeze.
Why Use Excel for Grades?

Before delving into the how-to, let’s consider why Excel is an excellent choice for grade management:
- Automation: Excel allows for automatic calculations and formula usage, reducing manual errors.
- Data Visualization: You can create charts and graphs for a quick overview of performance trends.
- Flexibility: Customizable to fit any grading system, from simple percentages to complex weighted scores.
- Accessibility: Excel sheets are widely accessible and easy to share or edit collaboratively.
Setting Up Your Excel Sheet

The first step in creating an Excel grade sheet is to set up the structure. Here’s how:
- Open Microsoft Excel: Start a new workbook.
- Label Your Columns:
- Name your first row (row 1) as headers. Common headers include: Student Name, Student ID, Assignments, Exams, Quizzes, Total Points, Percentage, and Grade.
- Format the Sheet:
- Adjust column widths for readability.
- Make the header row stand out by using bold text and background color.
💡 Note: Format your headers with a clear, bold font for easy navigation. Color coding can further help in distinguishing categories at a glance.
Entering Student Data

With the structure in place, start inputting student data:
- Add Student Names and IDs:
- Type student names in the “Student Name” column and their IDs in the “Student ID” column.
- Enter Grades:
- Input individual scores for assignments, exams, quizzes, etc., in the respective columns.
Calculating Total Scores and Percentages

Excel’s real power shines in its calculation capabilities:
- Use Formulas for Summation:
- Use the SUM function to calculate total points for each student. For instance, if your assignments are from column C to F, enter
=SUM(C2:F2)in the Total Points column for the first student.
- Use the SUM function to calculate total points for each student. For instance, if your assignments are from column C to F, enter
- Calculate Percentages:
- To compute the percentage, divide the Total Points by the maximum possible points. If the max points are 500, use
=(G2/500)*100where G2 is the total points cell.
- To compute the percentage, divide the Total Points by the maximum possible points. If the max points are 500, use
🔧 Note: When entering formulas, you can drag the formula down to apply it to all students automatically.
Assigning Grades

Create a grading scale to convert percentages into letter grades:
| Percentage Range | Grade |
|---|---|
| 90-100% | A |
| 80-89% | B |
| 70-79% | C |
| 60-69% | D |
| Below 60% | F |

Use the IF function or VLOOKUP to assign grades based on percentages:
=IF(I2 >= 90, “A”, IF(I2 >= 80, “B”, IF(I2 >= 70, “C”, IF(I2 >= 60, “D”, “F”))))
Creating Charts for Visualization

To visualize the data:
- Select Data:
- Highlight the cells containing the data you want to chart (e.g., student names and their percentages).
- Insert Chart:
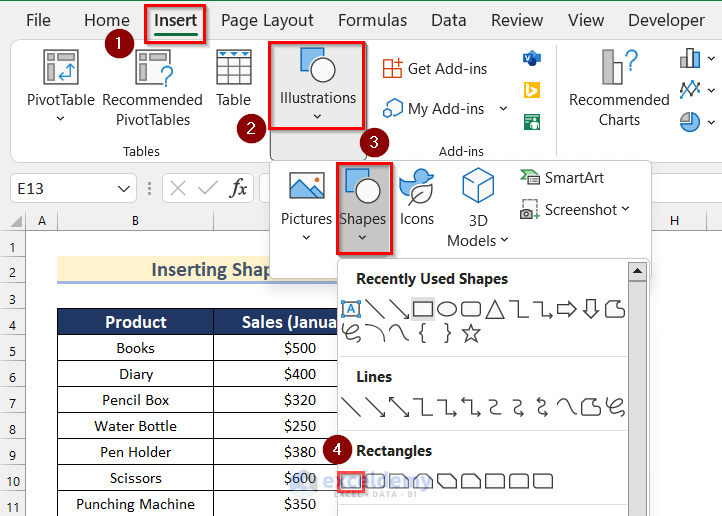
- Go to the “Insert” tab and choose the chart type that best represents your data (e.g., bar chart, pie chart).
- Customize Chart:
- Add labels, titles, and legends for clarity.
Analyzing Data

With your grade sheet set up, you can:
- Use functions like
AVERAGEto find the average scores. - Sort or filter the data to see top performers or those needing extra help.
- Use conditional formatting to highlight exceptional or concerning performance at a glance.
In conclusion, Excel provides a robust platform for managing and analyzing grades efficiently. By following these steps, you can create a grade sheet that not only helps in tracking student performance but also aids in decision-making for both students and educators. Whether it's for a single class or an entire school year, the organization, automation, and analysis capabilities of Excel make it an indispensable tool in education.
What if I need to grade for different subjects?

+
Create separate sheets within the same workbook for each subject. This keeps everything organized and allows for easy switching between subjects.
Can I protect the data from being edited?

+
Yes, Excel allows you to protect certain cells or entire sheets. This feature ensures that only those with permission can edit the grades, preserving the integrity of your data.
How can I share my grade sheet with students or colleagues?

+
You can save the file to a shared drive, send it as an email attachment, or use cloud services like OneDrive or Google Drive to share and collaborate on the document.


