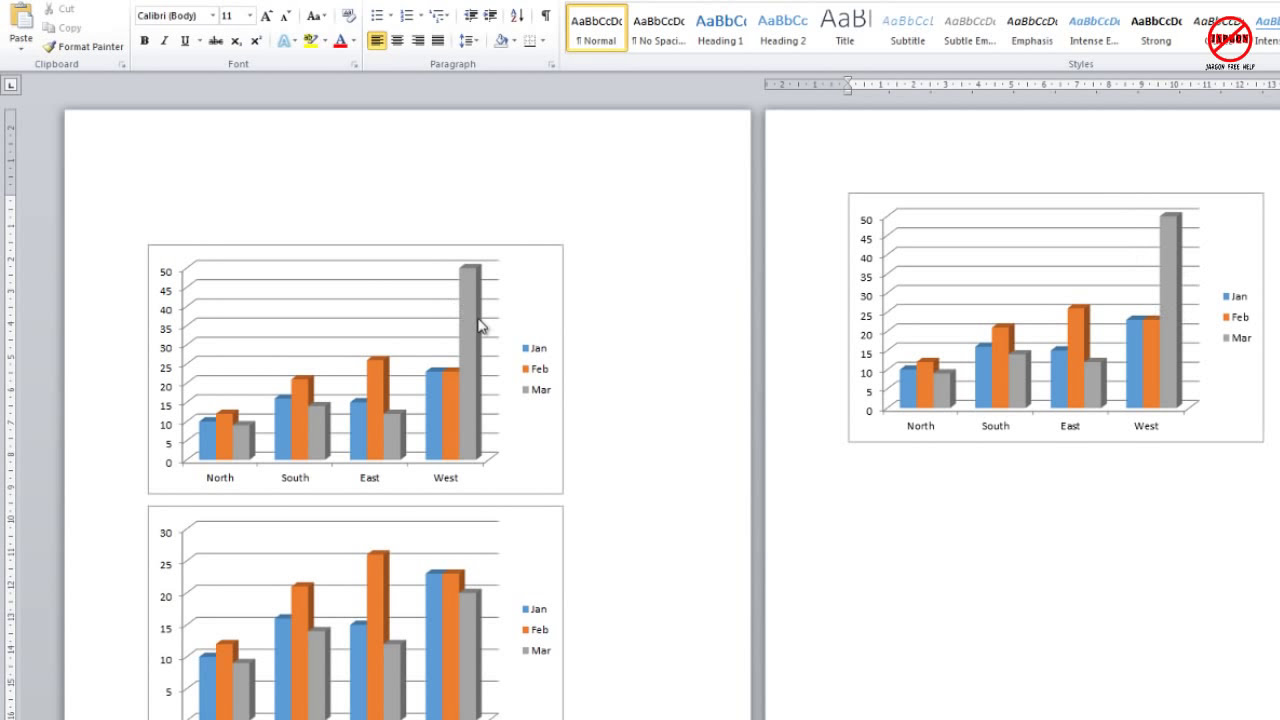
3 Easy Ways to Copy Excel Sheet to Word on Mac

If you've ever needed to copy an Excel sheet into a Word document on your Mac, you know it can be quite the task. Whether it's for a report, presentation, or simple data sharing, this process is essential for many users. Here, we'll explore three easy methods to make this transfer seamless. Let's dive into how you can do this effortlessly.
Method 1: Copy and Paste

The simplest method to copy an Excel sheet to Word is by using the traditional copy-paste functionality. Here’s how:
- Open your Excel workbook and select the sheet or range of cells you wish to copy.
- Right-click on the selection, choose ‘Copy’ or press Command + C on your keyboard.
- Switch to your Word document, right-click where you want to paste, and select ‘Paste’. Alternatively, use Command + V.
💡 Note: When pasting, you have several options. You can choose to paste just the data, the format, or keep the Excel object linked so changes in Excel reflect in Word.
Method 2: Using the ‘Paste Special’ Feature

The ‘Paste Special’ feature in Word gives you more control over how the data from Excel is copied over. Follow these steps:
- After copying your Excel data, switch to Word, click where you want to paste, and go to Edit > Paste Special… from the top menu.
- In the dialog box, you’ll see several options:
- HTML Format - Preserves the table structure and most of the formatting.
- Microsoft Excel Worksheet Object - Embeds the Excel sheet as an editable object.
- Picture (Enhanced Metafile) - Converts the selection into an image.
- Select the format that suits your needs and click ‘OK’.
Choosing Paste Special can be beneficial when you want to maintain specific functionalities from Excel in Word.
Method 3: Drag and Drop

If you have both Excel and Word open, you can use the drag and drop method:
- Open both the Excel workbook and Word document.
- In Excel, select the range or sheet you want to copy.
- Click on the edge of the selection (where you see a border when hovered over), hold down, and drag it over to the Word document window.
- Release the mouse to drop the selection into Word.
🔄 Note: This method works best if both windows are visible, allowing for a straightforward drag operation.
Once you've copied your data, whether you chose to simply paste, use Paste Special, or drag and drop, you might notice some discrepancies in formatting or functionality. Here are some considerations:
- If you want the Excel sheet to remain editable in Word, choose to paste as an Excel object.
- For static data or images, choose to paste as a picture or HTML format.
Transitioning from Excel to Word isn't just about moving data; it's about ensuring your document retains its intended purpose and presentation. Using the right method depends on what you're aiming to achieve:
- Paste for straightforward data transfer.
- Paste Special for advanced options.
- Drag and drop for quick transfer between open applications.
In summary, the method you choose to copy Excel to Word can significantly impact how your document will function and appear. Each method offers different advantages, from preserving interactivity to maintaining specific formatting. Knowing these techniques enhances productivity and ensures you can effectively share and present your data in a professional manner.
What’s the best method to retain Excel functionality in Word?

+
Choose ‘Paste Special’ and select ‘Microsoft Excel Worksheet Object’ to keep your Excel sheet editable and functional within Word.
Can I copy only part of an Excel sheet into Word?

+
Yes, you can select any range of cells or a particular sheet before copying it to Word. Ensure the selection is correct before copying.
How do I prevent formatting loss when pasting Excel into Word?

+
Use ‘Paste Special’ and choose the HTML Format. This method attempts to preserve table structure and most formatting from Excel.


