5 Simple Steps to Arrange Excel Sheet Date-Wise

Organizing data by date in Microsoft Excel is a pivotal skill for anyone who deals with chronological data sets, financial reports, project timelines, or personal records. By arranging your Excel sheet date-wise, you ensure that the data is easier to navigate, analyze, and make time-based decisions from. Whether you're a small business owner looking to keep tabs on sales or an event planner managing schedules, arranging your Excel sheet by date is a smart move. Let's walk through the simple steps to transform your data into a time-organized masterpiece.
Step 1: Inputting Dates Correctly

Before you begin sorting your Excel sheet, it’s crucial to ensure your dates are inputted correctly. Here’s how:
- Enter dates in a consistent format, such as MM/DD/YYYY or DD/MM/YYYY.
- Use the ‘Format Cells’ dialog box to set the correct date format.
- If using functions, employ Excel’s DATEVALUE function to convert text to dates.
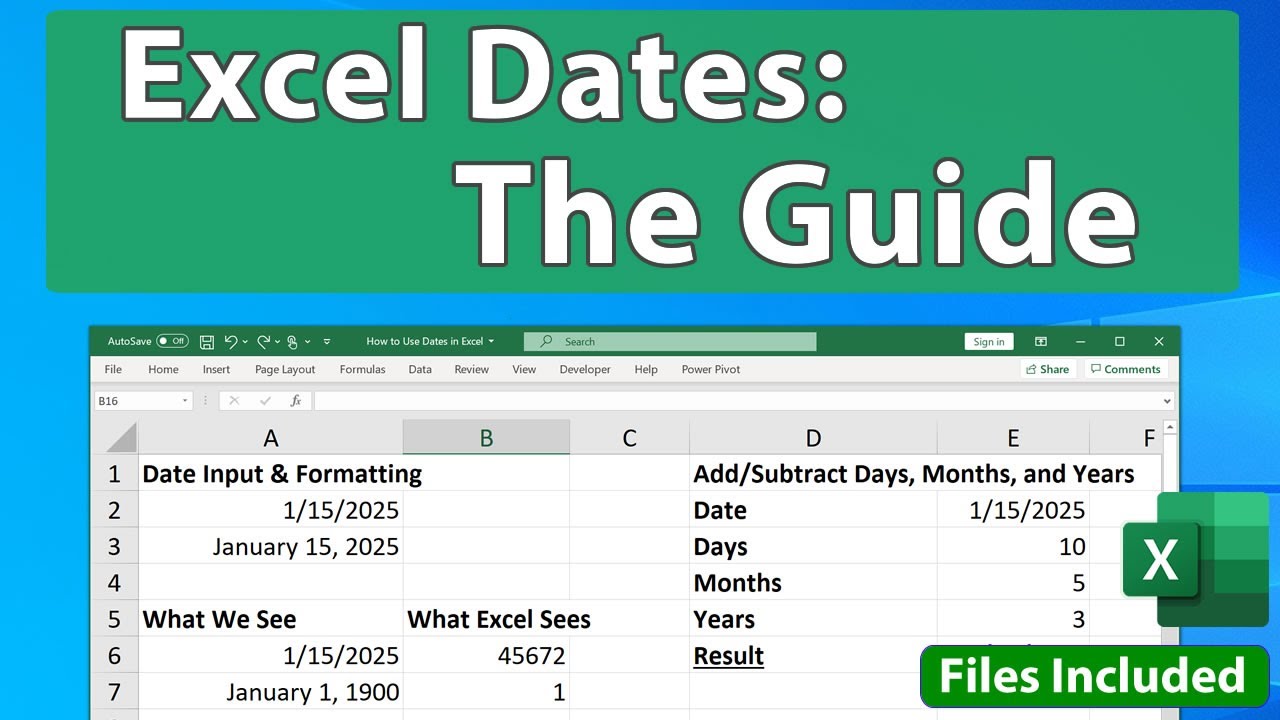
📅 Note: Excel treats dates as serial numbers which represent the number of days since January 1, 1900. Ensure your date inputs are recognized as dates, not as plain text.
Step 2: Selecting Your Data Range

Excel can sort entire columns or selected cells, so the first step is to decide on your data range:
- Click on the column header if you want to sort the entire column.
- For specific data, drag to select the cells or columns that contain your dates.
- Be cautious to include the entire row of relevant data in your selection to prevent data misalignment.
Step 3: Sorting Date-Wise

Sorting dates in Excel is straightforward:
- With your data selected, go to the ‘Data’ tab on the Ribbon.
- Click on ‘Sort & Filter’ and then choose ‘Sort Oldest to Newest’ for ascending order or ‘Sort Newest to Oldest’ for descending order.
- Excel will display the ‘Sort Warning’ dialog box. Opt for ‘Expand the selection’ if your data has multiple columns to avoid incomplete sorting.
🗓️ Note: Make sure to check if your dates are correctly recognized by Excel. If not, the sorting might not work as intended.
Step 4: Custom Sorting

If your dates aren’t standard or you want more control over sorting, you can use custom sorting:
- Choose ‘Custom Sort’ from the ‘Sort & Filter’ menu.
- In the ‘Sort’ dialog, specify your date column and choose the ‘Oldest to Newest’ or ‘Newest to Oldest’ option.
- Use the ‘Add Level’ feature if you wish to sort by secondary criteria after the date.
| Column | Sort On | Order |
|---|---|---|
| Date | Cell Values | Oldest to Newest |
| Second Criterion | Cell Values | A to Z |

🔎 Note: Custom sorting allows you to add layers to your sorting, which is useful when you want to sort data within dates by another column (like name, amount, etc.).
Step 5: Verifying and Final Touches

Once your data is sorted:
- Scan through the column to ensure the dates are in the expected order.
- Check for any blank cells or incorrect entries that might have caused sorting errors.
- Consider formatting or highlighting to make the data more visual and easier to understand.
By arranging your Excel sheet date-wise, you can quickly locate specific information, monitor trends, and present your data in a professional manner.
In summary, organizing your data by date in Excel significantly enhances data management and analysis. With these five steps, you can ensure your spreadsheets are structured in a way that reflects real-world timelines. Whether for financial planning, event coordination, or simply keeping personal records, mastering date-wise sorting in Excel will serve you well in various scenarios. Just remember the importance of consistent date entry, correct selection of data ranges, and the verification of the sorting results. Armed with these techniques, you're set to navigate Excel's chronological data with ease and precision.
What to do if dates are not sorting correctly?

+
If your dates are not sorting correctly, check if they are formatted as dates. Ensure there are no leading spaces or text entered instead of numbers. Use ‘DATEVALUE’ to convert text to date format if necessary.
Can I sort by date and then by another column?

+
Yes, custom sorting allows you to add multiple levels of sorting criteria. You can sort by date first and then by another column like name or amount.
How can I filter my Excel sheet to show specific dates?

+
Use Excel’s filtering features. Click on the filter icon in the header, choose ‘Date Filters,’ and select options like ‘Equals,’ ‘Before,’ or ‘Between’ to show specific dates.


