Excel Data Entry Sheet Creation Guide

Creating an Excel Data Entry Sheet

Excel is a powerful tool that has become synonymous with data organization and analysis. Whether you're managing a small project or a large-scale database, knowing how to set up an efficient Data Entry Sheet in Excel can significantly streamline your workflow. This guide will walk you through creating a basic data entry template, which you can customize based on your specific needs.
Understanding Your Data Needs

Before you start building your Excel sheet, it's crucial to understand what kind of data you'll be working with:
- What type of information do you need to collect?
- How many fields will each record require?
- Are there any specific formats or rules for data entry?
Consider the volume and frequency of data entry to optimize the layout and functionality of your sheet. For instance, if your data entry involves numerous similar entries, automation through dropdown menus or predefined lists could save time.
Setting Up Your Excel Workbook

Here's how to set up your workbook:
1. Open Excel and Create a New Workbook

Launch Excel and open a new blank workbook. This will be the foundation for your data entry sheet.
2. Naming Your Sheet

Double-click the tab at the bottom of your Excel window to rename it. Give it a descriptive name like "Sales Data Entry" or "Inventory Log."
3. Designing the Header Row

The first row should contain the column headers. These are the field names that will categorize your data:
- Enter each field name in the first row, starting from cell A1.
- Example: If tracking sales, you might include columns like "Date," "Product ID," "Quantity," "Price," "Customer Name," and "Salesperson."
- Format these headers with bold text or a different background color for distinction.
- Consider using data validation to enforce specific input formats or to limit selections to a predefined list.
Configuring Data Entry Rules

To minimize errors and ensure data consistency:
- Data Validation: Use Excel's data validation feature to create rules for each column:
- Select the column or cells where you want to apply validation.
- Go to the "Data" tab and choose "Data Validation."
- Set rules like date formats, number ranges, or list-based inputs.
- Conditional Formatting: Highlight cells based on certain conditions to catch errors or emphasize key information:
- Go to "Home" > "Conditional Formatting."
- Choose rules like highlighting cells that are greater than, less than, or equal to specific values.
Data Entry Techniques

Here are some techniques to enhance data entry efficiency:
1. Use Autocomplete and Flash Fill

Excel’s autocomplete feature can help speed up data entry:
- Start typing a known entry, and Excel will suggest completions based on previously entered data.
- Use Flash Fill to automatically populate data by recognizing patterns. For example, if you're separating first names from full names, enter a few examples and use Flash Fill to complete the rest.
2. Keyboard Shortcuts

Master these shortcuts for quicker data entry:
- Ctrl + ; - Insert the current date
- Ctrl + Shift + ; - Insert the current time
- Ctrl + Tab - Move to the next tab or field in a form
3. Table Formatting

Convert your range of data into a table:
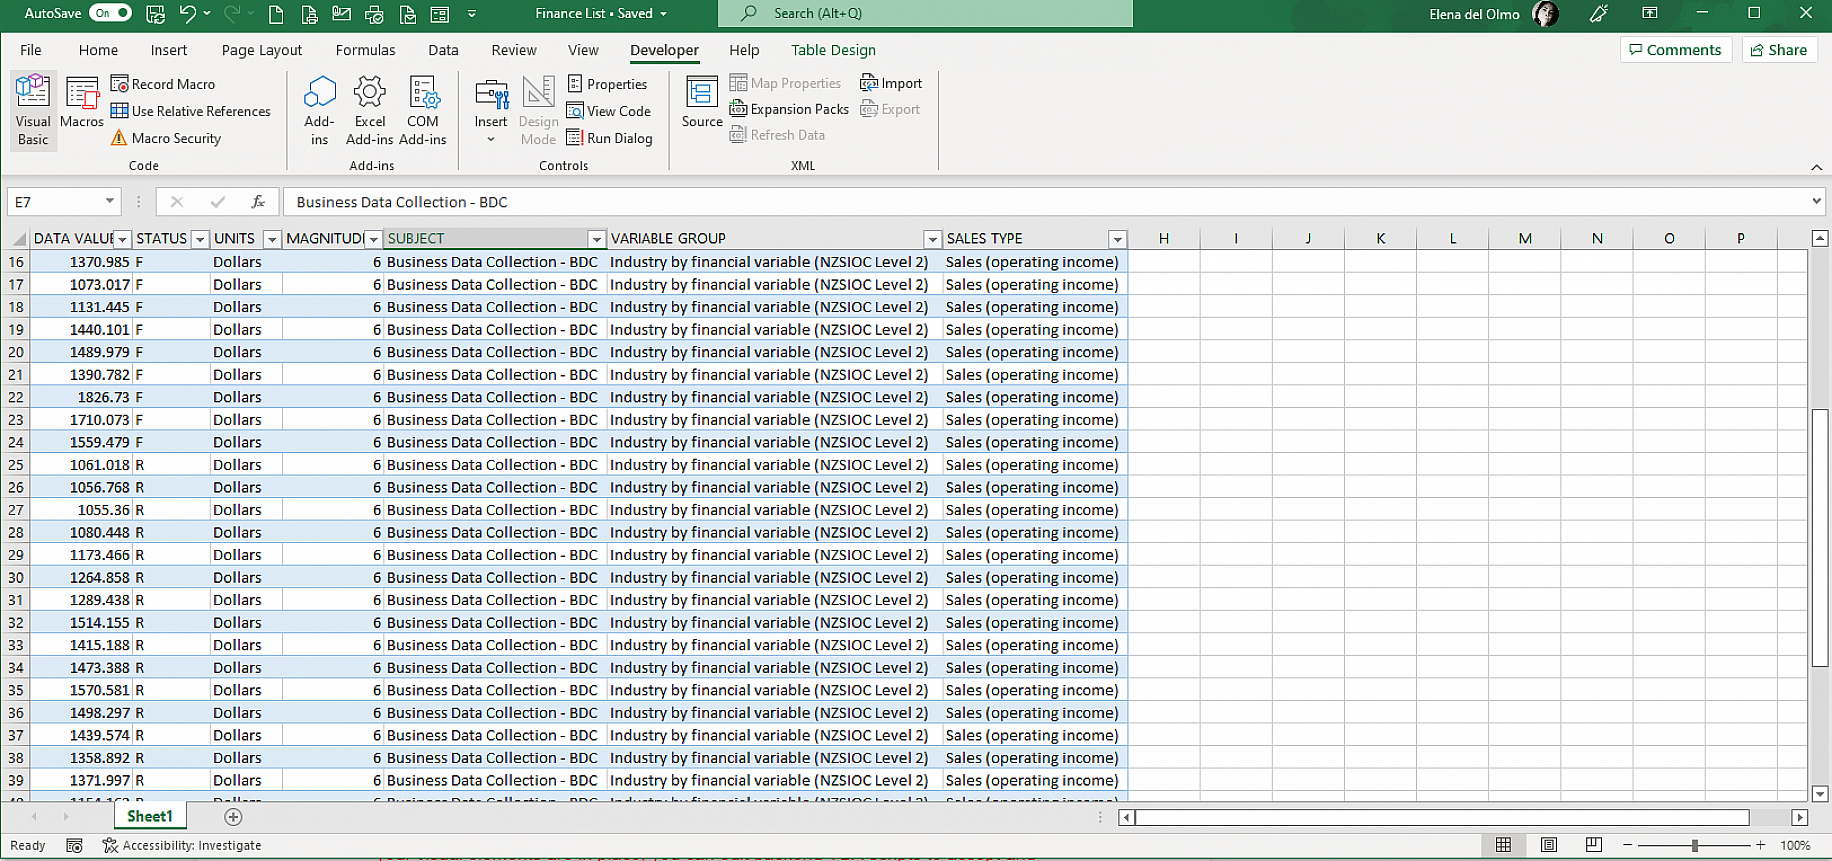
- Select your data, then go to "Insert" > "Table."
- Tables provide automatic filtering, sorting capabilities, and maintain consistency as you add new rows.
Protecting Your Data

After setting up your data entry sheet, consider these steps for data protection:
- Sheet Protection:
- Review "Review" > "Protect Sheet."
- Only allow data entry in cells where necessary.
- File Password: Set a password to open the file under the "File" menu options.
⚠️ Note: Remember to keep your password secure and always have a recovery mechanism in case you forget it.
Your data entry sheet in Excel is now ready for use. Here’s how you can ensure it runs smoothly and meets your evolving needs:
- Continuous Improvement: Regularly review and update the structure of your sheet as business processes or data requirements change.
- Backup and Version Control: Keep multiple versions or backups to avoid data loss or to revert changes if necessary.
- User Training: If multiple users are entering data, provide training to ensure everyone understands how to use the sheet correctly.
Summary

By following this guide, you've learned how to set up an efficient Excel data entry sheet from understanding your data needs, configuring rules, enhancing entry techniques, to protecting your data. Now your Excel workbook is not just a place to dump data, but an organized tool that helps streamline processes, reduces errors, and ensures data integrity. As you continue to work with it, consider additional features like macros or add-ins to automate repetitive tasks, making your data entry process even more efficient.
What are the benefits of using a structured Excel data entry sheet?

+
A structured Excel data entry sheet offers benefits like improved data accuracy, reduced entry time, better organization, and easier analysis or reporting. By setting up proper validation and formatting, users can minimize errors and maintain data consistency.
Can I share my Excel data entry sheet with others?

+
Yes, Excel sheets can be shared via OneDrive, SharePoint, or by exporting to formats like CSV or PDF. When sharing, make sure to consider data protection measures like password protection or read-only access to maintain data integrity.
How can I make my data entry more automated in Excel?

+
To automate data entry, you can use features like:
- Macros to record repetitive tasks.
- Power Query for data extraction and transformation.
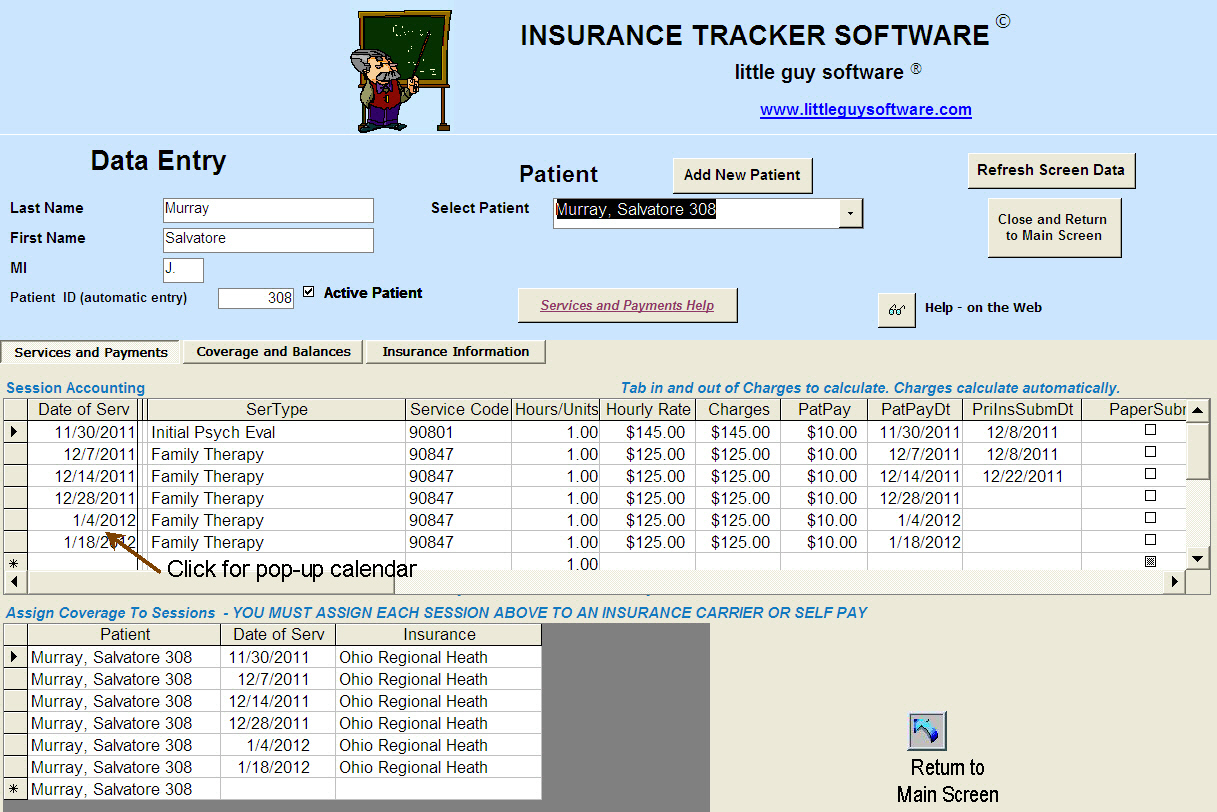
- Form Controls like dropdowns or checkboxes for user-friendly data input.


