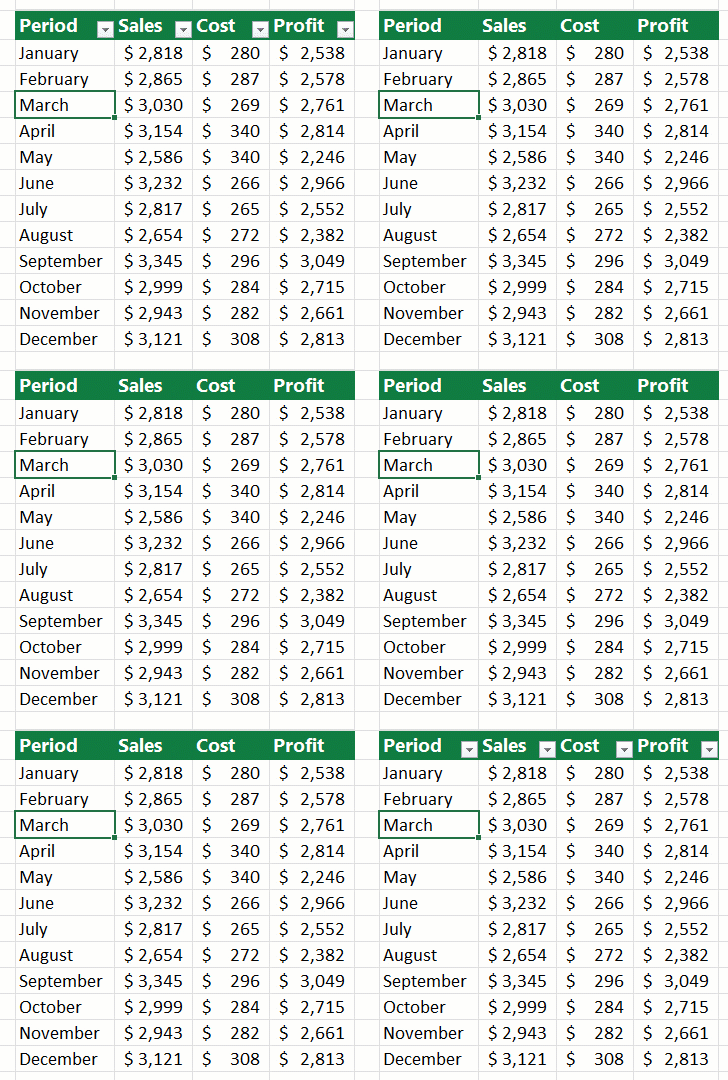
Easily Insert a Table into Your Excel Sheet Now

In today's fast-paced business environment, data organization is key to making informed decisions. Excel, a widely-used tool for managing data, offers numerous features to enhance productivity. Among these, inserting tables into your Excel sheets stands out as a fundamental skill. Not only does it streamline the organization of data, but it also provides a host of functions that facilitate data analysis. This post will guide you through the process of inserting a table in Excel, ensuring you leverage this feature effectively to enhance your data management capabilities.
Why Use Tables in Excel?


Before diving into the how-to, it’s beneficial to understand why incorporating tables into your Excel workflow is so beneficial:
- Better Data Management: Tables make it easy to sort, filter, and analyze data with intuitive controls.
- Dynamic Ranges: Tables automatically adjust formulas and charts when data is added or removed, minimizing manual updates.
- Data Consistency: Tables maintain consistent formatting and calculation throughout the dataset.
- Improved Collaboration: With tables, it’s easier to share and interpret data across teams.
How to Insert a Table in Excel

To insert a table into your Excel sheet, follow these steps:
- Select Your Data: Click and drag your mouse over the cells containing the data you want to include in the table.
- Open the Insert Table Dialog: Go to the Home tab, then click Format as Table from the Styles group. Choose a table style that suits your preferences.
- Configure Table Settings: In the dialog box, ensure the correct range of data is highlighted. If your data has headers, make sure to check the box for My table has headers.
- Create the Table: Click OK, and your data will instantly transform into a structured table.
💡 Note: When selecting data for your table, make sure there are no blank rows or columns within the range, as this can disrupt table functionality.
Utilizing Excel Table Features

Once your table is created, you’ll have access to a range of powerful tools:
- Sort and Filter: Use the dropdown arrows in the header row to sort your data or apply filters.
- Structured References: Excel uses table names to refer to data, making formulas cleaner and more intuitive.
- Auto Expand: Tables automatically expand when you add new data next to existing columns or at the bottom of the table.
- Formatting: Table styles can be easily applied and modified to match your branding or presentation needs.
Advanced Table Techniques

Let’s delve into some advanced functionalities:
- Data Analysis: Use Excel’s PivotTable feature directly from your table for complex analysis.
- Quick Analysis: Right-click on a cell within your table and choose Quick Analysis for instant insights.
- Conditional Formatting: Highlight important data using rules based on cell values or custom formulas.
💡 Note: Advanced features like slicers can provide an interactive experience for users to filter table data visually.
Troubleshooting Common Issues

Here are some tips to resolve common problems:
- Table Not Updating: Check if your table is properly named or if there are interruptions in the data range.
- Unwanted Formats: Use the Clear Formats option to remove any unwanted formatting before applying a new table style.
- Formulas Not Updating: Ensure your formulas refer to the correct table names or column headings, not specific cell ranges.
Best Practices for Excel Tables

To make the most out of Excel tables:
- Keep headers informative and descriptive.
- Use meaningful table names to make formulas readable.
- Regularly update and clean your data to maintain table functionality.
- Leverage Excel’s built-in functions designed for tables like Table.Rows and Table.Columns for more efficient data manipulation.
In summary, mastering the use of tables in Excel can significantly boost your data management proficiency. The ability to quickly organize, analyze, and present data is indispensable in today's data-driven world. By following this guide, you're now equipped to harness the power of tables, making your work in Excel not only more efficient but also more insightful.
How can I delete a table in Excel?

+
To delete a table, click anywhere within the table, go to the Design tab under Table Tools, and select Convert to Range. This action removes the table structure while keeping the data intact.
What are the differences between a range and a table?

+
While a range is simply a group of cells, a table provides structure with headers, automatic formulas, and built-in functionality for sorting, filtering, and managing data effectively.
How do I rename a table in Excel?

+
To rename a table, click anywhere in the table to activate the Table Tools > Design tab. In the Properties group, you’ll see the current table name; double-click it to edit and rename.
Can I use table features without formatting data as a table?

+
While you can manually format data to mimic a table, you won’t benefit from Excel’s dynamic table features like structured references or automatic formula expansion.


