Unhide Rows in Excel: Simple Tricks for Quick Access
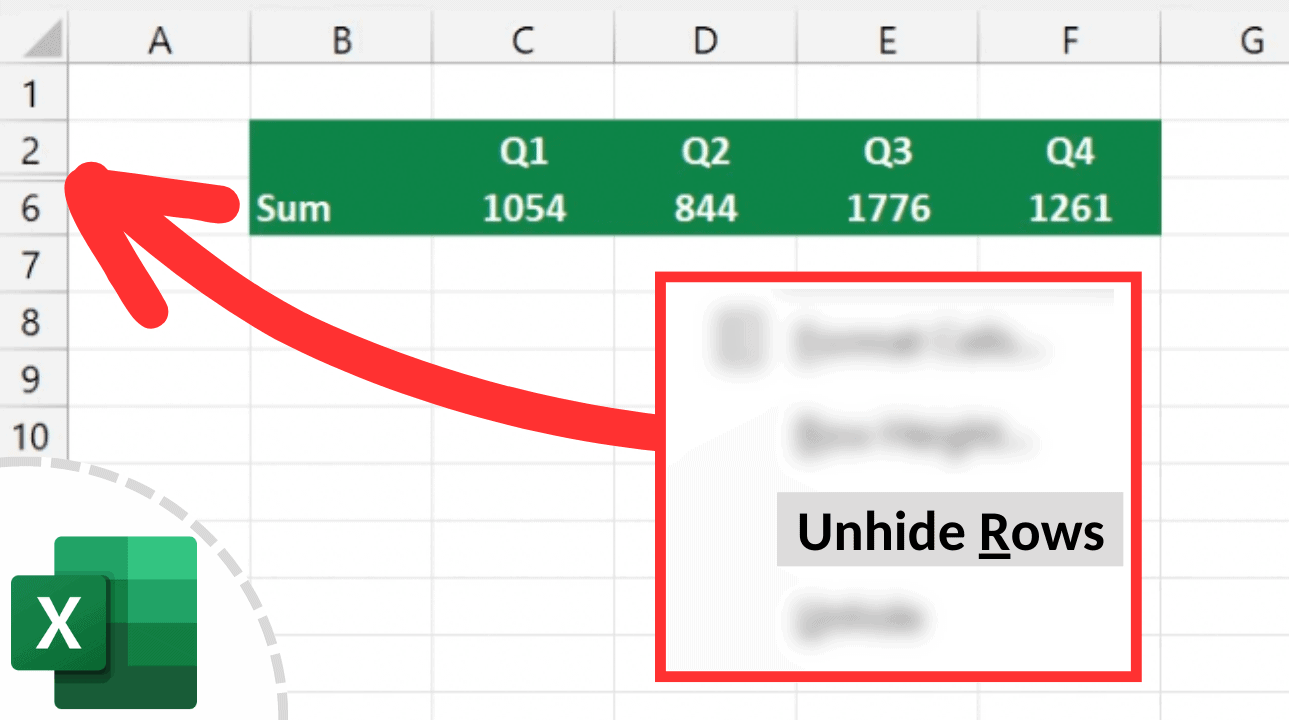
Need to unhide rows in Excel but can't find the right trick to do it quickly? Whether you're an accountant, a data analyst, or just someone trying to make sense of a large spreadsheet, mastering this skill can significantly boost your productivity. This guide will walk you through various methods to unhide rows, helping you access hidden data effortlessly.
Understanding Hidden Rows in Excel
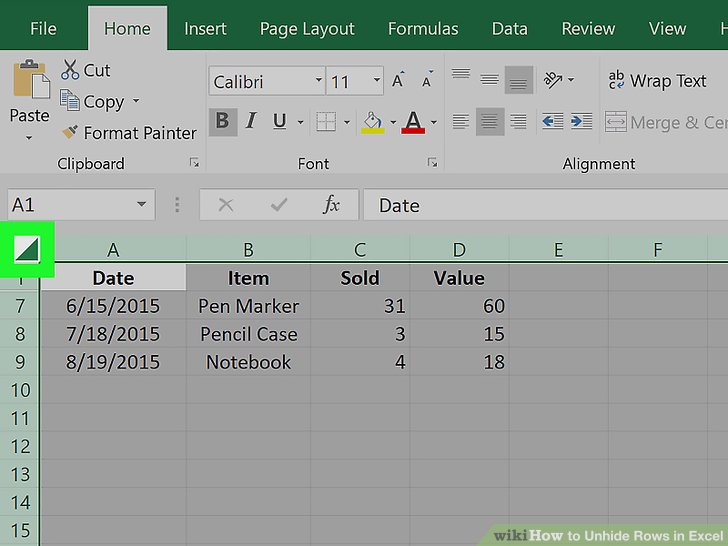

Before diving into how to unhide rows, let’s briefly understand why rows might be hidden:
- Data Organization: Users often hide rows to clean up the view for presentation or to focus on specific data sets.
- Data Protection: Sensitive information might be hidden to prevent accidental modifications or to obscure parts of the sheet not meant for public viewing.
Using the Ribbon to Unhide Rows
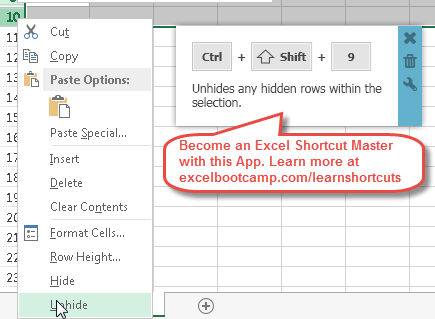
The most straightforward way to unhide rows in Excel is through the Excel Ribbon:
- Select the rows adjacent to the hidden ones by clicking on the row headers. If rows 5 and 8 are visible, and row 6 & 7 are hidden, select rows 5 to 8.
- Go to the Home tab on the Ribbon.
- In the Cells group, click on Format.
- Under Visibility, select Unhide Rows.
Keyboard Shortcuts for Hiding and Unhiding
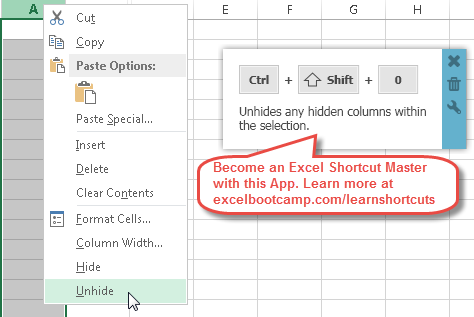
For those who prefer keyboard shortcuts for speed:
- To hide rows: Select the rows you want to hide, then press Ctrl + 9.
- To unhide rows: With adjacent rows selected, press Ctrl + Shift + 9.
Using the Right-click Menu

The context menu is also a handy way to manage row visibility:
- Right-click on the row number where the hidden rows are (e.g., between row 5 and row 8).
- Choose Unhide from the dropdown menu.
Unhiding Multiple Rows at Once

When you need to unhide a large number of rows simultaneously:
- Select the area containing all the rows, including the hidden ones.
- Right-click and select Unhide.
This technique is particularly useful when dealing with extensive datasets where several non-consecutive rows are hidden.
When Standard Methods Fail

If the above methods do not work, here are some less-known tricks:
- Using the Name Box: Click in the Name Box (to the left of the Formula Bar) and type the row number you know is hidden (like “6:8”), then press Enter. Now, go to Home > Format > Hide & Unhide > Unhide Rows.
- Direct Cell Selection: If you know a cell reference in the hidden range, you can type that cell reference in the Name Box and then use the Ribbon or keyboard to unhide.
- Go To Command: Use Ctrl + G or Home > Find & Select > Go To, enter the range, and then unhide from the Format menu.
⚡ Note: If cells or rows are protected, you might not be able to unhide them without the password or admin privileges.
What to Do If Rows Are Unhidable Due to Filters or Grouping
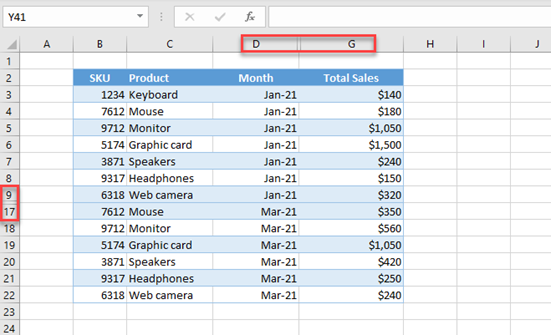
Rows can sometimes appear hidden because of filters or groups:
- Filters: Check if any filters are applied by looking at the header row. Clear all filters if necessary.
- Grouped Data: Look for the +/- signs in the rows. Click on these symbols or go to Data > Ungroup > Clear Outline.
In this final section, we’ve explored several methods to unhide rows in Excel, from simple Ribbon commands to keyboard shortcuts, context menu options, and a few troubleshooting techniques for when rows won’t unhide. The ability to quickly access hidden data not only increases your efficiency but also helps maintain data integrity and organization. Whether you’re dealing with small spreadsheets or complex datasets, these tricks ensure you have full control over your work.
Why would someone hide rows in Excel?
+
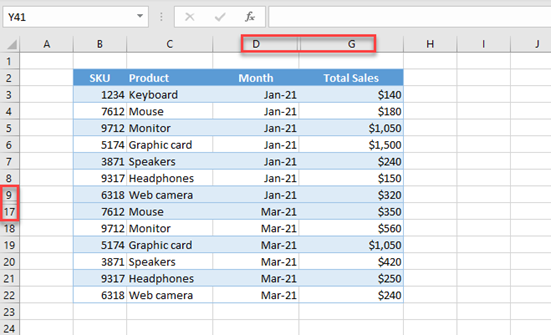
Rows are hidden to organize data better for viewing or presentation, to protect sensitive information, or to focus on specific datasets without distractions.
Can I unhide rows if the sheet is protected?

+
If a sheet is protected, you’ll need the password or admin privileges to unhide rows. If you’re the admin or know the password, unprotect the sheet first, then proceed with unhiding.
What should I do if the unhide option is grayed out?

+
This usually happens if you haven’t selected the rows adjacent to the hidden ones, or if there are merged cells or filters involved. Ensure you’ve selected properly, or try other methods like using the Name Box or Go To command.