Capture Your Excel Sheet with Ease: Screenshot Tutorial

Do you ever need to showcase a specific part of your Excel data to someone else, but struggle with communicating the exact details? Capturing screenshots of your Excel workbook can simplify sharing and presentation, whether for educational purposes, professional reports, or personal tracking. This post will guide you through various methods to take screenshots of your Excel sheets effectively.
Why Use Screenshots in Excel?

Before diving into the how of taking screenshots, understanding the why sets the stage. Screenshots allow:
- Preserving data for posterity or future reference.
- Communicating complex data visually and concisely.
- Providing proof or documentation of data.
Methods for Capturing Screenshots in Excel

1. Using the Snip & Sketch Tool (Windows 10)

The Snip & Sketch tool in Windows 10 makes capturing screenshots easy and versatile. Here’s how to use it with Excel:
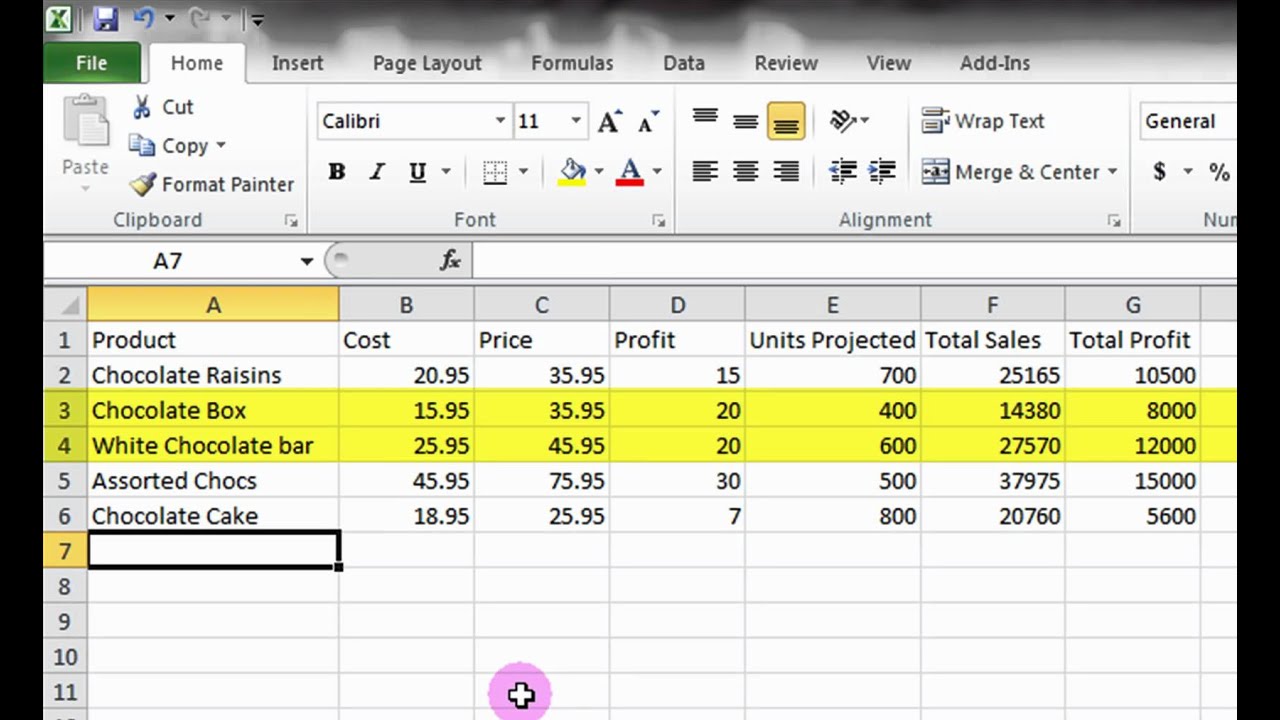
- Open the Excel sheet you want to capture.
- Press Windows key + Shift + S. Your screen dims, and you can select a rectangle, freeform, or full-screen capture.
- Choose the portion of your Excel sheet to capture.
- The screenshot will appear in the Snip & Sketch toolbar where you can annotate or save it.
💡 Note: Snip & Sketch captures screenshots at the screen resolution, ensuring high-quality images for your Excel data.
2. Snipping Tool (Previous Windows Versions)

For older versions of Windows, the Snipping Tool serves a similar purpose:
- Open the Snipping Tool from your Start menu.
- Click “New” and then select the desired snip type.
- Drag the cursor over the Excel sheet to capture the desired area.
- The image will open in the Snipping Tool for annotation or saving.
3. Excel’s Built-in Screenshot Feature

Excel itself offers a screenshot tool:
- Go to the “Insert” tab in your Excel ribbon.
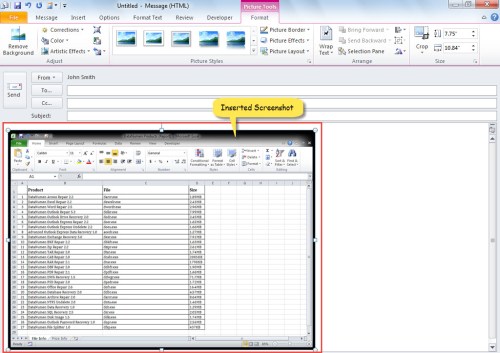
- Click on the “Screenshot” button. Available windows appear as thumbnails.
- Click the thumbnail of your Excel window to insert it into your sheet.
This feature is particularly useful for in-document screenshot integration.
4. Screen Capture Software

There are numerous third-party applications like Snagit or Lightshot which provide:
- Enhanced editing capabilities.
- Video capture options.
- Advanced sharing features.
These tools are ideal for when you need more than just a simple screenshot.
Editing and Enhancing Your Excel Screenshots

After capturing your screenshot, editing it might be necessary:
- Crop: Remove unnecessary parts to focus on the relevant data.
- Highlight: Use tools to draw attention to specific cells or data.
- Annotate: Add text, arrows, or other markers for better understanding.
Here’s a simple table outlining the editing options:
| Tool | Description |
|---|---|
| Crop | Trim the screenshot to show only necessary information. |
| Highlight | Use a highlighter tool to emphasize critical data points. |
| Annotate | Add notes, arrows, or other indicators to explain the data. |

Storing and Sharing Your Excel Screenshots

Saving your screenshots is straightforward, but how you store them matters:
- Save Locally: Use the default save options provided by the tools used.
- Cloud Storage: Dropbox, Google Drive, or OneDrive are ideal for sharing and access from multiple devices.
- Share Direct: Embed screenshots in emails, presentations, or reports for immediate sharing.
To conclude, mastering the art of capturing screenshots in Excel significantly enhances your data communication, storage, and presentation capabilities. Whether you're sharing progress with colleagues, creating tutorials, or keeping records for future reference, these methods ensure that your data is accessible, clear, and visually compelling. With these tools at your fingertips, you can effortlessly showcase your Excel data in a way that resonates with your audience.
Can I take screenshots on Mac using these methods?

+
Mac users can use the built-in screenshot feature by pressing Command + Shift + 4 to select a specific area or Command + Shift + 3 for a full-screen capture.
How do I take a screenshot of a specific cell in Excel?

+
You can either zoom in on the cell and use one of the capture methods described or adjust your Excel window to show just the cell of interest before capturing.
What are some common mistakes to avoid when taking Excel screenshots?

+
Avoid capturing sensitive or personal information, ensure cell data is visible and not cut off, and keep the screenshot resolution high for clarity.