Easily Capture Screenshots in Excel: A Step-by-Step Guide

Want to know how to efficiently capture screenshots in Excel and integrate them into your spreadsheets? This guide is for you. Whether you're documenting errors, illustrating features, or creating tutorials, the ability to capture and place screenshots directly in Excel can significantly enhance your workflow. In this blog post, we'll explore various methods to capture screenshots in Excel, along with tips on optimizing the process for seamless integration into your spreadsheets.
Why Capture Screenshots in Excel?

Screenshots are not just visual aids; they are invaluable tools in Excel:
- They provide visual proof of data, making it easier to understand complex formulas or visual data.
- They help in troubleshooting by showing exactly what’s going on in the spreadsheet.
- For documentation and training, screenshots serve as a reference for future work.
💡 Note: Make sure the screenshots are relevant and do not contain any sensitive or confidential information before sharing or embedding them into your document.
Capturing Screenshots Directly in Excel
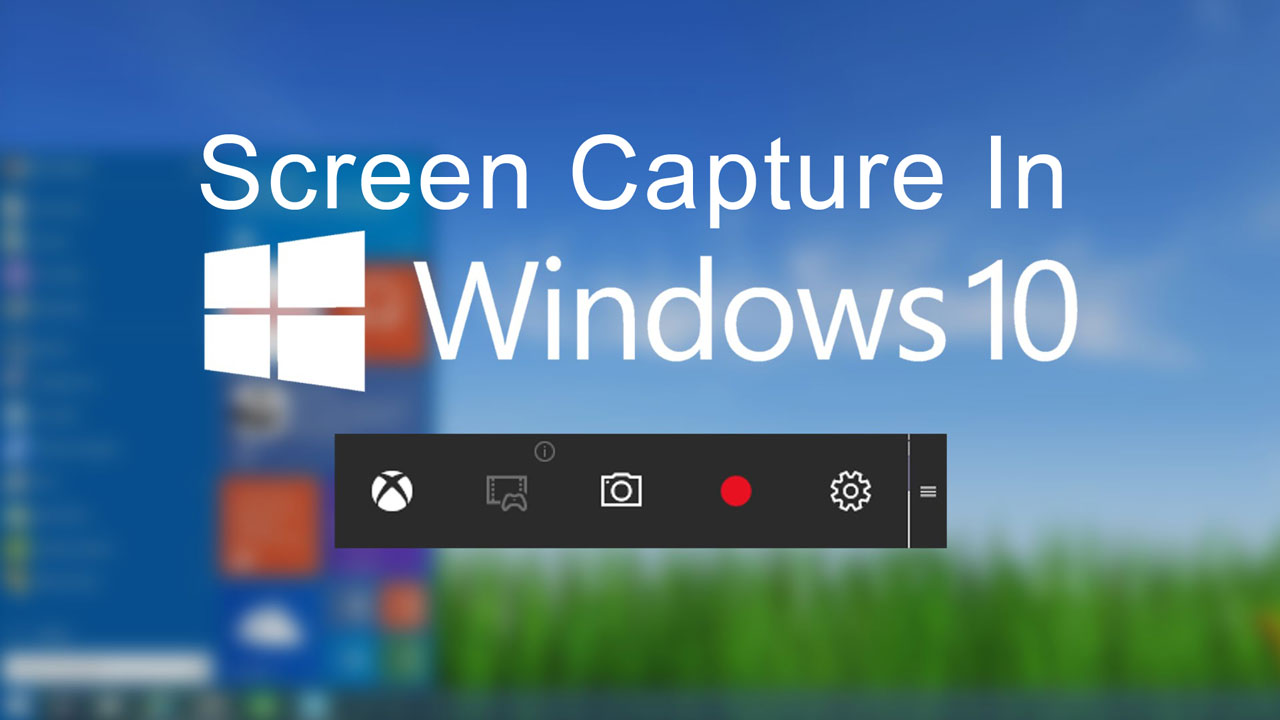
Here are step-by-step instructions for capturing screenshots directly into your Excel spreadsheets:
Using the Windows Snipping Tool or Snip & Sketch

To use the Snipping Tool or Snip & Sketch in Windows:
- Open the window or screen you want to capture.
- Press Win + Shift + S to open the snipping interface.
- Choose the type of snip you want (Rectangular, Freeform, Window, or Full-screen).
- Click and drag over the area you want to capture.
- The image will be copied to your clipboard. Go to Excel, click where you want to place the image, and press Ctrl + V to paste it.
🔎 Note: The latest versions of Windows have replaced the Snipping Tool with Snip & Sketch for an enhanced screenshot experience.
Using the Print Screen Button
This method captures the entire screen:
- Press Print Screen (PrtScn) to capture the whole screen to the clipboard.
- If you only need the active window, press Alt + Print Screen.
- Go to Excel, select a cell, and press Ctrl + V to paste the screenshot.
Using Excel’s Built-in Screenshot Tool

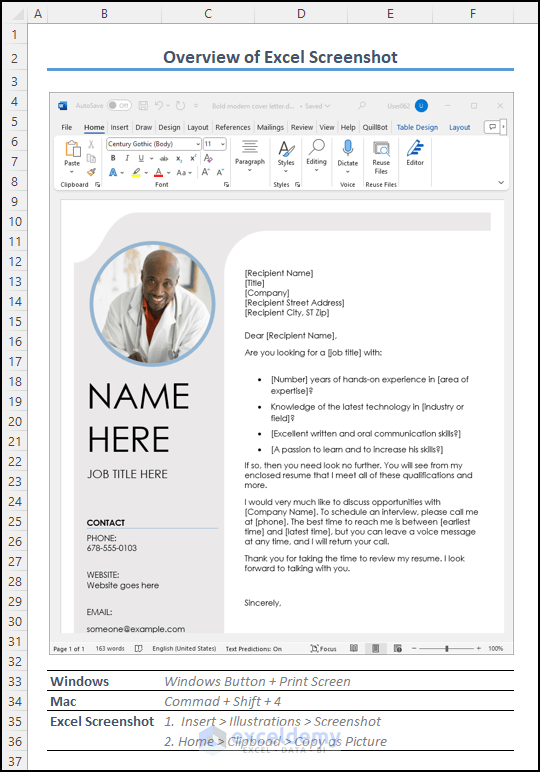
Excel 2010 and later versions include a built-in feature for capturing screenshots:
- In Excel, go to the Insert tab.
- Click on Screenshot. If available, thumbnails of all currently open windows will appear.
- Choose a window from the thumbnails, and Excel will insert that screenshot.
🖼 Note: The built-in screenshot tool only captures whole windows, not portions of them, making it ideal for quick captures of full screens or open windows.
Resizing and Positioning Screenshots
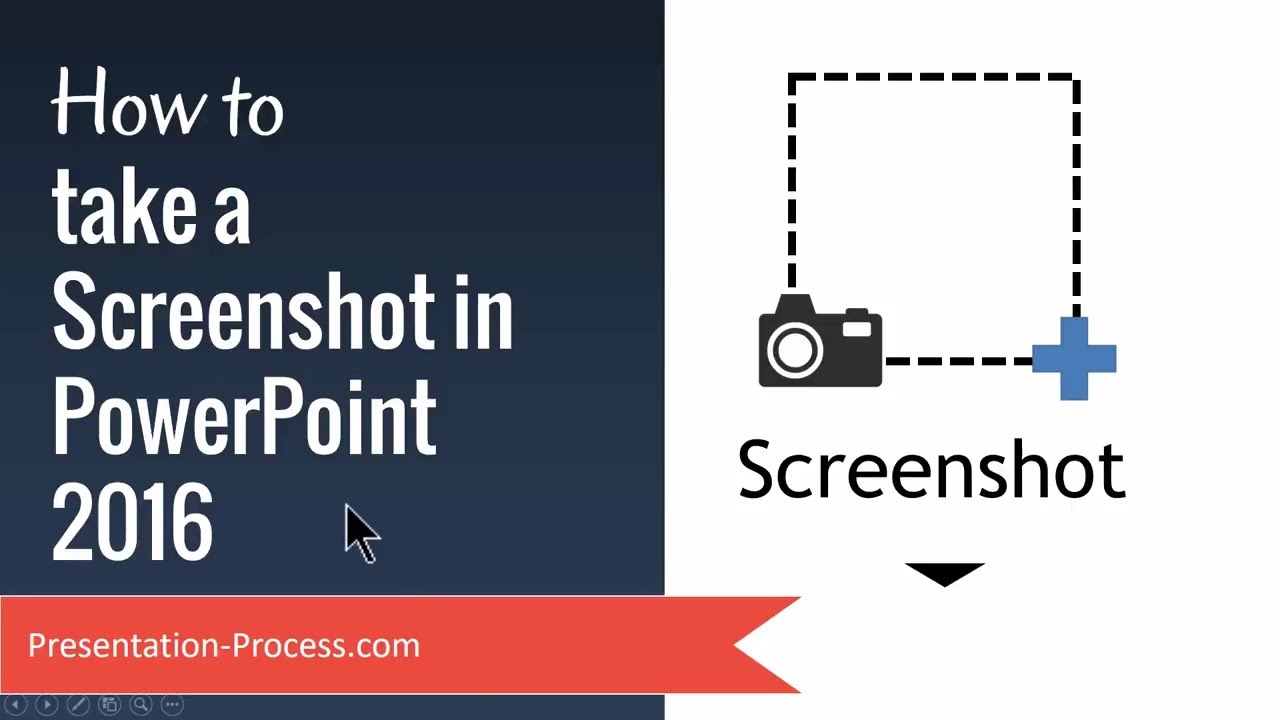
Once you’ve added a screenshot, you might need to adjust its size and position:
- Resizing: Click on the screenshot, and resizing handles will appear. Drag to adjust.
- Positioning: Click and drag the screenshot to the desired location within your sheet.
Formatting and Annotating Screenshots

To make your screenshots more informative, consider these tips:
- Borders: Select the image, then go to Picture Tools > Format to add a border.
- Annotations: Use Excel’s drawing tools to add arrows, text boxes, or shapes to highlight important parts.
| Annotation Type | How to Apply |
|---|---|
| Text Box | Insert > Text Box. Type in your explanatory text. |
| Arrow | Insert > Shapes > Line with Arrow |
| Callout | Insert > Shapes > Callouts |

Advanced Tips for Screenshots

- Use Linked Pictures: Instead of static screenshots, link images to data for dynamic updates.
- Create a Consistent Look: Ensure all your screenshots have the same style for a professional presentation.
🚀 Note: Use Excel's "Linked Picture" feature when you want the screenshot to update automatically with changes in the data or layout.
In conclusion, capturing screenshots in Excel can significantly streamline your work process, providing visual aids for analysis, troubleshooting, or documentation. By following the methods outlined above, you can capture, insert, and enhance screenshots to improve your data visualization and communication within Excel. Remember to optimize the placement and format of your screenshots to maintain a professional and clear presentation of your data.
What is the best tool for capturing screenshots in Excel?

+
The choice depends on your specific needs. Windows Snipping Tool or Snip & Sketch offer versatility, while Excel’s built-in screenshot feature is convenient for capturing entire windows directly into Excel.
Can I edit screenshots directly in Excel?

+
Yes, you can use Excel’s picture tools to add borders, shapes, and text annotations to your screenshots for better explanation or emphasis.
Is it possible to link a screenshot to data in Excel?

+
Yes, using the “Linked Picture” feature, you can create dynamic screenshots that update when the source data changes.
What are the benefits of using screenshots in Excel?
+
Screenshots provide visual context, help with troubleshooting, enhance documentation, and are excellent for creating tutorials or guides within Excel.
How do I ensure my screenshots look professional?
+
Ensure consistency in style, use borders and annotations judiciously, and maintain a uniform layout across your document.