How to Print Your Excel Sheet Easily

Printing your Excel sheet should be a straightforward task, but sometimes, you might find yourself struggling with the settings or formatting to get that perfect printout. This guide will walk you through how to print your Excel sheet easily, ensuring your data looks its best on paper or PDF. Whether you're printing for a meeting, report, or just personal records, follow these steps to get the best results:
Step-by-Step Guide to Printing Your Excel Sheet
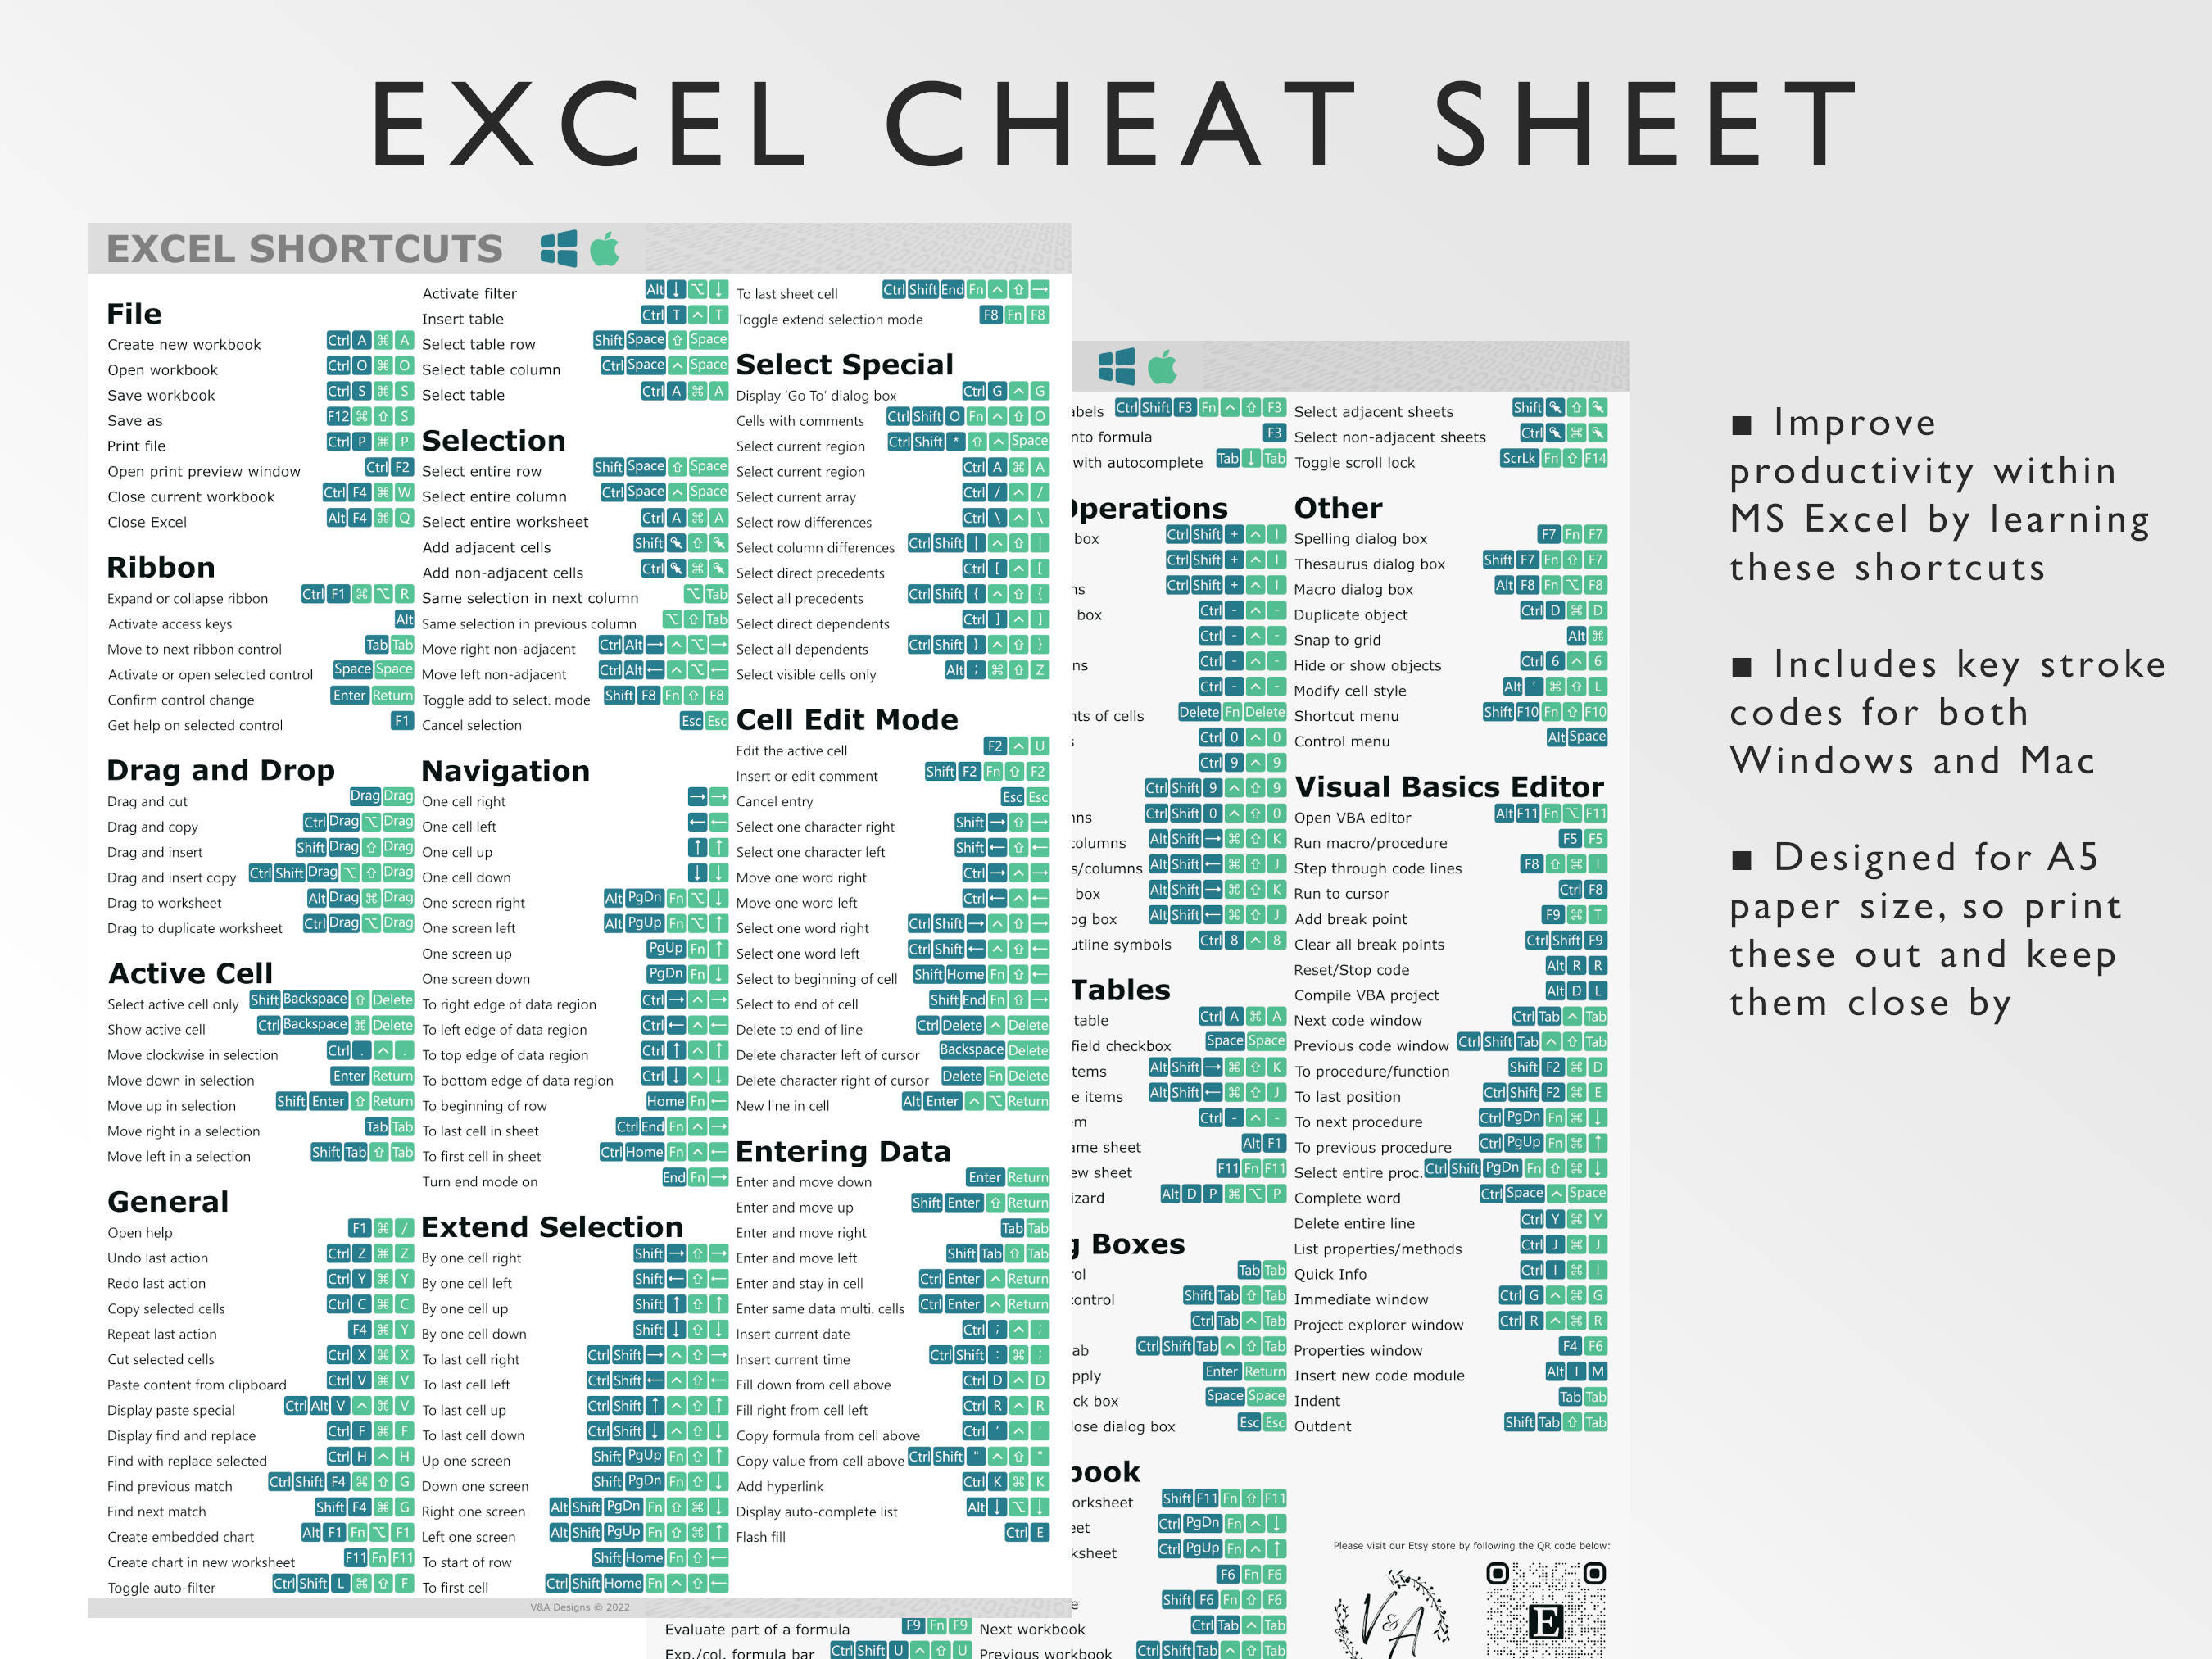
1. Prepare Your Sheet for Printing

Before you even think about clicking the print button, make sure your sheet is print-ready:
- Check Margins: Click on the "Page Layout" tab and set the appropriate margins. A good rule of thumb is to have at least 0.5 inches on all sides for a clean look.
- Adjust Page Setup: Under Page Setup, choose the orientation (portrait or landscape) that fits your data better. If you have a lot of columns, landscape might be a better choice.
- Set Print Area: If you don't want to print the entire workbook, select the range you want to print. Go to "Page Layout" > "Print Area" > "Set Print Area".
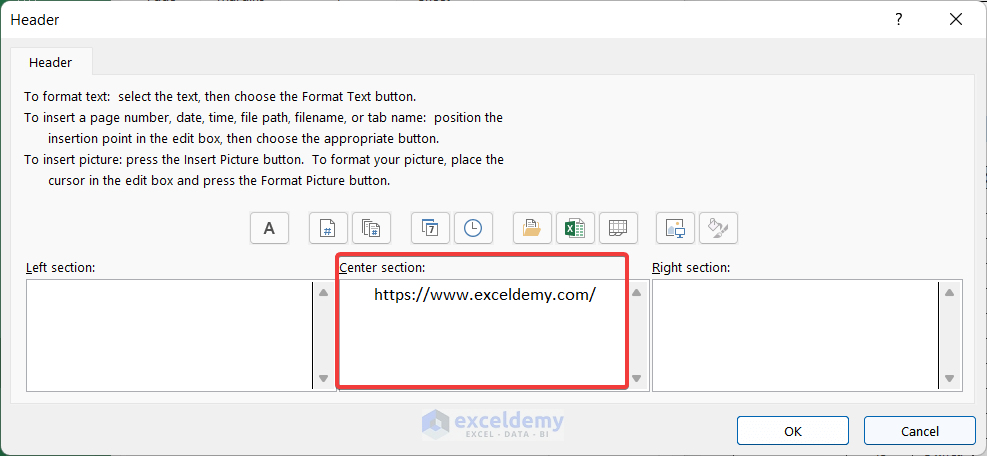
- Headers and Footers: Add headers and footers if needed. This could include page numbers, file names, or your name for identification.
2. Preview Your Print

Before you print, always preview:
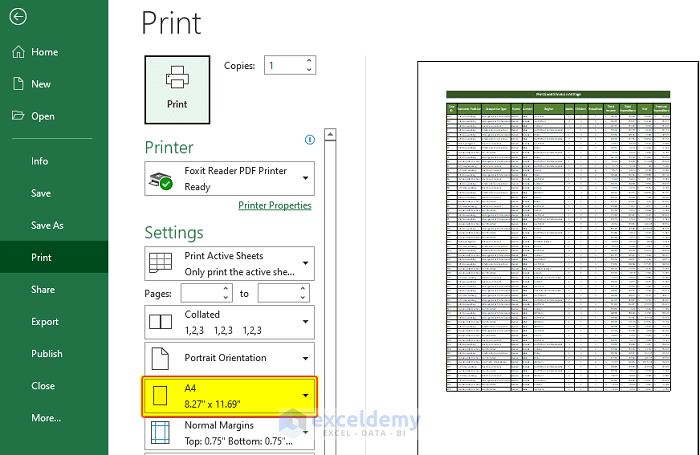
- Use File > Print or the Print Preview button to see how your spreadsheet will look on paper.
- Here you can see the pagination, margins, and overall layout. Adjust if necessary.
3. Printing Options

Once your sheet is set up:
- Choose your Printer from the dropdown menu in the print settings.
- Select your Print Quality to match your needs (draft for simple reports or high quality for presentations).
- Page Range: If you want to print only specific pages, specify the page range.
- Number of Copies: Input how many copies you need.
4. Dealing with Large Sheets
For large spreadsheets:
- Consider Scaling Options: You can scale your printout to fit on one page or adjust to fit specific dimensions under the "Page Setup" dialog box. There are options like "Fit to Page" or custom scaling percentages.
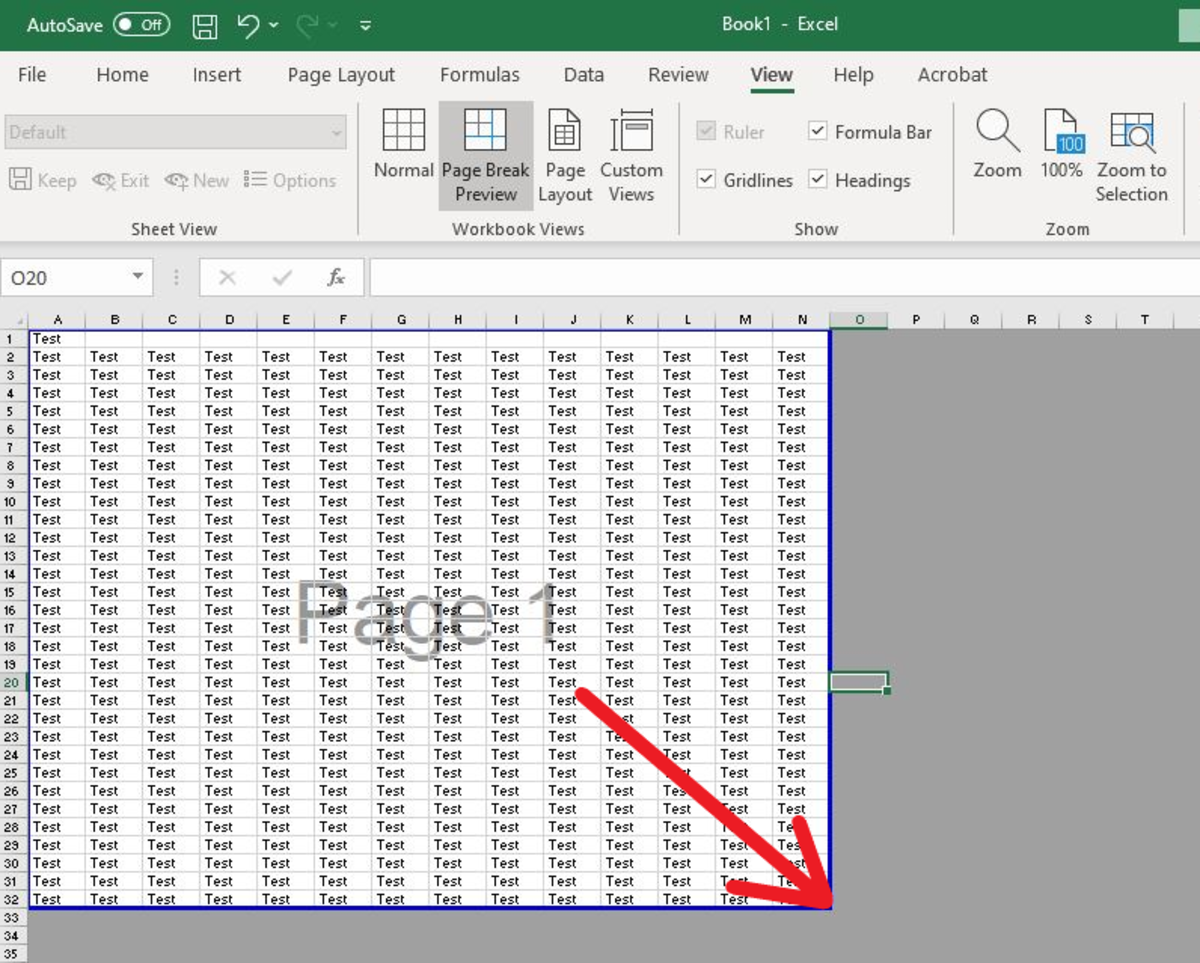
- If you have charts or tables, ensure they are not split across pages unless necessary. You can use Page Break Preview under the "View" tab to manually set page breaks.
🖨️ Note: Remember that scaling down too much can make the text unreadable. Balance between fitting the content and ensuring readability.
5. Printing to PDF
If you're not printing to paper but want to save or share your document:
- Instead of selecting a physical printer, choose "Save as PDF" from the list of printers. This saves your Excel sheet as a PDF file.
- PDFs are perfect for electronic distribution and can preserve all formatting and functionalities (like links and comments) that Excel provides.
6. Advanced Printing Options
For more intricate printing needs:
- Print Titles: This option lets you repeat column or row titles on each printed page, making large datasets easier to navigate.
- Gridlines and Row/Column Headers: Choose to print gridlines and headers for a cleaner, structured look, or omit them for a cleaner presentation.
- Black and White: If color isn't necessary, print in black and white to save on ink.
By following these steps, your Excel sheets will be ready for printing or saving with minimal effort. Here's a quick comparison of different printing options:
| Setting | Description |
|---|---|
| Print Area | Print specific cells or entire worksheets. |
| Orientation | Choose between portrait (tall) or landscape (wide) layout. |
| Scaling | Adjust the print size to fit on one or more pages. |
| Print to PDF | Save your document as a PDF instead of physical print. |

As you can see, Excel offers numerous ways to customize your printout to match your needs, making the process both simple and flexible.
Ultimately, mastering Excel's printing settings not only saves time but also ensures your work looks professional. By understanding how to use Excel's tools effectively, you can print or save your data with confidence, knowing it will be presented in the best possible way. Whether you're printing for internal use, presenting to clients, or archiving information, following these steps will help you achieve a clean, readable, and well-formatted output from your Excel spreadsheets.
Why does my Excel sheet print with blank pages?
+
Blank pages can appear if your print area or page breaks are incorrectly set, causing some sections to print on additional blank pages. Review your print area settings and check for any unintended page breaks in “Page Break Preview”.
Can I print selected cells instead of the whole sheet?
+
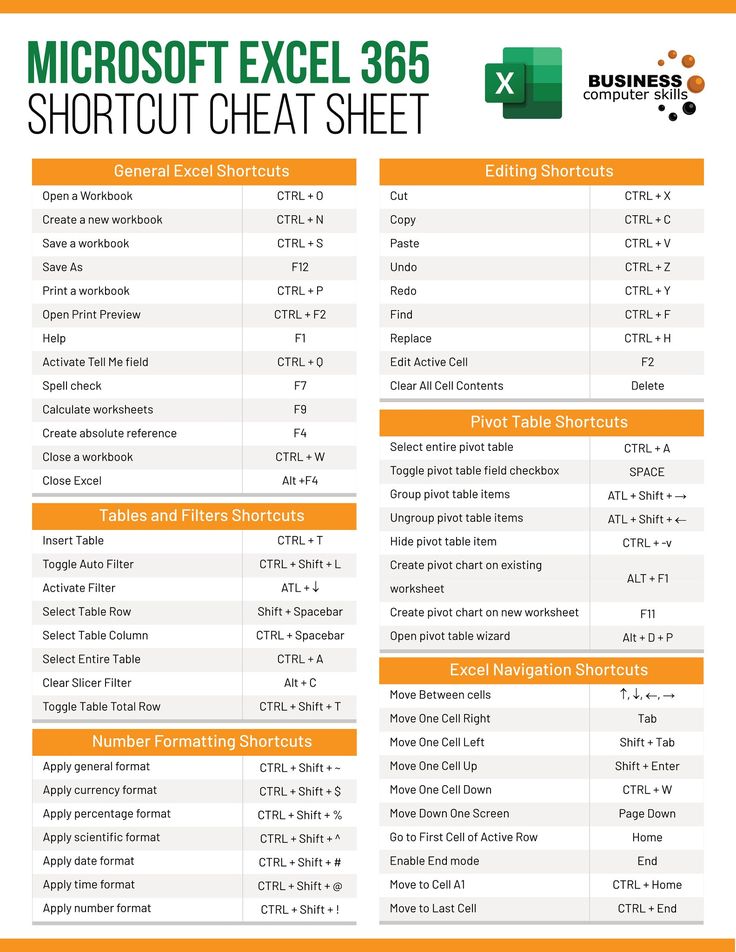
Yes, you can! Select the cells you want to print, go to “File > Print”, and in the settings, choose “Print Selection” to only print the selected cells.
How can I ensure my prints are clear and readable?

+
Adjust the scaling in “Page Setup” to ensure the content fits without being too small. Use higher print quality settings and check if your printer needs new ink or toner. Also, make sure your paper size is set correctly to avoid size mismatches.


