Subtract Across Two Sheets in Excel Easily

In the world of data analysis, Excel has become synonymous with organizing and managing large amounts of information efficiently. A common task that can sometimes prove tricky for many users is subtracting values across two sheets. However, with a few simple steps, you can master this skill. Let's delve into how you can subtract across two sheets in Excel, making your data manipulation tasks not only easier but also quicker.
Understanding the Concept

Before jumping into the technical steps, it’s crucial to understand what we mean by subtracting across two sheets. Essentially, you have two separate sheets in an Excel workbook, and you want to subtract data from one sheet from the data on another sheet. Here’s an example scenario:
- Sheet1 (let’s call it ‘Sales Data’) contains daily sales figures.
- Sheet2 (let’s call it ‘Cost Data’) lists the costs associated with those sales.
Your goal could be to find the profit for each item, which is the sale amount minus the cost.
Setting Up Your Workbook

Here’s how you set up your Excel workbook for this task:
- Organize Data: Ensure your data on both sheets is neatly organized. Ideally, use columns for different types of data, and have corresponding items listed in the same row across sheets.
- Label Sheets: Rename your sheets for clarity. In our example, we’ll name one sheet “Sales Data” and the other “Cost Data.”
- Verify Data Consistency: Make sure that the data you want to subtract corresponds correctly between the sheets. For instance, if you have sales for January in cell B2 on Sheet1, then January’s cost should be in B2 on Sheet2.
Subtracting Values Across Sheets

With your data set up correctly, follow these steps:
Using a Simple Formula

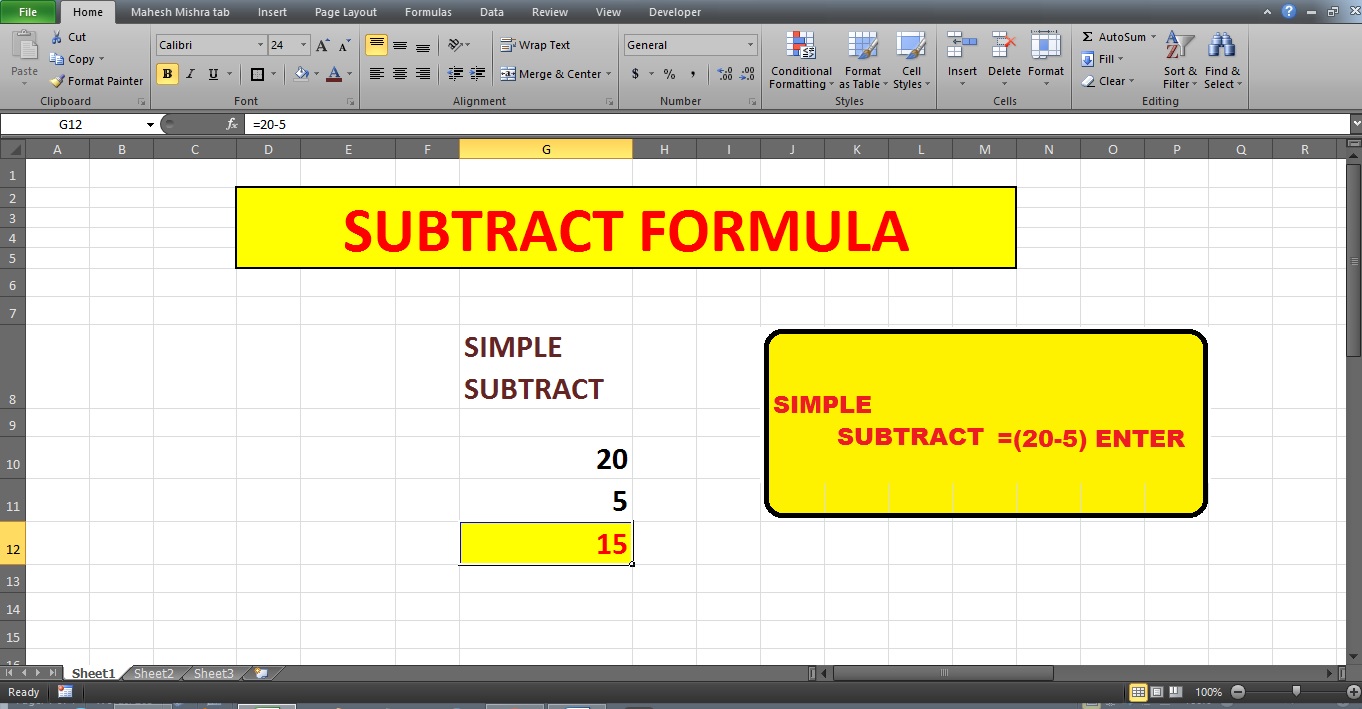
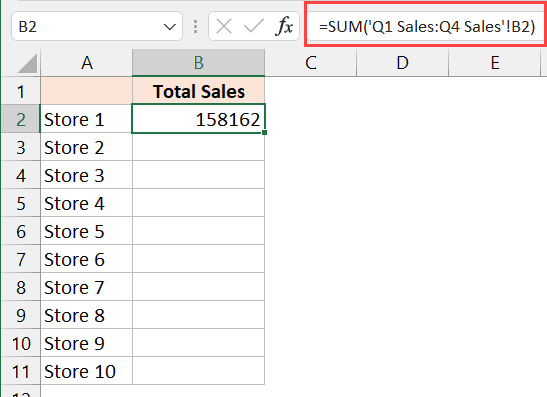
You can use a formula to subtract values directly from one sheet to another. Here’s the basic syntax:
=SheetName!CellReference - OtherSheetName!CellReference
For our example:
=Sales Data!B2 - Cost Data!B2
This formula, when entered into a cell in another sheet (e.g., ‘Profit Calculation’) or even on one of the existing sheets, will subtract the cost from the sales for January. Simply drag the fill handle down to apply this subtraction to all the cells you need.
Linking Sheets with VLOOKUP

If your data isn’t perfectly aligned, or if you’re dealing with non-numerical identifiers like item codes or dates, using a VLOOKUP can help:
- On a new sheet (let’s say ‘Profit Calculation’), list the identifiers in column A.
- In cell B2, enter:
=Sales Data!B2 - VLOOKUP(A2, ‘Cost Data’!A2:B100, 2, FALSE)
Here, ‘Cost Data’!A2:B100 assumes that column A contains identifiers like dates, and column B contains corresponding costs.
Notes on Common Challenges

⚠️ Note: If your sheets have different ranges of data, ensure that your VLOOKUP formula correctly points to the range that encompasses all the relevant data.
Handling Multiple Rows

To perform subtraction across rows, the formulas stay consistent, but you need to adjust the cell references to reflect the rows you are working on. Here are some tips:
- Use absolute references ($ signs) in your formulas to prevent accidental updates when dragging formulas.
- If your data has gaps or if you need to subtract specific items, use named ranges or Excel’s table functionality to simplify referencing.
Advanced Techniques

For those who often deal with complex datasets or need more powerful tools:
Using Named Ranges

Instead of hardcoding cell references, you can define named ranges in Excel:
- Select the range you want to name (e.g., A2:A100 in ‘Sales Data’).
- Go to the Formula tab, and choose ‘Define Name’ to give it a name like “SalesFigures.”
- Now, use this named range in your formula:
=SalesFigures - CostFigures
Pivot Tables for Multi-Sheet Data

If you’re dealing with large datasets across multiple sheets, a Pivot Table can be incredibly useful:
- Create a new sheet for your Pivot Table.
- Select any cell in your new sheet, then go to Insert > PivotTable.
- Choose “Multiple consolidation ranges,” select both data ranges, and create the Pivot Table.
- You can then use the subtraction operation within the Pivot Table values field to calculate profit.
At this point, you’ve learned not just how to subtract across two sheets in Excel but also how to manage data effectively across your workbook. Whether you're calculating profit, analyzing trends, or simply organizing your data, these skills will streamline your workflow.
The process of subtracting values across sheets, while initially challenging, becomes straightforward once you understand Excel's referencing capabilities. Remember to ensure consistency between your sheets, use formulas wisely, and leverage Excel's advanced features like VLOOKUP and Pivot Tables for complex data scenarios.
Understanding and applying these methods will significantly boost your data analysis efficiency, allowing you to manipulate and analyze data with greater precision and speed. Now, let’s wrap up with some frequently asked questions about subtracting across sheets in Excel.
Can I subtract values from two sheets without linking them together?

+
Yes, you can perform calculations without physically linking the sheets. Simply reference the cells from each sheet in your formula. However, this requires that both sheets remain unchanged to maintain formula accuracy.
How can I ensure data consistency when subtracting across sheets?

+
Always verify that the data ranges match or use techniques like VLOOKUP to find corresponding data dynamically. Consistent labeling and organizing data in a logical manner can also prevent mismatches.
What if the sheets are in different workbooks?

+
You can still reference sheets in different workbooks using this syntax:
=‘[WorkbookName]SheetName’!CellReferenceHowever, keep in mind that this creates external links, which might need to be updated if the file locations or names change.
Can I use Excel’s Data Validation to help with subtraction?

+
While Data Validation itself won’t perform subtraction, you can use it to ensure that the data entered into your sheets is consistent and within certain parameters, reducing errors before you apply your subtraction formulas.
How do I handle empty cells when subtracting?

+
Excel can handle subtraction with empty cells by simply returning the value of the cell with a number. If you need specific behavior, like treating empty cells as zero or returning an error, consider using the IFERROR or IF functions in your formula.