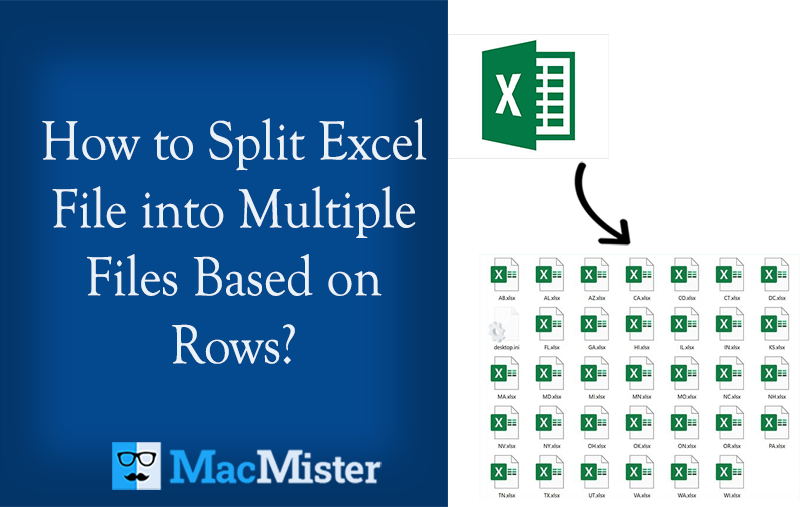
5 Ways to Split Large Excel Files into Multiple Sheets

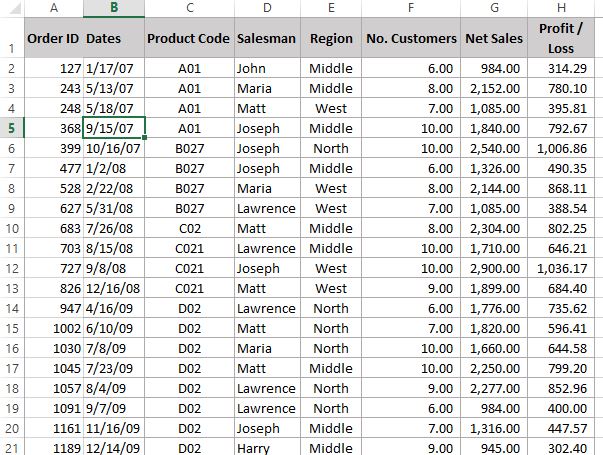
Dealing with large Excel files can often be a challenging task, particularly when performance issues start to appear due to the file's size. Splitting these large datasets into smaller, more manageable sheets not only improves performance but also makes data analysis and management more efficient. In this blog post, we will explore five methods to achieve this with ease.
1. Using Microsoft Excel’s Built-in Feature

Excel provides a straightforward way to split data into multiple sheets within the same workbook:
- Select the range of cells you want to split.
- Go to Data > Outline and click on Subtotal.
- Choose the column by which you want to split the data from the “At each change in” dropdown.
- Select a function (like sum, count, etc.), or none if you only want to group the data.
- Ensure that Replace current subtotals is unchecked, and Page break between groups is checked to create new sheets for each subgroup.
- Click OK, then you can Move or Copy these groups into separate sheets.
🌟 Note: This method works best if your data has a natural grouping or category to split upon.
2. VBA Macros

VBA (Visual Basic for Applications) can automate splitting your large dataset into multiple sheets:
Here’s a simple VBA script:
Sub SplitData() Dim ws As Worksheet Dim lastRow As Long, currentRow As Long Dim splitValue As Variant, currentValue As Variant' Set reference to your data sheet Set ws = ThisWorkbook.Sheets("Sheet1") ' Get the last row of data lastRow = ws.Cells(ws.Rows.Count, "A").End(xlUp).Row ' Assume splitting based on column A currentRow = 2 ' Start from the second row if there's a header splitValue = ws.Cells(currentRow, 1).Value ' Loop through the data Do While currentRow <= lastRow currentValue = ws.Cells(currentRow, 1).Value If currentValue <> splitValue Then ' Create a new sheet for the current group Set newSheet = Sheets.Add newSheet.Name = splitValue ' Copy the rows until the value changes ws.Range("A" & currentRow - 1 & ":E" & currentRow - 1).Copy Destination:=newSheet.Range("A1") ' Reset splitValue to the new value splitValue = currentValue End If currentRow = currentRow + 1 Loop
End Sub
This script assumes the data is on “Sheet1” and splits based on the values in column A. Adjustments might be necessary depending on your data structure.
3. Using Power Query

Power Query in Excel (or Get & Transform) can also be used for data manipulation:
- Select any cell in your data range.
- Go to Data > Get Data > From Other Sources > From Table/Range.
- In the Query Editor, you can group your data by adding a new column that increments when a group changes:
let
    Source = Excel.CurrentWorkbook(){[Name=“Sheet1”]}[Content],
    #“Added Index” = Table.AddIndexColumn(Source, “Index”, 0, 1),
    #“Grouped Rows” = Table.Group(#“Added Index”, {“Column1”}, {{“Grouped Data”, each _, type table}}),
    #“Expanded Data” = Table.ExpandTableColumn(#“Grouped Rows”, “Grouped Data”, {“Column2”, “Column3”}, {“Column2”, “Column3”})
in
    #“Expanded Data”
🚀 Note: Power Query is excellent for handling complex data transformations and splitting based on dynamic criteria.
4. Add-ins and Third-Party Tools

Several add-ins and tools are available that can simplify this process:
- Excel Online Tools: Online platforms where you can upload your Excel file and use tools to split it.
- Kutools for Excel: This add-in has features like “Split Workbook” that can automatically divide your workbook into separate sheets based on criteria.
- Advanced Excel to PDF: While not for splitting sheets, can be useful if you need to distribute parts of your workbook as PDF files.
These tools often come with user-friendly interfaces and can handle splitting in various ways, from criteria-based to fixed-number-of-rows per sheet.
5. Manual Method

The manual method might be time-consuming but can be effective for small datasets:
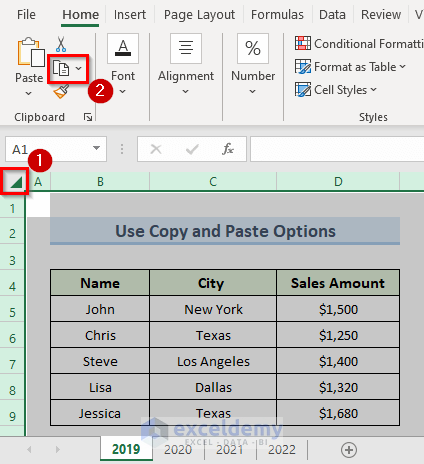
- Copy and paste data into new sheets manually.
- Use Excel’s “Filter” to sort data and then manually copy each group to a new sheet.
- Or, if your data is already categorized, you could use Excel’s “Move or Copy Sheet” to manually create new sheets for each category.
This method requires no scripting or add-ins but can be error-prone and is not efficient for large datasets.
In wrapping up our exploration of ways to manage large Excel files, we’ve covered a spectrum of methods from using Excel’s native features to leveraging VBA, Power Query, and external tools. Each approach has its benefits, depending on the size of your data, your familiarity with Excel, and the complexity of the split criteria you might need.
By adopting these strategies, you can not only enhance the performance of Excel but also streamline your data management and analysis processes. Whether you’re a novice Excel user or an advanced data analyst, these techniques offer a way to make your large datasets more manageable and your workflow more efficient.
Can I split an Excel file automatically based on date ranges?

+
Yes, you can use methods like VBA scripts or Power Query to split data based on date ranges, time periods, or any other dynamic criteria.
What if I want to split my data into a fixed number of rows per sheet?

+
Using VBA or third-party tools like Kutools for Excel allows you to specify exactly how many rows you want per sheet, making it easy to split data evenly.
Is there a performance impact when splitting large Excel files?

+
Yes, splitting a large file can reduce the size of individual sheets, potentially improving Excel’s responsiveness and reducing processing time for operations on individual sheets.