5 Easy Ways to Split Data in Excel Sheets

When you're managing large sets of data in Excel, organizing and analyzing information becomes crucial for productivity and decision-making. One effective way to manage your data is by splitting it across different sheets or into various tables within the same workbook. This can help in enhancing clarity, reducing clutter, and making data analysis more manageable. In this guide, we will explore five easy and practical methods to split data in Excel sheets, providing you with the tools you need to handle your datasets with ease.
1. Using the Filter Function

Excel’s Filter feature is a quick and straightforward way to split your data temporarily based on specific criteria. Here’s how you can do it:
- Select your dataset or click anywhere within the data range you want to filter.
- Navigate to the ‘Data’ tab on the ribbon and click on ‘Filter’ to activate it.
- Click the filter drop-down arrow in the header row of the column you wish to filter by.
- Select your criteria or use text filters to display specific data sets.
- Your filtered data will now be visible, allowing you to perform operations or create a new sheet with this data.
🎯 Note: Remember that filtering data only hides rows; it does not physically split or move the data to a new location.
2. Creating Pivot Tables

Pivot Tables are powerful tools for summarizing, analyzing, and exploring data. Here’s how to use a Pivot Table to split data:
- Select your data range.
- Go to the ‘Insert’ tab and select ‘PivotTable’.
- Choose where you want the PivotTable to be placed (new worksheet or existing sheet) and click OK.
- Drag fields to the Rows, Columns, and Values areas to organize your data into groups or categories.
| Feature | Description |
|---|---|
| Row Labels | Data categories or splits. |
| Column Labels | Subcategories or additional groupings. |
| Values | Aggregations or data summaries. |

Pivot Tables allow you to see data from different perspectives quickly.
3. Using Advanced Filter

Unlike regular filters, the Advanced Filter lets you split data into new locations:
- Set up criteria for filtering on a different part of the worksheet or a new sheet.
- Select the data you want to filter.
- Go to ‘Data’ > ‘Advanced’ under the Filter group.
- Choose ‘Copy to another location’, input the criteria range and the destination where you want the filtered data.
- Click OK, and Excel will copy the filtered data to the specified location.
💡 Note: Advanced Filters are excellent for complex conditions where you want to filter data to a new location without affecting the original dataset.
4. VLOOKUP or Index Match Functions

Using lookup functions like VLOOKUP or Index Match can help in creating separate sheets for different data attributes:
- Set up a new sheet where you want to store the split data.
- Use the VLOOKUP or Index Match function to pull data from your main sheet based on specific criteria.
- For example, to split data by a certain category, you might use:
VLOOKUP(A2, Sheet1!A:B, 2, FALSE)where A2 is the lookup value in your new sheet, and Sheet1!A:B is the data range from where you want to extract information.
5. Excel Macros

For repetitive splitting tasks, Excel Macros can save a lot of time:
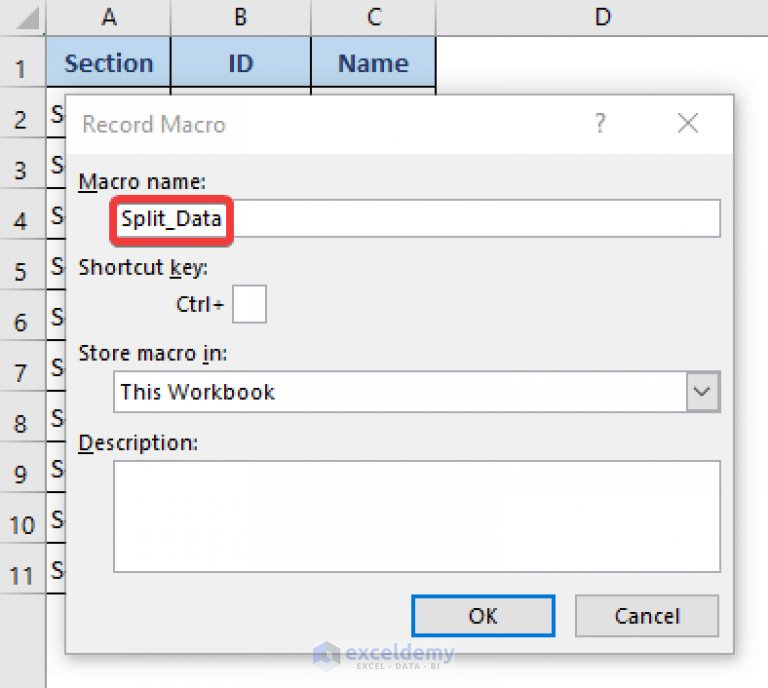
- Press ‘ALT + F11’ to open the Visual Basic Editor.
- Create a new module by going to ‘Insert’ > ‘Module’.
- Write or paste the VBA code to split the data according to your needs.
- Run the macro by pressing ‘F5’ or setting up a button in Excel.
Here's a basic example of a VBA code to split data into new sheets:
Sub SplitData()
    Dim ws As Worksheet
    Dim lastRow As Long, i As Long
    Dim myArr, wsName As String

    Set ws = ThisWorkbook.Sheets("YourSheetName")
    lastRow = ws.Cells(ws.Rows.Count, 1).End(xlUp).Row

    For i = 2 To lastRow
        wsName = ws.Cells(i, 1).Value
        On Error Resume Next
        Sheets(wsName).Select
        If Err.Number <> 0 Then
            Sheets.Add.Name = wsName
            ws.Range("A1").CurrentRegion.Copy Sheets(wsName).Range("A1")
        End If
        On Error GoTo 0
        ws.Rows(i).Copy Sheets(wsName).Range("A" & Sheets(wsName).Rows.Count).End(xlUp).Offset(1)
    Next i
End Sub
Remember, macros can be tricky, and it's wise to test them on a copy of your data to avoid any data mishaps.
🔍 Note: Macros can automate complex tasks, but ensure to check the code for security, especially if using code from external sources.
The ability to split data efficiently in Excel can significantly enhance your data management capabilities. Whether you need to analyze, summarize, or organize data differently for presentations, these methods provide flexibility and efficiency. By applying filters, using Pivot Tables, leveraging advanced filtering, employing lookup functions, or automating with macros, you can streamline your workflow and make data manipulation a breeze.
Can I undo a filter in Excel?

+
Yes, to undo a filter, simply click on the ‘Filter’ button in the ‘Data’ tab to deactivate it, or you can select “Clear Filter” from the filter drop-down menu.
Is there a way to automatically update split data when the source data changes?

+
Using named ranges or writing a VBA script can help automate the update process. For dynamic data, functions like VLOOKUP or Index Match linked to the original data can automatically reflect changes.
Can I split data based on multiple conditions?

+
Yes, you can use Excel’s Advanced Filter with multiple conditions in the criteria range to split data based on various criteria.