Split Excel Sheet Easily: Multiple Sheets Guide

Managing data in Excel often involves organizing it into multiple sheets. While Excel provides a robust set of features for this purpose, users might find splitting a single sheet into several sheets based on specific criteria somewhat daunting. This guide offers a step-by-step walkthrough to split Excel sheet easily into multiple sheets, making your data management smoother and more organized.
Understanding Why to Split a Sheet

Excel sheets can become unwieldy when they contain a large volume of data or when dealing with different datasets within the same workbook. Here are a few reasons to consider splitting your Excel sheet:
- Clarity and Readability: Splitting into multiple sheets helps maintain clarity by isolating different data sets or themes.
- Efficiency: Working on smaller datasets is faster and allows for better performance of Excel functions.
- Organization: Easier to navigate, manage, and analyze data when it's grouped logically.
- Collaboration: Facilitates sharing or focusing on specific sections of data with different team members.
How to Split an Excel Sheet

Excel doesn't have a one-click option to split a sheet into multiple sheets, but you can achieve this with a few simple steps:
1. Manual Approach

This method is straightforward for small datasets:
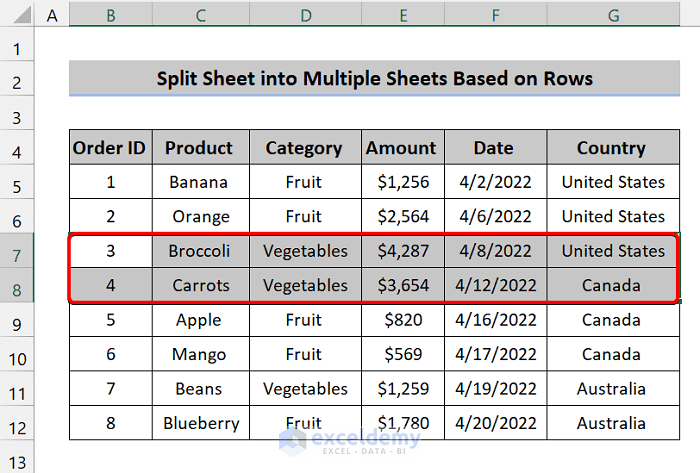
- Select the range of cells you want to split into a new sheet.
- Right-click and choose 'Cut' or press Ctrl+X.
- Insert a new worksheet by clicking the plus sign (+) at the bottom of the Excel window.
- Right-click on the new sheet, choose 'Paste' or press Ctrl+V.
- Name your new sheet by double-clicking the sheet tab.
✅ Note: This approach works well for small-scale data. For larger datasets, consider automation for efficiency.
2. Using VBA (Visual Basic for Applications)

For larger datasets, VBA can automate the process:
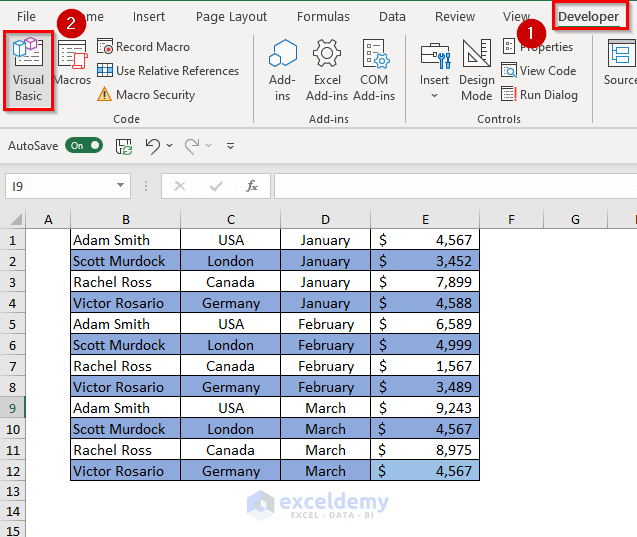
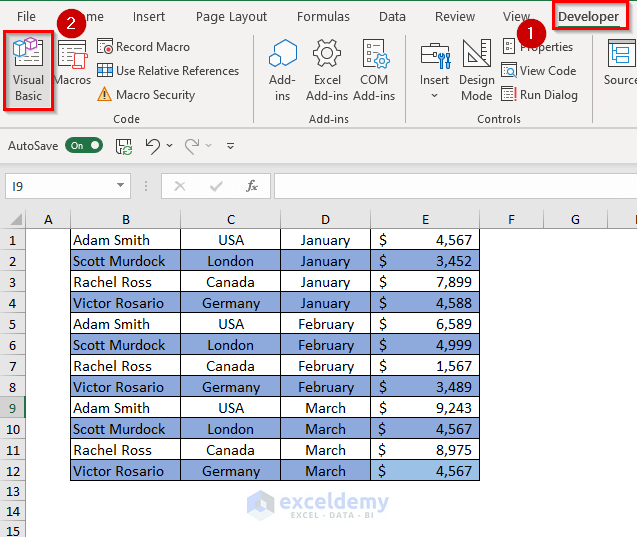
- Press Alt + F11 to open the VBA editor.
- Go to 'Insert' > 'Module' to add a new module.
- Paste the following VBA code into the module:
Sub SplitSheet() Dim ws As Worksheet Dim lastRow As Long, lastCol As Long Dim keyRange As Range Dim keyCell As Range Dim wsNew As Worksheet Dim dict As Object Dim k Set ws = ActiveSheet Set dict = CreateObject("Scripting.Dictionary") 'Determine the last used row and column lastRow = ws.Cells(ws.Rows.Count, "A").End(xlUp).Row lastCol = ws.Cells(1, ws.Columns.Count).End(xlToLeft).Column 'Assume the key column for splitting is Column A, change as necessary Set keyRange = ws.Range("A2:A" & lastRow) For Each keyCell In keyRange If Not dict.Exists(keyCell.Value) Then dict.Add keyCell.Value, dict.Count + 1 Set wsNew = ws.Worksheets.Add(After:=ws) wsNew.Name = "Sheet_" & keyCell.Value End If Next keyCell 'Move data to respective sheets For Each k In dict.keys ws.Range("A1").CurrentRegion.AutoFilter Field:=1, Criteria1:=k ws.Range("A1").CurrentRegion.Copy Destination:=Sheets("Sheet_" & k).Range("A1") Next k ws.AutoFilterMode = False MsgBox "Data has been split into multiple sheets based on column A values." End Sub - Close the VBA editor and return to Excel.
- Press Alt + F8 to open the macro dialog, select SplitSheet, and click 'Run'.
🚀 Note: This code splits based on unique values in column A. Adjust the column and range according to your data structure.
3. Using Third-Party Tools or Add-Ins

For users less comfortable with VBA or for more complex splitting scenarios, consider Excel add-ins:
- Look for tools like Kutools or ASAP Utilities, which offer features to split sheets by various criteria.
- Install the add-in of your choice, then follow its interface for splitting.
Tips for Efficient Splitting

- Backup Your Data: Always keep a backup before performing any operations that change your workbook structure.
- Plan Your Criteria: Know what criteria you will use for splitting to ensure logical organization.
- Check for Errors: Before running any automation, verify there are no errors or inconsistencies in your key column for splitting.
- Naming Conventions: Use a consistent naming convention for your new sheets to avoid confusion.
Summary

Splitting an Excel sheet into multiple sheets is a valuable organizational technique. Whether you choose to do this manually, through VBA automation, or with third-party tools, understanding how to manage your data effectively is key. By following the guidelines provided here, you can split your Excel sheet easily, maintaining the integrity and usefulness of your data. Remember, good data management leads to better analysis, collaboration, and decision-making, making your work in Excel not just easier but more productive.
What are the advantages of splitting an Excel sheet?

+
Splitting an Excel sheet improves organization, readability, performance, and facilitates easier collaboration by allowing users to focus on specific data segments.
Can I revert the splitting if I’ve made a mistake?

+
If you have a backup or undo recent actions, you can revert the splitting. Always backup your data before manipulating it extensively.
What should I do if my data has errors or inconsistencies?

+
Check and clean your data before splitting. Inconsistencies might lead to incorrect sheet creation or data distribution. Use Excel’s data validation or filtering tools to ensure data quality.