5 Simple Steps to Set Up Macros in Excel

If you're looking to automate tasks or simplify complex calculations in Microsoft Excel, setting up macros can be a game-changer. Macros are essentially sets of instructions that you can record or write in VBA (Visual Basic for Applications) to perform repetitive tasks automatically. Here's how you can get started with Excel macros in just five straightforward steps.
Step 1: Enable the Developer Tab

The Developer tab is not visible by default in Excel, so your first task will be to enable it:
- Go to File > Options.
- In the Excel Options window, select Customize Ribbon.
- Under the Main Tabs list on the right, check the box beside Developer.
- Click OK to apply the changes.
This tab now provides access to developer tools, including macro recording and editing.
Step 2: Record a Macro

Recording a macro captures your actions in Excel so you can replay them later:
- Select the Developer tab.
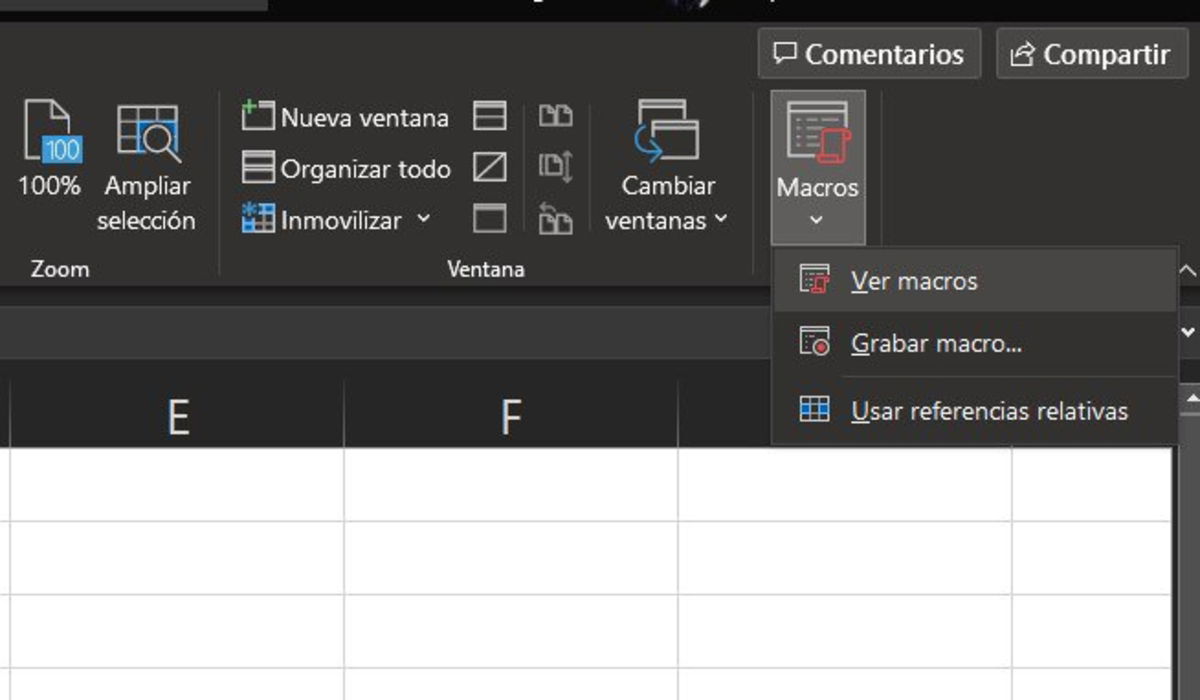
- Click Record Macro to start recording.
- In the dialog box:
- Name your macro.
- Choose where you want to store the macro (This Workbook, New Workbook, or Personal Macro Workbook).
- You can add a description and a shortcut key for easier access later.
- Click OK, and all subsequent actions will be recorded until you stop the recording.
🎥 Note: You can edit the recorded macro later if you need to make changes or corrections.
Step 3: Perform the Actions You Want to Automate

Now, carry out the tasks you want to include in your macro. This could be anything from formatting cells, inserting formulas, or running complex calculations. Remember:
- Every click or keystroke is recorded, so perform each action carefully.
- Avoid doing unnecessary things like opening menus or scrolling through the sheet unless it’s part of the macro process.
- When you’re done with the actions, go back to the Developer tab and click Stop Recording.
Step 4: Test and Edit Your Macro

After recording, it’s crucial to test your macro to ensure it functions correctly:
- Press Alt + F8 to open the Macro dialog box.
- Select your macro from the list.
- Click Run to execute it.
- If the macro doesn’t work as expected, you can edit it by going to Developer > Visual Basic, where you can adjust the VBA code.
Step 5: Use Your Macro Efficiently

Now that your macro is ready:
- Assign a button or shape to your macro for easy access:
- Go to the Developer tab, click on Insert, and select a shape or button.
- Draw the shape on your spreadsheet.
- Right-click on the shape and choose Assign Macro.
- Select your macro and click OK.
- Utilize the shortcut key you assigned during macro creation.
- You can now use your macro with a single click or keystroke.
By following these steps, you've set up a functional macro in Excel that can streamline your workflow. Remember that practice and experimentation will help you master macro creation, enhancing your productivity significantly.
Why should I use macros in Excel?

+
Macros can automate repetitive tasks, reduce errors, and save time, allowing you to focus on more strategic work.
Can macros be dangerous?

+
Yes, macros can execute potentially harmful code. Only run macros from trusted sources, and be cautious with Excel files from unknown origins.
Can I share my macros with others?

+
Absolutely, you can share macros by saving the workbook as a macro-enabled file (with the .xlsm extension) or exporting the VBA module for others to import.
What happens if my macro stops working?

+
If a macro stops working, check for changes in Excel versions, review the code for errors, or ensure that the workbook is macro-enabled.