Excel Printing Guide: Print Multiple Sheets Easily

Printing multiple sheets in Microsoft Excel can streamline your data presentation, making it easier to manage and distribute information efficiently. Whether you are compiling a financial report, organizing event schedules, or sharing project data, mastering the art of printing multiple Excel sheets can save time and reduce errors. Here, we explore how to print multiple sheets with ease, ensuring your documents are professional, organized, and clutter-free.
Setting Up Your Excel Workbook for Printing

Before you can print multiple sheets, your workbook must be optimized for a seamless print experience:
- Organize Data: Ensure your data is structured logically across sheets. This not only helps in printing but also in data analysis.
- Use Print Titles: Set rows and columns to repeat on each printed page for better context.
- Page Setup: Adjust settings like orientation, scaling, and margins to fit your printing needs.
Organizing Your Data

To prepare for printing:
- Group similar data types together.
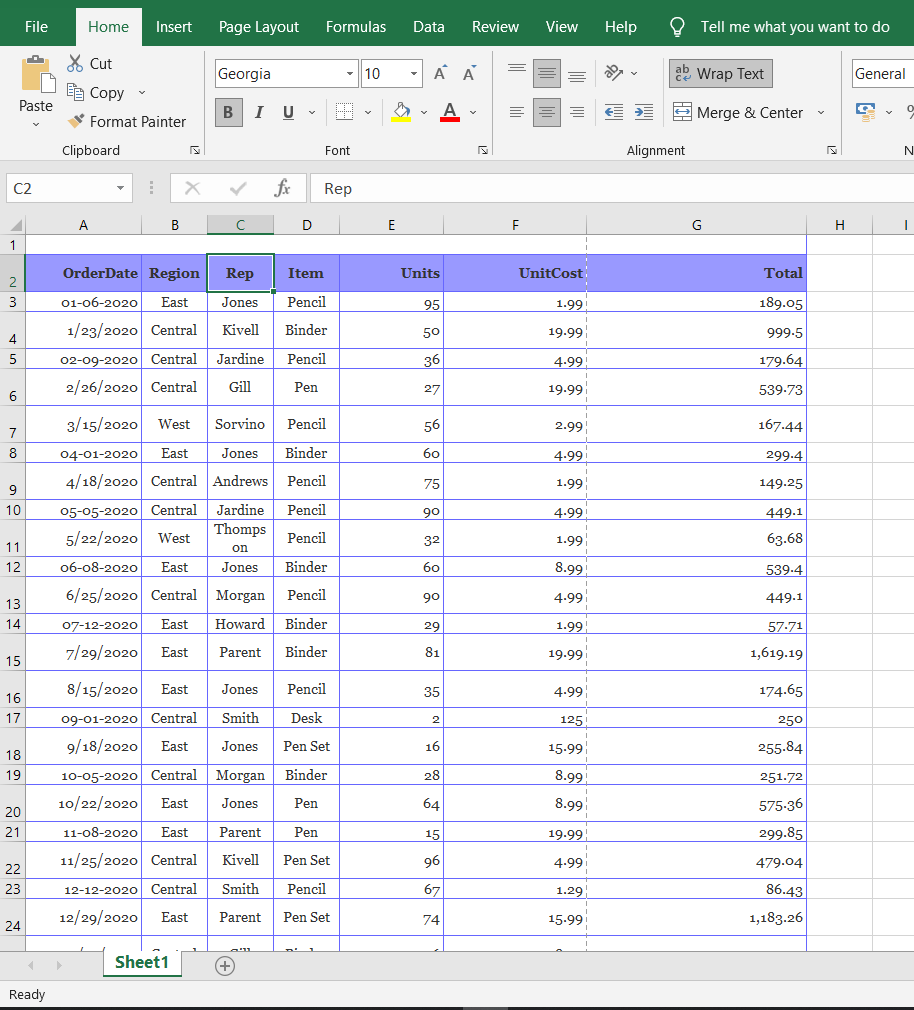
- Use color coding or cell borders for clarity.
- Ensure each sheet’s header includes relevant information.
Using Print Titles

Navigate to the ‘Page Layout’ tab:
- Select ‘Print Titles’ under ‘Page Setup’.
- Specify rows or columns to repeat on each page.
This feature ensures headers or key data columns are always visible, aiding in document readability.
Page Setup Options

From the ‘Page Layout’ tab, customize:
- Orientation: Choose between portrait and landscape based on data width and height.
- Scaling: Adjust to fit content on one page or scale it down to print multiple pages.
- Margins: Set according to your printer’s capabilities and readability needs.
📝 Note: Make sure your printer's settings align with Excel's print settings to avoid unexpected results.
Printing Multiple Sheets

Once your workbook is optimized, here’s how to print multiple sheets:
Select Sheets for Printing

Activate group selection by clicking the first sheet, holding Shift or Ctrl, and selecting additional sheets:
- Shift: For contiguous sheets.
- Ctrl: For non-contiguous sheets.
Print Settings

Go to File > Print or press Ctrl + P:
- Verify page numbers.
- Choose the print order - from left-to-right or top-to-bottom.
- Set your printer options like color or black-and-white printing.
Printing

Execute the print command:
- If sheets are selected, they will print in sequence.
- Review the print preview to ensure everything looks correct.
📝 Note: If sheets contain charts or images, ensure they appear as intended in print preview before printing.
Advanced Printing Options

For more complex printing needs, Excel offers advanced features:
Print Area

Set a specific print area on each sheet:
- Select the desired range on the sheet.
- Under ‘Page Layout’, click ‘Print Area’ and then ‘Set Print Area’.
- This range will print instead of the entire sheet.
Page Breaks

Manage how pages break:
- Insert manual page breaks where logical divisions occur.
- View and adjust automatic page breaks to prevent data splitting across pages.
Print to PDF

To create a digital version of your printouts:
- Select your sheets.
- Instead of printing, save as PDF.
- This preserves your print settings for future reference.
Tips for Printing Professional Documents

To enhance your printed Excel documents:
- Use consistent formatting across sheets for a polished look.
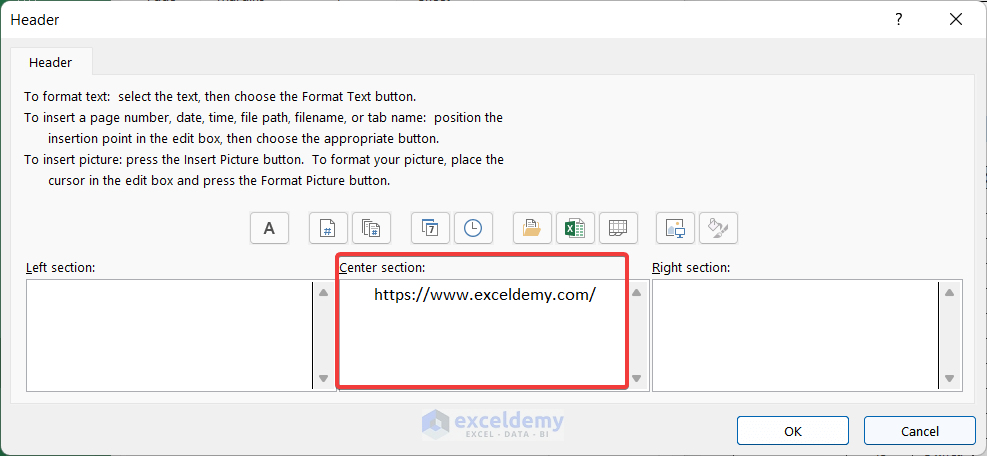
- Include headers and footers for added context and professionalism.
- Check for alignment issues by switching to ‘Page Break Preview’.
- Implement conditional formatting sparingly to maintain readability.
📝 Note: To prevent misprinting, always double-check print settings before finalizing print jobs.
In this guide, we've covered the essential steps to print multiple sheets in Microsoft Excel, along with tips for optimizing your workbook and ensuring professional output. From organizing data to setting print areas, these techniques allow you to efficiently manage and distribute your Excel data, regardless of its complexity.
How do I ensure all sheets print with the same settings?

+
Group sheets by holding Ctrl while selecting them. Adjust settings, and they apply to all grouped sheets.
Can I save my printing settings for future use?
+Use Excel’s Page Setup dialog to customize settings, then save your workbook. Settings will be saved with your workbook for future prints.
How do I prevent sheets from printing over multiple pages?
+Use scaling options under Page Layout > Scale to Fit. You can also manually set page breaks to keep data within a single page.
What’s the benefit of printing to PDF instead of physical paper?
+Printing to PDF preserves the document’s layout and settings for digital distribution, ensuring consistency and saving resources.
How do I handle different print areas for each sheet?
+Set print areas individually for each sheet. After setting, select sheets together, and Excel will print the specified areas from each sheet.