Separating Sheets in Excel 2013: A Quick Guide

When working with Microsoft Excel, particularly the 2013 version, managing multiple worksheets is essential for organizing data efficiently. Whether you're separating different sets of data, making your spreadsheet easier to navigate, or just organizing for presentation purposes, knowing how to separate sheets can significantly enhance your productivity. This guide will take you through the various methods to separate sheets in Excel 2013, explaining each step in detail.
Understanding Worksheets and Workbooks

Before diving into the methods of separation, let’s clarify some basic terms:
- Workbook: This is the Excel file itself that contains one or more worksheets.
- Worksheet: A single page within the workbook where you enter and manipulate data.
Manual Method of Separating Sheets

If your project requires a simple separation of sheets, you can manually move or copy them:
- Navigate to the bottom of your workbook where the sheet tabs are located.
- Right-click on the sheet tab you wish to separate.
- From the context menu, choose 'Move or Copy...'
- In the 'Move or Copy' dialog box:
- Select the workbook into which you want to move or copy the sheet from the 'To book' dropdown. If you want to create a new workbook, select 'New Book'.
- Choose where in the selected workbook the sheet should appear.
- If you want to keep the original sheet, check 'Create a copy'.
- Press 'OK' to apply the changes.
📝 Note: Creating a copy means you will have two sheets with the same data; moving means the sheet will only exist in its new location.
Using VBA to Automate Sheet Separation

If you frequently need to separate sheets or deal with a large workbook, automating this task with VBA (Visual Basic for Applications) can be extremely helpful:
- Open the Excel workbook.
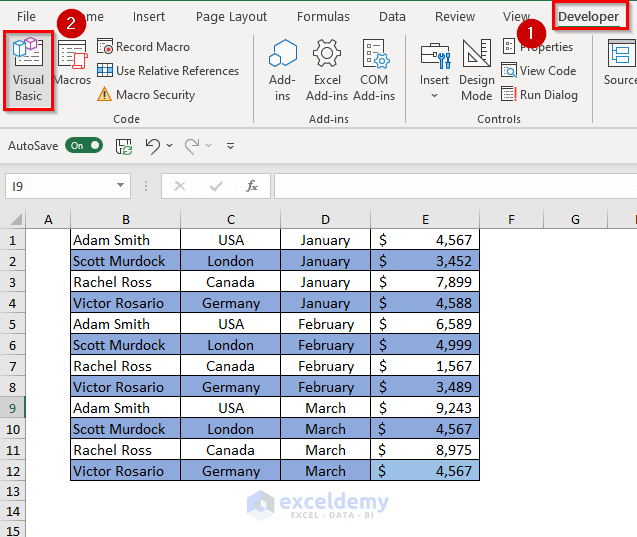
- Press ALT + F11 to open the VBA Editor.
- Click 'Insert' and then 'Module' to create a new module.
- Enter the following VBA code:
- Close the VBA Editor.
- Run the macro by pressing ALT + F8, select 'SeparateSheets', and hit 'Run'.
Sub SeparateSheets()
    Dim ws As Worksheet
    For Each ws In ThisWorkbook.Worksheets
        ws.Copy
        ActiveWorkbook.SaveAs "C:\YourPath\" & ws.Name & ".xlsx"
        ActiveWorkbook.Close False
    Next ws
End Sub
💡 Note: Ensure you replace "C:\YourPath\" with the path where you want the new workbooks to be saved.
Using Excel Features for Sheet Management

Excel offers built-in features for better sheet management:
- Group Sheets: Select multiple sheets by holding CTRL or SHIFT and right-clicking to group. This allows you to perform actions on all selected sheets simultaneously.
- Color Coding Sheets: Right-click the sheet tab, choose ‘Tab Color’, and select a color to visually differentiate between sheets.
- Insert/Delete Sheets: Right-click any tab to add new sheets or delete existing ones. This is useful when reorganizing your workbook.
Final Thoughts

Separating sheets in Excel 2013 can simplify data management, improve the presentation of information, and enhance collaboration. Whether you choose manual separation or automate it using VBA, Excel provides the flexibility needed to handle complex workbooks with ease. By understanding these techniques, you can work more efficiently with large datasets, making your analysis and reporting processes smoother.
Why can’t I move or copy sheets between workbooks?

+
Ensure both workbooks are open in Excel. If one workbook is in read-only mode, you won’t be able to move or copy sheets into it.
Can I separate sheets based on cell values?

+
Yes, you can use VBA to separate sheets based on specific cell values. This involves creating a script to loop through the data and move rows to new sheets dynamically.
What is the maximum number of sheets I can create in an Excel workbook?

+
The limit for Excel 2013 is 255 sheets in a workbook, but performance might degrade with high numbers of sheets.