5 Ways to Split Excel Sheets into Multiple Windows

Working with Excel sheets can often become a juggling act when dealing with vast amounts of data spread across multiple tabs or needing to compare different sections of the same worksheet. This is where the ability to split Excel sheets into multiple windows becomes invaluable. Splitting your Excel workspace into multiple windows allows you to view different parts of your workbook simultaneously, enhancing your productivity and data analysis capabilities. Here are five effective ways to achieve this:
1. Using the Split Command


The simplest method to split an Excel sheet into multiple viewable areas is using the Split command:
- Open your Excel workbook.
- Click on the View tab.
- Select Split from the Window group.
This action will split your worksheet into four separate panes, allowing you to scroll each independently. You can adjust the split by dragging the split line up or down, left or right, to suit your viewing needs.
💡 Note: Using the Split command does not alter your data; it only affects how you view it. You can revert back to a single window view by choosing "Remove Split" from the same menu.
2. New Window for Each Sheet


Another way to work with different sheets simultaneously is to open a new window for each:
- Navigate to the View tab.
- Click New Window under the Window group.
Each new window will contain the same workbook, allowing you to switch between different sheets in different windows. You can resize these windows or even move them to separate screens if you have multiple monitors.
🌟 Note: These windows are linked; changes made in one will reflect in all others, but you can view different parts or different sheets at once.
3. Freeze Panes for Headers


While not exactly splitting the screen into multiple windows, freezing panes can simulate this effect by keeping certain rows or columns in place:
- Select the cell below and to the right of where you want the split.
- Go to View > Freeze Panes.
- Choose Freeze Panes from the dropdown to lock both rows and columns above and to the left of the active cell.
This technique is particularly useful when you need to keep headers or labels visible while scrolling through data.
4. Using Watch Window


If you want to monitor specific cells without physically splitting the screen, the Watch Window feature can be used:
- Click on the Formulas tab.
- Choose Watch Window from the Formula Auditing group.
- Add the cells you want to watch in the new window that appears.
While not a visual split, this method provides a way to keep an eye on critical data points, even when navigating away from the worksheet where they reside.
👀 Note: The Watch Window is especially handy when working with large spreadsheets or complex formulas where keeping an eye on multiple values can be challenging.
5. VBA Macro for Dynamic Splitting

For more advanced users, VBA can offer a dynamic way to split Excel sheets:
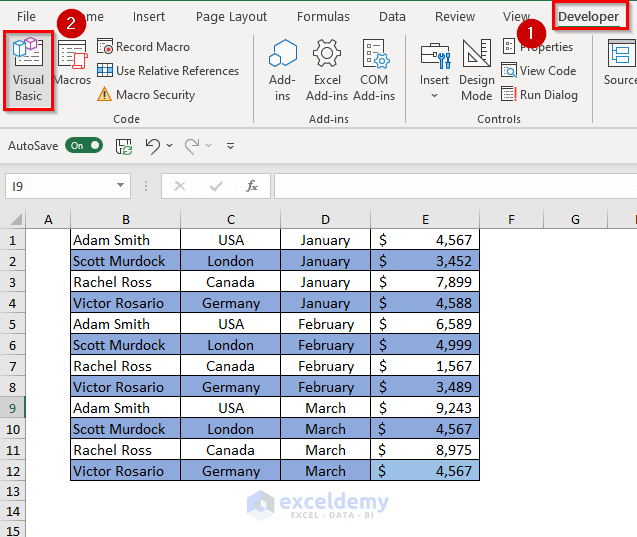
- Press ALT + F11 to open the VBA editor.
- Insert a new module from the Insert menu.
- Enter the following code to create a macro that opens a new window for each worksheet:
Sub OpenSheetsInNewWindows()
    Dim ws As Worksheet
    For Each ws In ThisWorkbook.Worksheets
        ws.Activate
        ActiveWindow.NewWindow
    Next ws
End Sub
Running this macro will create a new window for each worksheet, allowing you to view them all at once. This approach gives you the flexibility to control how and when the windows are created.
⚙️ Note: VBA macros require enabling the Developer tab in Excel. This method is ideal for repetitive tasks where you frequently need to view multiple sheets in separate windows.
By mastering these five methods, you can significantly enhance your workflow when working with Excel. Whether it's for data analysis, comparison, or simply keeping your work organized, these techniques offer a range of options tailored to different needs. The key is to find which method works best for your specific tasks and incorporate it into your Excel routine.
Remember, splitting your workspace into multiple windows can make complex tasks more manageable. It allows for better comparison, reduces the chance of losing your place in large datasets, and can boost your productivity. With these tools at your disposal, you'll be well on your way to becoming an Excel power user.
Can I split the Excel window to only view horizontal or vertical panes?

+
Yes, by selecting a cell and then choosing Split from the View tab, you can drag the split bar to create either horizontal or vertical panes only. This is useful when you want to compare data across rows or columns without splitting both directions.
Will using these methods to split the screen affect my data?

+
No, these methods only change how you view the data in your workbook. The underlying data remains the same, and any changes you make will be reflected across all windows, regardless of the split or freeze panes.
Can I save my workbook with these split views?

+
Yes, when you save your workbook, Excel will remember the split configuration, including freeze pane settings. However, it will only save the state of the active window; other opened windows will revert to unsplit views when reopened.