5 Ways to Print Selected Sheets in Excel

In the dynamic world of Excel, where data management and presentation are paramount, printing documents efficiently can often be a significant challenge. For users who regularly work with multiple worksheets in a single Excel workbook, understanding how to print selected sheets becomes a vital skill. This post will guide you through five reliable methods to print specific sheets from your Excel workbook, enhancing your productivity and workflow.
Method 1: Print Directly from Sheet Tabs

The simplest method to print selected sheets in Excel involves using the tab functionality:
- Select the Sheets: Click on the first sheet tab you wish to print, hold down the Shift key, and click the last tab you want to include. This action selects a group of contiguous sheets.
- Non-Contiguous Sheets: If you need to print non-adjacent sheets, use Ctrl instead and click each desired sheet tab individually.
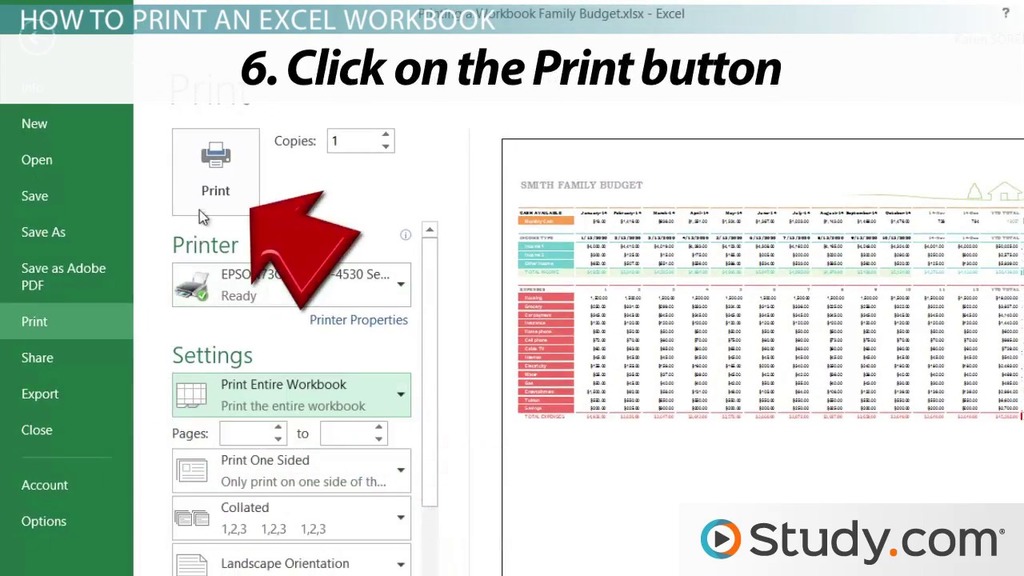
- Print: Go to File > Print. Excel automatically adjusts to print all selected sheets.
🌟 Note: Always verify the print preview to ensure you are printing exactly what you need.
Method 2: Use the Print Options in the Page Layout Tab

This method leverages the Page Layout tab for more control:
- Select Sheets: Follow the steps mentioned in Method 1 to choose your sheets.
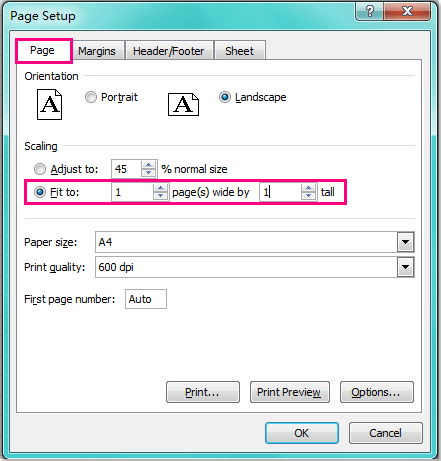
- Set Print Area: From the Page Layout tab, you can set the print area for each sheet or adjust page setup settings like margins, orientation, and size.
- Print: Navigate to File > Print or use Ctrl+P to print your selected sheets.
Method 3: Create a Temporary Workbook

This method is particularly useful for printing complex sets of data:
- Select Sheets: As described previously, select your sheets.
- Copy Sheets: Right-click on one of the selected tabs, choose “Move or Copy…”, and then pick “New Workbook”. Make sure to check the “Create a copy” box.
- Print: With the new workbook containing only your selected sheets open, you can print the entire workbook.
Method 4: Use VBA for Advanced Printing

For users comfortable with VBA, scripting can automate the printing process:
Sub PrintSelectedSheets()
    Dim ws As Worksheet
    For Each ws In ActiveWorkbook.Worksheets
        If ws.Visible = xlSheetVisible Then
            ws.PrintOut
        End If
    Next ws
End Sub
This VBA script will print all visible sheets in the workbook. You can customize it further to select only certain sheets for printing.
🛠 Note: Enabling macros can pose a security risk if not from a trusted source.
Method 5: Custom Print Settings

If you need to print sheets with different settings:
- Select Sheets: Choose your sheets as before.
- Set Different Print Areas: Individually set print areas for each sheet using Page Layout > Print Area > Set Print Area.
- Configure Print Settings: Adjust scaling, orientation, and other settings on each sheet as needed.
- Print: Use File > Print, and check the settings for each sheet to ensure they meet your requirements.
| Method | Best For |
|---|---|
| Direct from Sheet Tabs | Quick Printing |
| Page Layout Settings | Custom Sheet Setup |
| Temporary Workbook | Complex Print Jobs |
| VBA Scripting | Automation |
| Custom Print Settings | Varied Output |

Printing selected sheets in Excel can streamline your workflow, saving time and reducing errors associated with manual sheet selection. Each method offers its own advantages, from quick and straightforward printing to complex configurations for different printing needs. Remember to always check the print preview before finalizing your print job to ensure everything is as expected.
Can I print non-adjacent sheets in Excel?

+
Yes, you can print non-adjacent sheets by holding down the Ctrl key while clicking each sheet tab you wish to print.
Is there a way to quickly change print settings for multiple sheets?

+
Yes, by selecting multiple sheets, changes made in the Page Layout tab will apply to all selected sheets.
How can I save print settings for future use?

+
Excel doesn’t directly save print settings, but you can create a template workbook with your desired settings and copy sheets into it for printing.