5 Easy Steps to Screenshot Excel Sheets

Step 1: Prepare Your Excel Sheet

Before taking a screenshot, you’ll want to make sure that your Excel sheet is ready. This means:
- Hide any confidential or unnecessary information.
- Adjust column widths to avoid truncation of data.
- Check for and correct any errors or inconsistencies.
- Ensure all formulas are updated and the sheet looks as you wish it to be captured.
💡 Note: Remember that any formatting or colors can be important for understanding your data, so ensure they are visible and well-represented.
Step 2: Use Built-in Excel Tools

Excel has some handy tools that can help with capturing your data:
- Snipping Tool: If you’re on a Windows system, you can use the Snipping Tool. Here’s how:
- Search for ‘Snipping Tool’ in the Windows search bar.
- Click ‘New’ to start a new snip. You can choose a rectangular, free-form, window, or full-screen capture.
- Drag over the area of the Excel sheet you want to capture.
- Save the image after making necessary annotations or edits.
- Screen Clipping in Excel: If you’re using Office 2016 or later, you can:
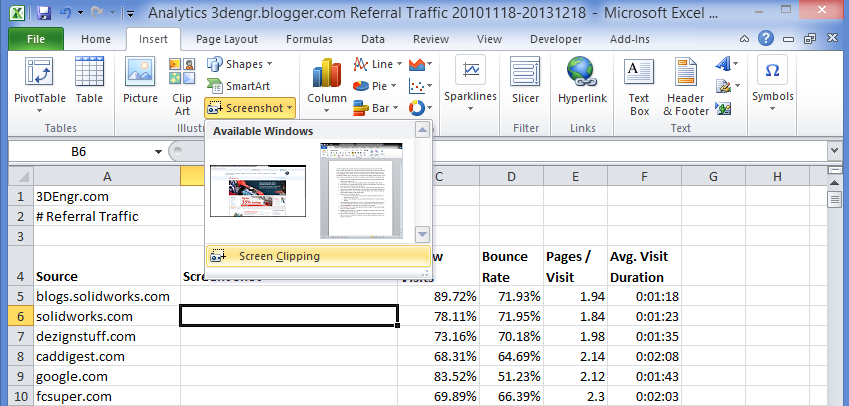
- Go to the ‘Insert’ tab in Excel.
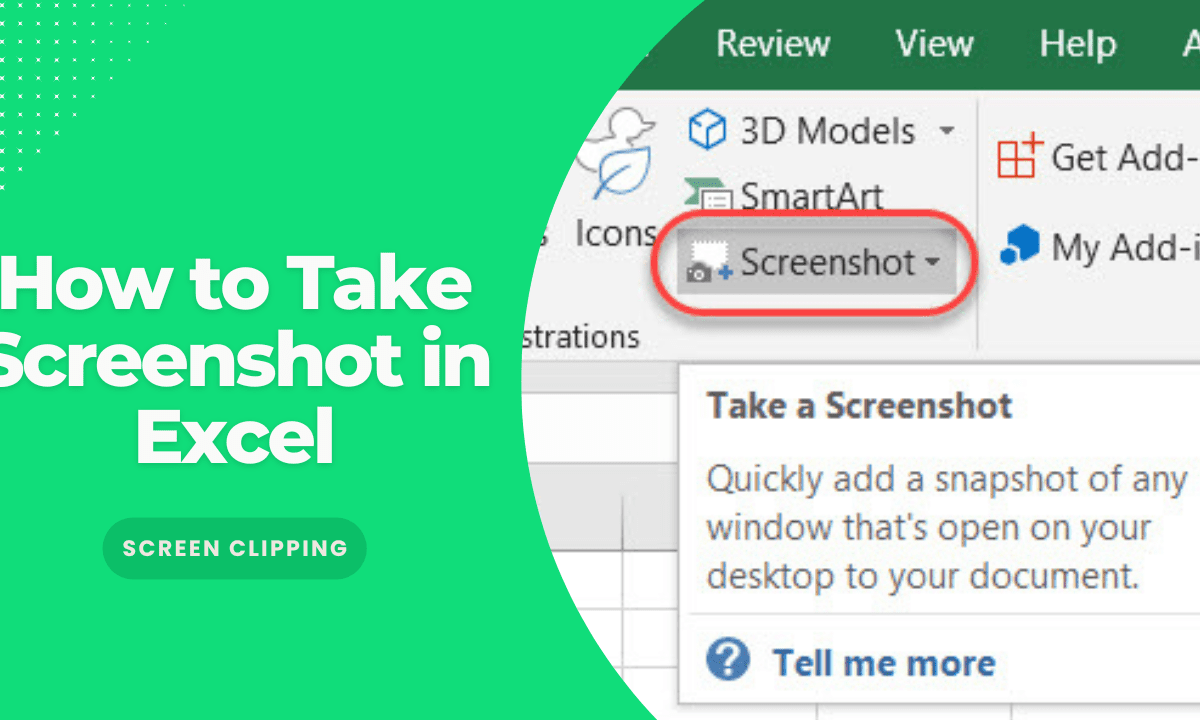
- Click on ‘Screenshot’ in the Illustrations group.
- Select ‘Screen Clipping’ from the dropdown.
- Your screen will dim, and you can drag the cursor over the part of the sheet you want to capture.
💡 Note: Excel's Screen Clipping feature will paste the captured image directly into your current Excel workbook.
Step 3: Keyboard Shortcuts

Keyboard shortcuts provide a fast way to take screenshots:
- On Windows:
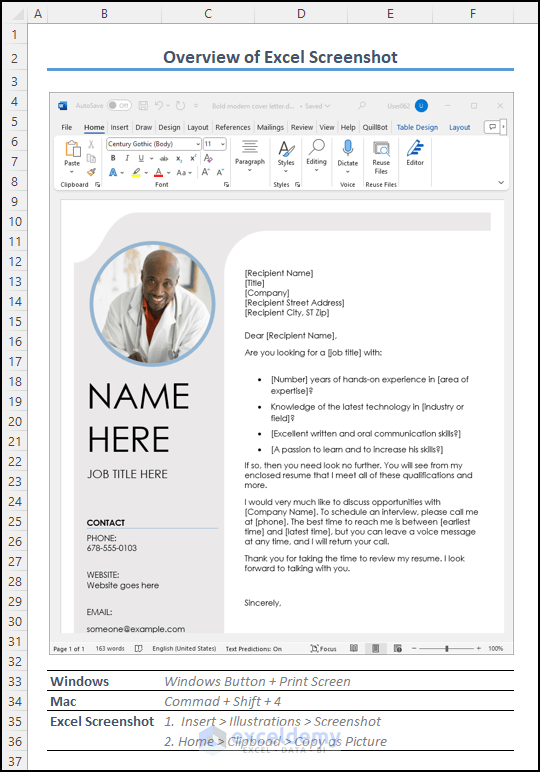
- Print Screen (PrtScn): Captures the entire screen, but you’ll need to paste it into an image editor.
- Alt + Print Screen: Takes a screenshot of the active window (your Excel sheet in this case).
- Windows + Shift + S: Opens the Snipping tool in recent Windows versions.
- On Mac:
- Command + Shift + 3: Takes a screenshot of the entire screen.
- Command + Shift + 4: Changes the cursor into a crosshair, allowing you to select a specific area.
- Command + Shift + 4 + Space: Allows capturing a specific window, like your Excel sheet.
💡 Note: After using these shortcuts, the screenshot will be saved to your clipboard, ready to be pasted into an image editor or directly into another Excel sheet.
Step 4: Customize Your Screenshot

Once you’ve captured your screenshot, you might want to:
- Edit: Use tools like Microsoft Paint, Photoshop, or online tools to crop, annotate, or highlight specific data.
- Format: Adjust the image’s size or format it to fit within your document or presentation.
- Save: Choose the right file format, usually .png for lossless quality or .jpg for reduced file size.
💡 Note: If you're presenting data, consider adding arrows or text boxes to draw attention to important figures or trends.
Step 5: Sharing Your Screenshot

Now that you have your screenshot, decide how you want to share or use it:
- In Presentation: Paste the screenshot into PowerPoint or Google Slides to illustrate data points.
- Via Email or Messaging: Send the image file or embed it in an email or chat message.
- On the Web: Upload it to image hosting services or directly into documents hosted online.
💡 Note: For web use, ensure the resolution is high enough for clarity but consider optimizing for file size to reduce load times.
In summary, taking a screenshot of your Excel sheet can be simple and effective using the various tools and methods outlined above. Whether you use built-in Excel tools, system-wide shortcuts, or external editing software, you have multiple avenues to capture your data in the best possible light. Remember, the goal is to make your data as clear and visually appealing as possible for whoever views it next.
How do I avoid capturing the gridlines in my Excel screenshot?

+
You can disable the gridlines by going to the ‘View’ tab in Excel and unchecking the ‘Gridlines’ option before taking your screenshot.
Can I take screenshots of only specific cells?

+
Yes, use the Snipping Tool or Screen Clipping feature, where you can select a custom area to capture only the cells you need.
Is there a difference in image quality when using different screenshot methods?

+
Generally, all methods should give you a high-quality screenshot, but some editing or file format compression can alter image quality.
How can I share my screenshots with others in real-time?

+
You can share screenshots instantly via messaging apps, by embedding in emails, or by uploading to online storage or image hosting services.
Can I edit screenshots after they are taken?

+
Yes, you can edit your screenshots with various tools ranging from basic Windows Paint to advanced Photoshop or online image editors for annotations, cropping, and more.


