5 Easy Steps to Convert Excel to Word Table

If you need to seamlessly merge data from an Excel file into a Word document, converting Excel tables into a Word table can be particularly handy. Here's how you can do it effortlessly in 5 easy steps, ensuring your data is organized and accessible within your Word document.
Step 1: Open Your Excel File

First, locate and open the Excel spreadsheet that contains the data you want to convert. Ensure you’re in the correct worksheet where the table is located:
- Double-click the Excel file or open Microsoft Excel and navigate to your file.
- Select the worksheet by clicking on its tab at the bottom of the Excel window.
Step 2: Select and Copy the Excel Table

Now, you need to copy the table you wish to transfer:
- Click and drag to highlight the entire table or part of it you want to copy. You can also use keyboard shortcuts to select the whole table (Ctrl+A if your cursor is in the table).
- Right-click within the selected area, choose ‘Copy’, or press Ctrl+C on your keyboard.
Step 3: Open Microsoft Word and Paste

With your table copied, it’s time to paste it into Microsoft Word:
- Open or create a new document in Microsoft Word.
- Position your cursor where you’d like the table to appear.
- Right-click and select ‘Paste’ or use the keyboard shortcut Ctrl+V.
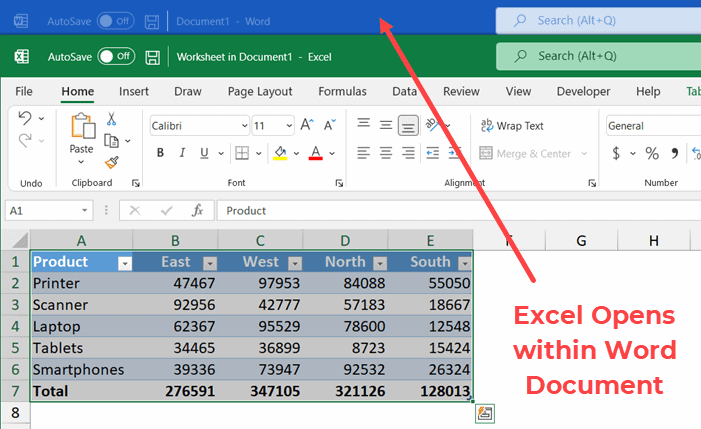
- By default, the table will paste as a Word table. If it doesn’t, choose the option to paste as a Word document object from the paste options that appear below the pasted content.
💡 Note: When you paste the table, ensure the ‘Paste Options’ icon allows you to choose how your data should appear. This gives you control over the formatting.
Step 4: Adjust the Table Formatting

After pasting, your table might need some tweaks to fit your document’s style:
- Right-click the table and select ‘Table Properties’ to adjust the table’s width, height, text wrapping, and alignment.
- Adjust column widths by hovering your mouse between columns and dragging to resize.
- Change cell style, font, colors, and borders from the ‘Design’ and ‘Layout’ tabs under ‘Table Tools’ in the Word ribbon.
- If your table has merged cells or complex structures, ensure they remain intact when pasted.
Step 5: Finalize Your Document

Now that your table is in place, here’s how you can polish your Word document:
- Review your document for any formatting issues. Make sure headers, footers, and page numbers are not interfering with the table.
- If your table spans multiple pages, you might need to enable ‘Repeat as Header Row at the Top of Each Page’ under ‘Table Tools’ > ‘Layout’ > ‘Repeat Header Rows’.
- Perform a final spell check and save your document.
🔍 Note: Always check for consistency in formatting, especially if you are merging multiple tables or inserting data from different sources.
In these steps, you’ve effectively bridged data from Excel into a Word table, ensuring your information is both accessible and visually appealing. This simple process allows for efficient document management, making it easier to present complex data sets in a comprehensible format. By following these steps, you can elevate the quality of your documents, whether they are reports, presentations, or any other professional writing.
Can I update the Excel table in Word if changes are made to the original Excel file?

+
Yes, if you link the Excel table to your Word document, changes in Excel can automatically update in Word when you refresh the link. Make sure to embed the link rather than paste the table as a static object.
What if the table formatting changes when I paste it into Word?

+
Use the ‘Paste Options’ feature to choose how your table should be inserted. For the best control, choose ‘Paste as Picture’, ‘Keep Source Formatting’, or ‘Use Destination Styles’ to retain or adapt the formatting.
Is there a way to automate the conversion from Excel to Word?

+
You can use macros or VBA in Excel to automate the process of copying data into Word, but for one-time or infrequent tasks, the manual method described above is simpler and more straightforward.