Fix Your Excel Print Sheets Easily Today

Printing your Excel spreadsheets correctly is more than just hitting print. It requires understanding page setup, print areas, and various settings to ensure that the printed document looks just as good as the on-screen version. This post will guide you step-by-step through the essentials of mastering Excel's print function, helping you present your data in a clear, professional manner.
Understanding Excel’s Print Area

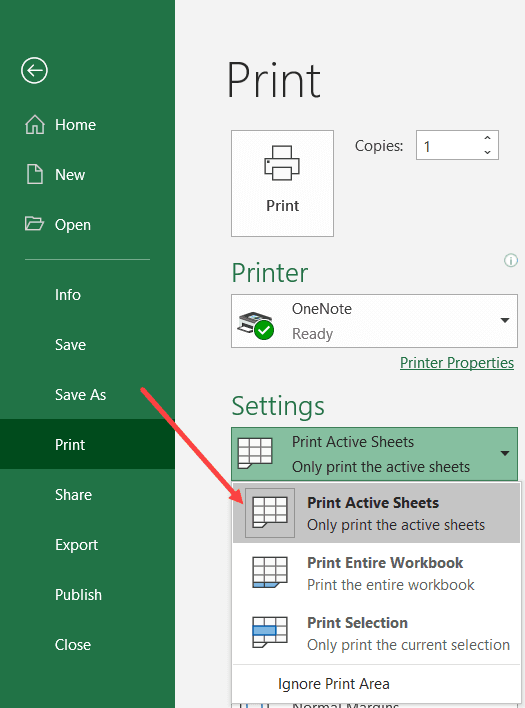
The print area in Excel determines which sections of your spreadsheet will appear on your printed page. Here’s how to set or modify it:
- Select the Cells: Click and drag to highlight the cells you wish to print.
- Set Print Area: Go to the Page Layout tab, click on Print Area, and then Set Print Area.
📝 Note: You can reset the print area anytime by selecting Clear Print Area from the same menu.
Configuring Page Setup

Page Setup is critical for controlling how your sheet appears when printed:
- Page Orientation: Choose between portrait or landscape for optimal space utilization.
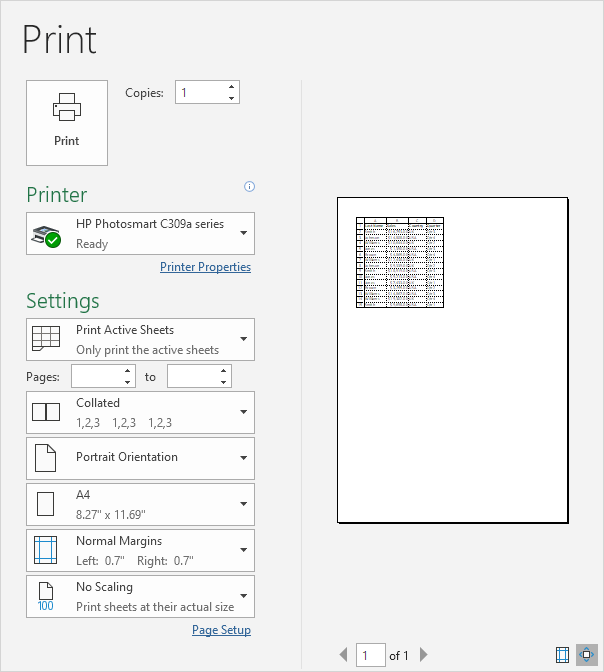
- Scaling: Use scaling options like ‘Fit to Page’ to ensure all data fits within a single page.
- Margins: Adjust margins to increase the viewable space on your printed page.
💡 Note: Consider using custom margins if your printer supports it, especially for binding purposes.
Headers and Footers

Headers and footers add professionalism to your document:
- Insert Headers/Footers: From the Insert tab, select Header & Footer to add necessary details.
- Customization: Include page numbers, dates, or any custom text to help organize your printed sheets.
📌 Note: Remember to keep headers and footers concise to avoid cluttering the printed page.
Print Titles

If your document spans multiple pages, repeat headers or labels for clarity:
- Go to Page Layout > Print Titles.
- Under ‘Rows to repeat at top’ or ‘Columns to repeat at left’, select your headings.
Print Quality

Adjust print quality settings:
- Printer Settings: Ensure your printer’s driver is up-to-date for the best quality.
- Draft vs. High Quality: Choose a draft mode for internal documents or high quality for presentations.
🌟 Note: Higher quality settings can slow down printing but provide more vivid results.
Tips for Printing Charts and Tables

Here’s how to print charts and tables effectively:
- Scale Charts: Make sure charts fit within your print area by adjusting their scale in Excel.
- Adjust Table Layout: Use the ‘Fit to Page’ option or split tables across multiple pages if necessary.
Final Review and Print

Before hitting print:
- Print Preview: Always review your document in print preview to catch any formatting issues.
- Save Layouts: If you find a setup that works well, save it as a template or a personalized page layout.
🖨️ Note: Excel’s print preview can be misleading sometimes, so print a test page if you’re uncertain.
Ensuring your Excel sheets print correctly is about more than just the basics. From defining print areas to fine-tuning print settings, each step contributes to a well-presented document. We've covered how to manage print areas, configure page setup, utilize headers and footers, print titles effectively, adjust print quality, and review your documents before printing. Remember, taking a little extra time to set up your spreadsheet for printing can save hours of redoing and frustration. Whether you're preparing for a presentation or simply need hard copies for analysis, these tips will make your Excel printing experience efficient and professional.
How do I print only certain parts of my spreadsheet?

+
To print specific parts, select the cells you want to print, go to Page Layout > Print Area > Set Print Area. This limits your printing to just that selection.
Can I print a spreadsheet with different layouts on different pages?

+
Yes, you can set up each page individually. Adjust the page layout settings for each section you want to print differently, then print the sections one at a time.
What is the best way to print long lists or tables?

+
If your table spans multiple pages, use the ‘Repeat Titles’ feature to print table headers on each page for better readability. Additionally, consider adjusting the scaling to fit your content onto the minimum number of pages.