5 Tips for Reviewing Excel Sheets in Page Break View

Reviewing Excel sheets effectively can drastically improve your productivity and efficiency in data analysis. One lesser-known feature that can significantly enhance your review process is the Page Break View. Here are five tips to master reviewing Excel sheets using Page Break View:
Understanding Page Break View

Before diving into the tips, let’s understand what Page Break View is. This mode displays your worksheet as it will appear on printed pages, allowing you to see exactly where the page breaks will occur. This is particularly useful for:
- Adjusting data layout before printing.
- Ensuring that important information stays together on one page.
- Understanding the physical page limits of your document.
To access Page Break View, simply click on the View tab in Excel and select “Page Break Preview”.

Tip 1: Adjusting Page Breaks

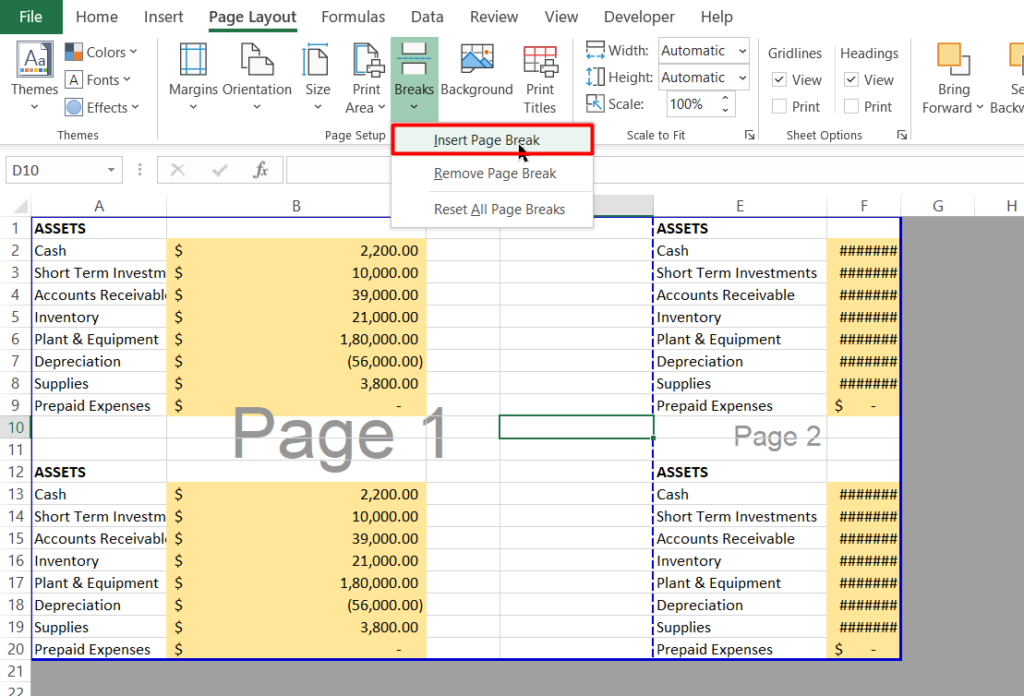
One of the first things you might want to do in Page Break View is adjust where pages break. Here’s how you can do it:
- Manual Adjustment: Drag the blue page break lines to reposition them. Click and hold near the edge of a page, then move your cursor to change where the break occurs.
- Automatic Adjustment: Right-click on the blue line for options like ‘Reset All Page Breaks’ to revert to Excel’s default page breaks, or ‘Clear All Page Breaks’ to remove all custom breaks.
Tip 2: Reviewing Data Integrity

In Page Break View, you can ensure that:
- The most relevant data is on one page, reducing confusion in multi-page documents.
- Headers or column titles are repeated on each page, which can be set up using the ‘Print Titles’ feature under the Page Layout tab.
- Charts and graphs align properly with their associated data.
Tip 3: Check Fit to One Page

If your document must fit onto one page, use Page Break View to:
- Shrink or enlarge font sizes with the scaling options under Page Layout.
- Adjust margins with the “Margins” button in the Page Layout tab to fit more content.
Tip 4: Optimize for Printing

To make your Excel sheet print-ready:
- Set Print Area: Choose what to print by selecting the cells or ranges in question and selecting ‘Print Area’ from the Page Layout tab.
- Use Headers & Footers: Insert headers or footers for additional information or page numbering via the Page Layout tab.
Tip 5: Collaborative Review

When working in teams, use Page Break View for:
- Creating a shared understanding of page layout expectations.
- Discussing and adjusting page breaks in real-time using collaboration tools.
🌟 Note: When collaborating, ensure all team members have the same version of Excel to avoid compatibility issues.
By utilizing these tips, you can enhance your efficiency in reviewing Excel sheets in Page Break View. This feature not only helps with the aesthetic layout but also ensures data integrity and collaboration effectiveness. Remember, a well-prepared document in Page Break View will save you time and effort when you decide to print or share your work digitally.
What is the difference between Page Break View and Normal View?

+
Page Break View shows how your document will be paginated when printed, allowing you to see and adjust page breaks. Normal View is a standard editing mode without such visual cues for print preparation.
Can I change the page orientation in Page Break View?

+
Yes, you can change the page orientation from portrait to landscape or vice versa using the ‘Orientation’ option under Page Layout tab while in Page Break View.
How do I go back to Normal View after reviewing in Page Break View?

+
To return to Normal View, simply click on the ‘Normal’ button under the View tab, or close the Page Break Preview by clicking the ‘X’ in the ‘Page Break Preview’ message at the top of your screen.