Remove Duplicate Cells in Excel: Easy Guide

Dealing with data in Excel often involves ensuring that your dataset is clean, accurate, and free from repetitive entries. One common issue that arises when managing spreadsheets is the presence of duplicate values in cells. Whether you're compiling mailing lists, inventory, or survey responses, duplicate data can skew your analysis, lead to errors, or waste your time. In this guide, we will walk through several methods to remove duplicate cells in Excel, each tailored to different needs and scenarios. Let's dive into how you can make your spreadsheets cleaner and more efficient!
Why Remove Duplicate Cells in Excel?

Removing duplicate cells isn't just about keeping your spreadsheet tidy; it's a crucial step for data integrity:
- Accurate Data Analysis: Duplicates can inflate numbers or misrepresent your data. Removing them ensures the accuracy of your analysis.
- Improved Efficiency: Less data means less processing time, especially with large datasets.
- Cleaner Reports: Reports and summaries generated from clean data are more reliable and professional.
- Data Quality: A clean dataset has a direct impact on data quality, reducing errors in subsequent operations.
Manual Duplicate Removal

If you're dealing with a small dataset, manual removal of duplicates might be the simplest approach:
- Open your Excel workbook.
- Select the range or entire column where duplicates might exist.
- Use the Sort & Filter tool from the Home tab to sort your data. This will group similar entries together, making duplicates more visible.
- Scan the sorted list for duplicates. Highlight these cells.
- Delete or edit the highlighted cells to remove the duplicates.
📌 Note: This method can be time-consuming for larger datasets, leading to human error or oversight.
Using Conditional Formatting

Conditional Formatting is a visually intuitive way to identify duplicates:
- Select the range of data.
- Go to Home > Conditional Formatting > Highlight Cell Rules > Duplicate Values...
- Choose a format to highlight duplicates.
- Manually delete or manage the highlighted duplicates.
Excel's Remove Duplicates Feature

For a more automated approach, use Excel's built-in feature:
- Select the dataset.
- Navigate to the Data tab.
- Click on Remove Duplicates.
- Select the columns to check for duplicates and click OK.
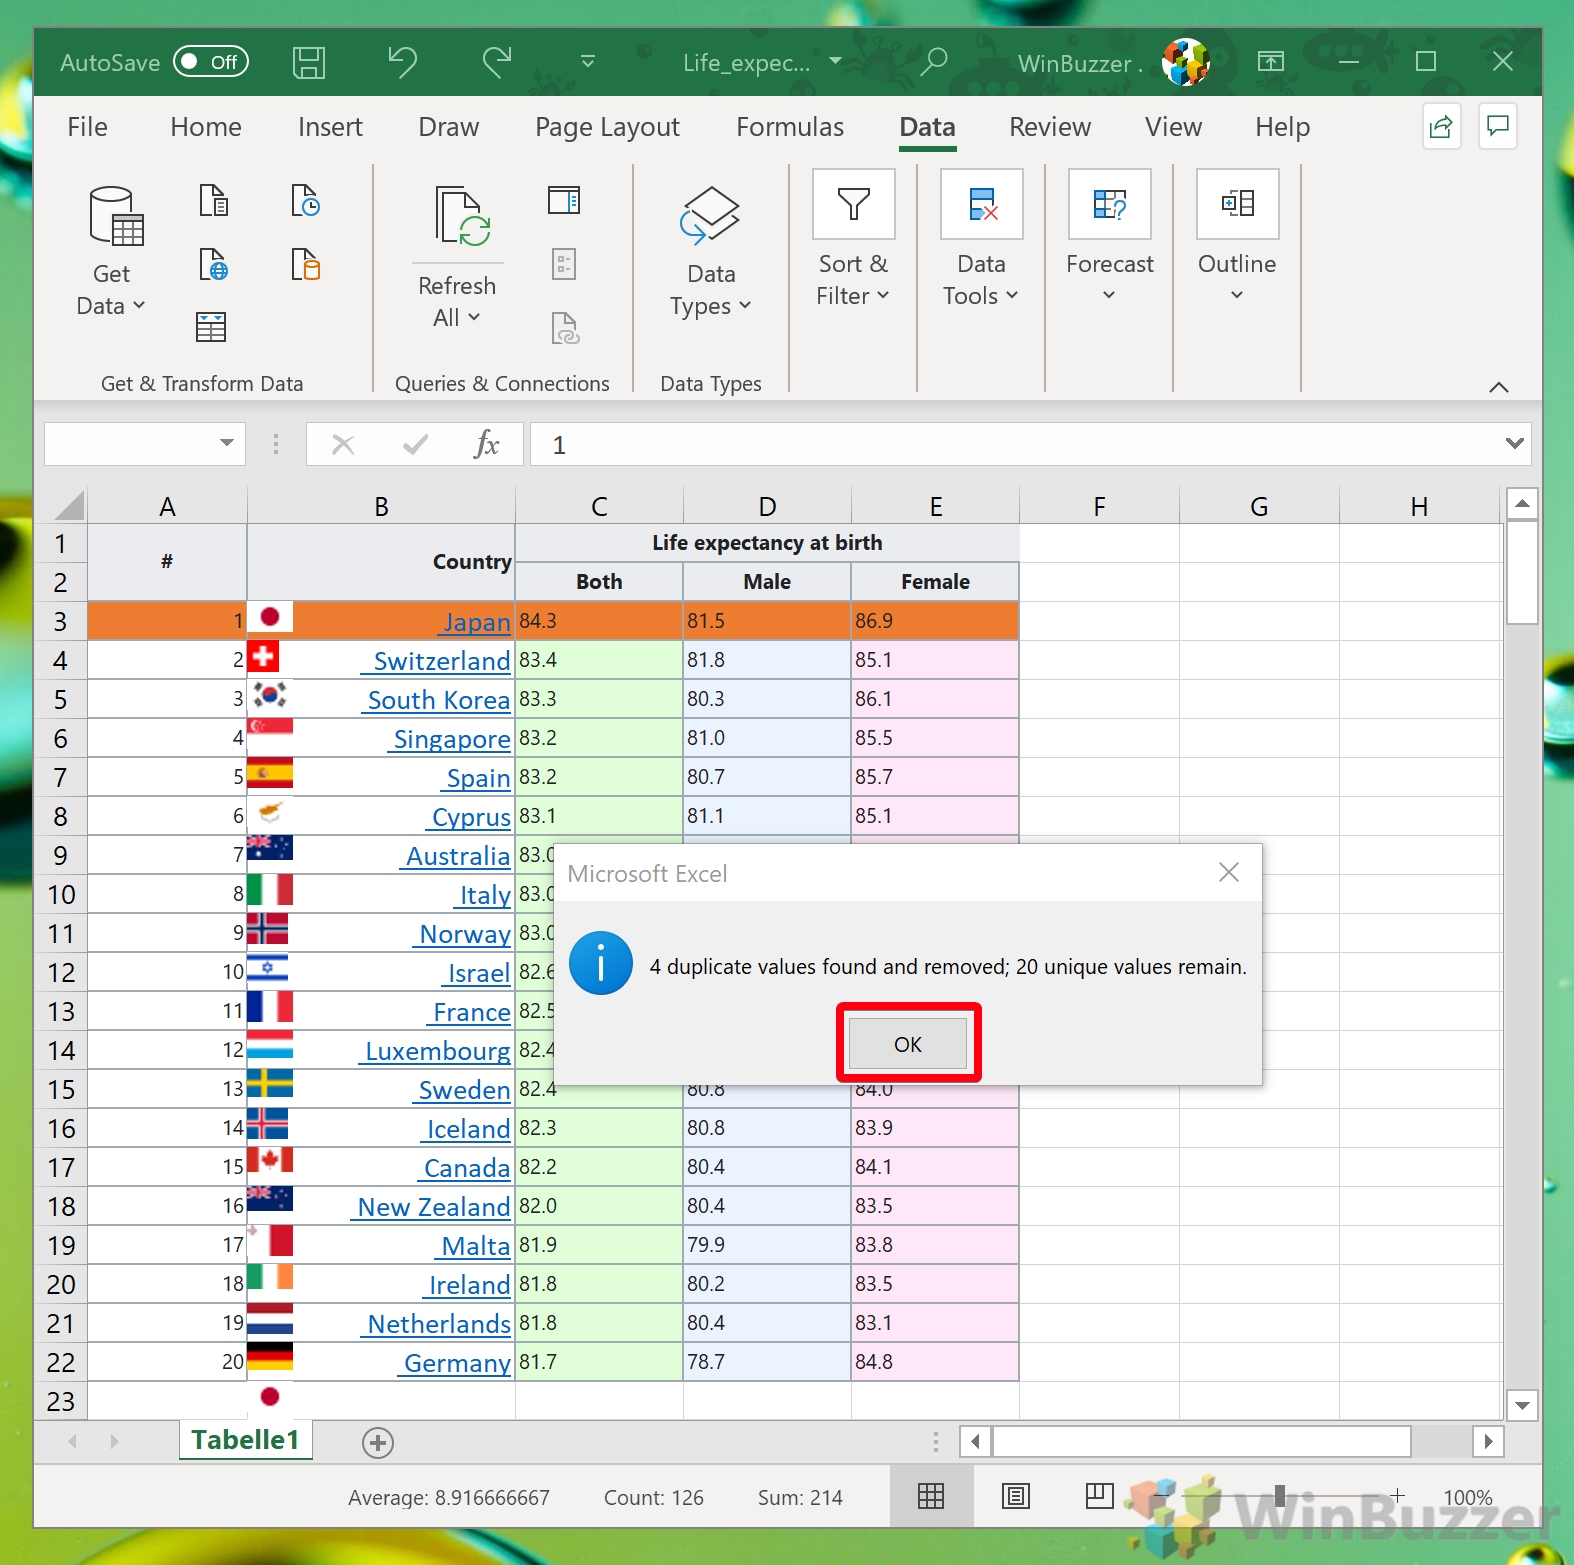
- Excel will display the number of duplicate values removed.
🔍 Note: By default, the Remove Duplicates feature considers all columns. If you only want to remove duplicates based on specific columns, choose those before selecting OK.
Using Advanced Filter to Remove Duplicates

The Advanced Filter feature offers control over the duplicate removal process:
- Select your data range.
- Go to Data > Sort & Filter > Advanced.
- Choose Filter the list, in-place or Copy to another location.
- In List range, specify the data range.
- Check Unique records only for the option Filter the list, in-place, or specify a Copy to range if you want to retain the original data.
- Click OK to apply the filter.
VBA for Advanced Duplicate Removal

For those comfortable with Excel's VBA (Visual Basic for Applications), here's a script to automate duplicate removal:
Sub RemoveDuplicatesFromColumn()
    Dim LastRow As Long, i As Long
    Dim rng As Range, cell As Range
    Dim WS As Worksheet

    Set WS = ActiveSheet
    LastRow = WS.Cells(WS.Rows.Count, "A").End(xlUp).Row

    Set rng = WS.Range("A2:A" & LastRow)

    For i = LastRow To 2 Step -1
        Set cell = rng.Cells(i)
        If WorksheetFunction.CountIf(rng, cell.Value) > 1 Then
            cell.EntireRow.Delete
        End If
    Next i

    MsgBox "Duplicates Removed!"
End Sub
💻 Note: This macro removes duplicates based on the entire row's data where the duplicate value is found in column A. Modify the column letter in the code if you're focusing on different columns.
Using Power Query to Remove Duplicates

Power Query is a powerful tool for data transformation, and it can also handle duplicates:
- Select your data range or table.
- Go to Data > Get Data > From Table/Range.
- In the Power Query Editor, click Home > Remove Rows > Remove Duplicates.
- Apply the changes and load the data back into Excel.
In this comprehensive guide, we’ve covered several effective methods to remove duplicate cells in Excel, from manual techniques suitable for smaller datasets to automated solutions for extensive data management. Each approach offers unique benefits, whether it’s simplicity, control, or automation.
By employing these methods, you can ensure that your Excel spreadsheets remain clean, reliable, and efficient, supporting accurate data analysis and streamlined workflows. Remember, the method you choose will depend on the size of your dataset, your comfort level with Excel’s features, and your specific data requirements.
Now, you’re equipped with the knowledge to handle duplicates in Excel, leading to better data integrity and more precise results in your work.
Will removing duplicates in Excel change my original data?

+
Yes, unless you make a copy of your data beforehand. Methods like the Remove Duplicates feature or VBA scripts will modify your data in place. If you want to keep the original data intact, consider using filters or Power Query, which can show or create a new table with unique records only.
Can I remove duplicates based on multiple columns?

+
Absolutely! When using Excel’s Remove Duplicates feature, you can select multiple columns to define what constitutes a duplicate. This ensures that you’re removing entries that are duplicates across the columns you’ve chosen.
How can I undo removing duplicates in Excel?

+
If you have not saved the changes to your Excel file, you can use Undo (Ctrl + Z) immediately after removing duplicates to revert the action. However, if the file has been saved or closed, you would need to rely on backups or recreate the data. This is why it’s advisable to duplicate or backup your data before such operations.