5 Ways to Quickly Reduce Excel Rows Count

Introduction

Dealing with large Excel spreadsheets can often feel like navigating through a labyrinth, where every turn presents a new challenge. One of the most common issues users face is the overwhelming row count which can slow down your computer’s performance, hinder data analysis, and make file management cumbersome. In this comprehensive guide, we’ll explore 5 proven methods to quickly reduce the number of rows in Excel, thereby streamlining your data management process.
1. Use Filters to Isolate Necessary Data

Excel’s filtering feature is your first line of defense when it comes to decluttering your spreadsheets:
- Select the Range: Highlight the range of cells you want to filter. If you want to filter the whole worksheet, press
Ctrl+A. - Apply Filter: Go to the “Data” tab and click on “Filter.”
- Filter Criteria: Click on the filter dropdown for the column header you wish to filter. Choose to display only data relevant to your needs, effectively hiding the rest.
Filters allow you to show only the rows that meet specific criteria, effectively reducing the number of visible rows on your screen without deleting data. This is particularly useful when you only need to work on a subset of your data.
2. Remove Duplicate Rows

Duplicate entries can significantly bloat your spreadsheet:
- Select the Range: Again, select the range where duplicates might exist.
- Data Tools: Navigate to the “Data” tab, then click on “Remove Duplicates” under “Data Tools.”
- Select Columns: Choose the columns from which you want to remove duplicates, ensuring that you only keep the unique rows.
Removing duplicate rows not only reduces file size but also enhances the clarity of your data by avoiding repetition, which can skew your analysis or reporting.
3. Utilize Conditional Formatting to Highlight Rows

Conditional formatting can visually aid in identifying rows to be kept or removed:
- Select Your Range: Choose the area where conditional formatting rules should apply.
- Set Rules: Go to the “Home” tab, click on “Conditional Formatting,” and select “New Rule.” Here, you can define criteria for formatting, like highlighting rows with a certain value or condition.
Once highlighted, it's easier to decide which rows can be safely deleted or moved elsewhere. This visual aid helps in quickly identifying patterns or irregularities in your data, making the process of reducing row count more intuitive.
4. Delete Unwanted Rows Using Go To Special

If there are blank rows scattered throughout your data, they can be swiftly removed:
- Select All: Press
Ctrl+Ato select the entire worksheet. - Go To Special: Go to the “Home” tab, click on “Find & Select,” then choose “Go To Special.”
- Select Blanks: In the dialog box, select “Blanks,” then click OK. All blank cells will now be selected.
- Delete Rows: Right-click on the selected cells and choose “Delete.” Select “Delete entire row” to remove all blank rows.
This method is highly effective when dealing with sporadic blank rows that might have been inserted inadvertently or due to data import issues.
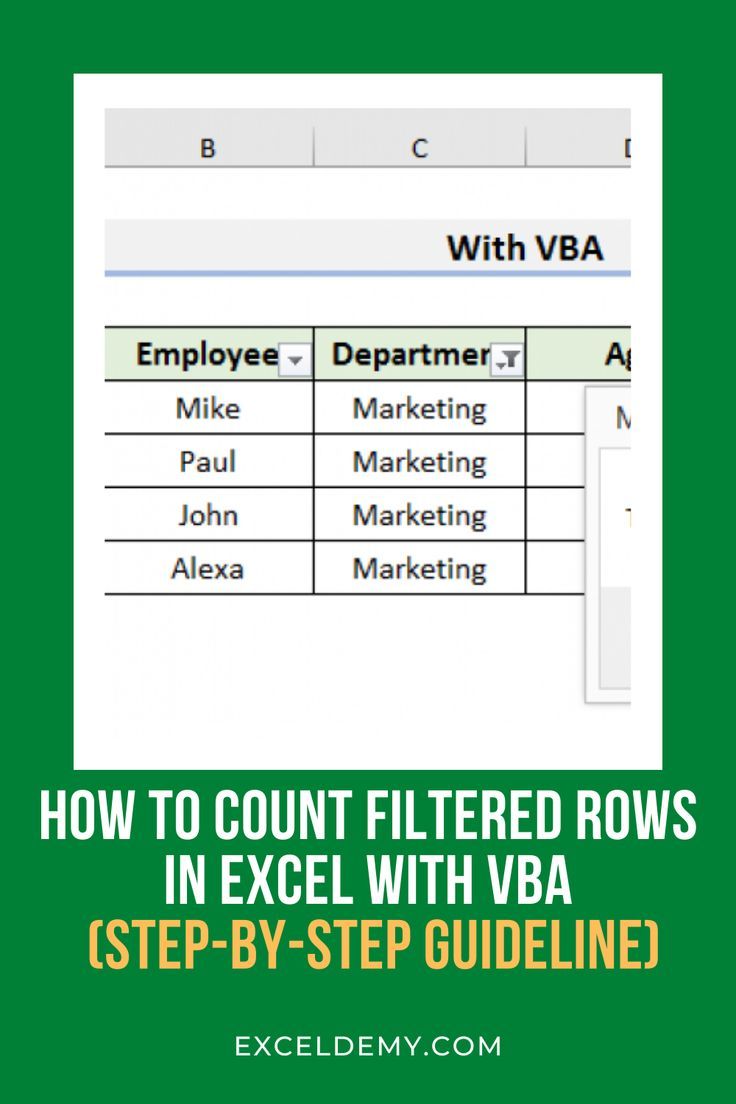
5. Advanced Filtering with VBA

For a more automated approach, you might consider using Visual Basic for Applications (VBA) to filter or delete rows based on complex criteria:
- Open VBA Editor: Press
Alt+F11to open the VBA editor. - Insert New Module: Click “Insert” then “Module” to create a new code module.
- Paste Code: Copy and paste VBA code to define your filtering logic. Below is an example VBA script that filters rows based on specific conditions:
Sub AdvancedFilter()
    Dim ws As Worksheet
    Set ws = ThisWorkbook.Sheets("Sheet1")

    'Define your criteria here
    With ws
        .Range("A1:D" & .Cells(.Rows.Count, 1).End(xlUp).Row).AutoFilter Field:=2, Criteria1:="<100"
        .Range("A1:D" & .Cells(.Rows.Count, 1).End(xlUp).Row).SpecialCells(xlCellTypeVisible).EntireRow.Delete
    End With
    ws.ShowAllData
End Sub
🚀 Note: Be cautious when using VBA to delete rows as this action is irreversible unless you have a backup of your data.
Final Thoughts

Reducing the row count in Excel is essential for maintaining performance, enhancing data analysis, and improving overall file management. By implementing the methods we’ve discussed, from basic filtering to advanced VBA scripting, you can ensure that your Excel experience is as efficient as possible. These techniques allow you to focus on the data that matters most, keeping your workbook clean and your analysis precise.
Can I undo the deletion of rows in Excel?

+
Excel doesn’t have an “undo” feature for row deletions unless they are immediately undone (Ctrl+Z). Always keep a backup or use filters to review before deleting data.
Is it safe to use VBA scripts in Excel?

+
VBA scripts are safe when used correctly. However, they can perform irreversible actions, so back up your data before running any scripts, especially those involving deletion.
How can I avoid accidentally deleting necessary data while trying to reduce row counts?

+
Always double-check your filters, use ‘Show All Data’ before deletion, and consider making a copy of your data first. Preview your VBA script’s output with filters to ensure the intended rows will be affected.