5 Easy Ways to Add Checkboxes in Excel

In today's digital era, Excel spreadsheets are essential tools for organizing, analyzing, and managing data. One of the less obvious but extremely useful features in Excel is the ability to add checkboxes. These can help automate tasks, track completions, or simply make your spreadsheet more interactive. This blog post will walk you through five straightforward methods to incorporate checkboxes into your Excel sheets, enhancing both functionality and user interaction.
Why Use Checkboxes in Excel?

Before we dive into the how-to, let’s briefly explore why checkboxes are beneficial:
- Task Management: Use checkboxes to mark tasks as complete in project trackers.
- Data Entry Efficiency: Simplify data entry with a visual toggle for yes/no or on/off options.
- Interactive Reports: Add interactivity to your dashboards or reports, allowing users to filter or interact with data.
Method 1: Inserting a Form Control Checkbox

Here’s how you can add a standard checkbox:
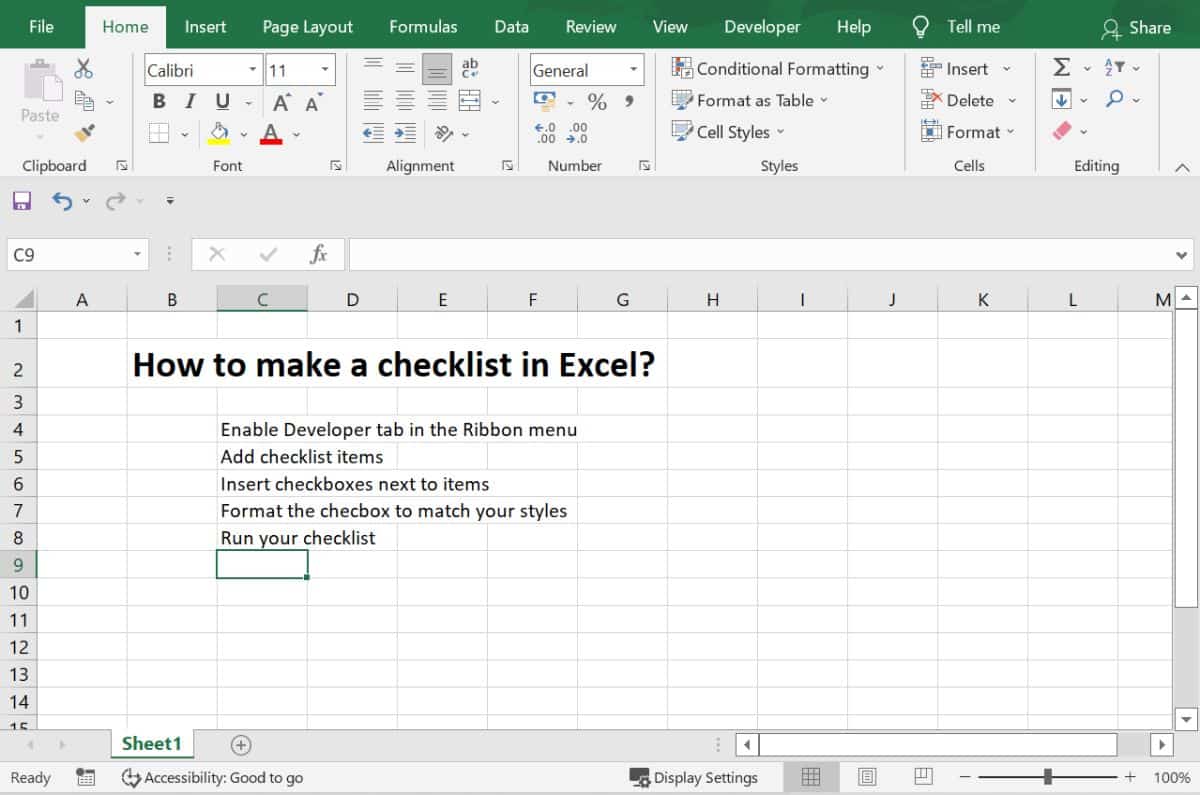
- Go to the Developer tab. If you don’t see it, you’ll need to enable it first by right-clicking the ribbon, selecting Customize the Ribbon, and then checking Developer.
- Click on Insert in the Controls group, then choose Check Box (Form Control) from the options.
- Drag to create the checkbox on your spreadsheet. You can edit the text beside the checkbox by right-clicking it and selecting Edit Text.
- To link this checkbox to a cell, right-click the checkbox, go to Format Control, and in the Control tab, specify a cell link. The linked cell will now reflect TRUE for checked and FALSE for unchecked.
⚠️ Note: Form control checkboxes are a part of Excel's legacy form controls, offering basic functionality but limited customization.
Method 2: Using ActiveX Control Checkbox

If you need more flexibility:
- Navigate to the Developer tab.
- Click Insert then choose Check Box (ActiveX Control).
- Drag to place the checkbox on your sheet.
- Double-click the checkbox to enter the design mode where you can customize its properties or write VBA code for more advanced functionality.
✏️ Note: ActiveX controls are more flexible but require knowledge of VBA to maximize their potential.
Method 3: Checkboxes from Symbols

For a static representation:
- Go to the Insert tab and click Symbol.
- Select Font as Wingdings, and find the checkbox symbol (☑️ for checked, ☐ for unchecked).
- Click Insert to add the symbol to your sheet. You can’t click on these symbols to toggle, but you can format them or change their value manually.
Method 4: Data Validation for Interactive Checkboxes

To create a checkbox-like experience with data validation:
- Select the cell where you want the checkbox.
- Go to Data > Data Validation.
- Set Allow to List, and in Source enter TRUE,FALSE.
- You can now see a drop-down in the cell that acts like a checkbox, where users can select TRUE or FALSE.
| Checkbox Method | Advantages | Disadvantages |
|---|---|---|
| Form Control | Simple to set up, linkable | Limited customization |
| ActiveX Control | Advanced functionality | Requires VBA knowledge |
| Symbols | Static, easy to format | No interactivity |
| Data Validation | Interactive without VBA | Less intuitive than checkboxes |

Method 5: Conditional Formatting for Checkbox-like Visualization

Create checkbox-like visuals using conditional formatting:
- Enter TRUE or FALSE in the cells where you want checkboxes to appear.
- Select those cells, go to Home > Conditional Formatting > New Rule.
- Choose Use a formula to determine which cells to format.
- Enter the formula =A1 (or the reference to your checkbox cell) and set the format to insert a check mark or custom symbol when TRUE.
To wrap up, incorporating checkboxes into your Excel spreadsheets can significantly boost the efficiency of your data management tasks, enhance data interaction, and streamline the user experience. Each method we've discussed offers its own set of advantages, from simple click-and-drag Form Controls to more dynamic and customizable ActiveX Controls. Remember, while some methods require more technical knowledge or setup, they offer greater control over how your spreadsheet functions. Whether you're managing tasks, creating interactive reports, or just wanting to make your data entry process smoother, checkboxes are a versatile tool in your Excel toolkit. So, experiment with these methods and find the one that best suits your workflow, and let Excel's power transform the way you interact with your data.
How do I enable the Developer tab in Excel?

+
To enable the Developer tab, right-click the ribbon, select Customize the Ribbon, then check the box next to Developer in the list of main tabs, and click OK.
Can I make the checkbox toggle between TRUE and FALSE?

+
Yes, by linking the checkbox to a cell in the Format Control settings, the linked cell will automatically toggle between TRUE and FALSE as you check or uncheck the box.
Is it possible to align multiple checkboxes vertically?

+
Absolutely. After placing your checkboxes, you can hold down the Shift key, select the checkboxes, and use the align tools in the Format tab to vertically align them. Additionally, using Excel’s grid for placement can help maintain consistent spacing.