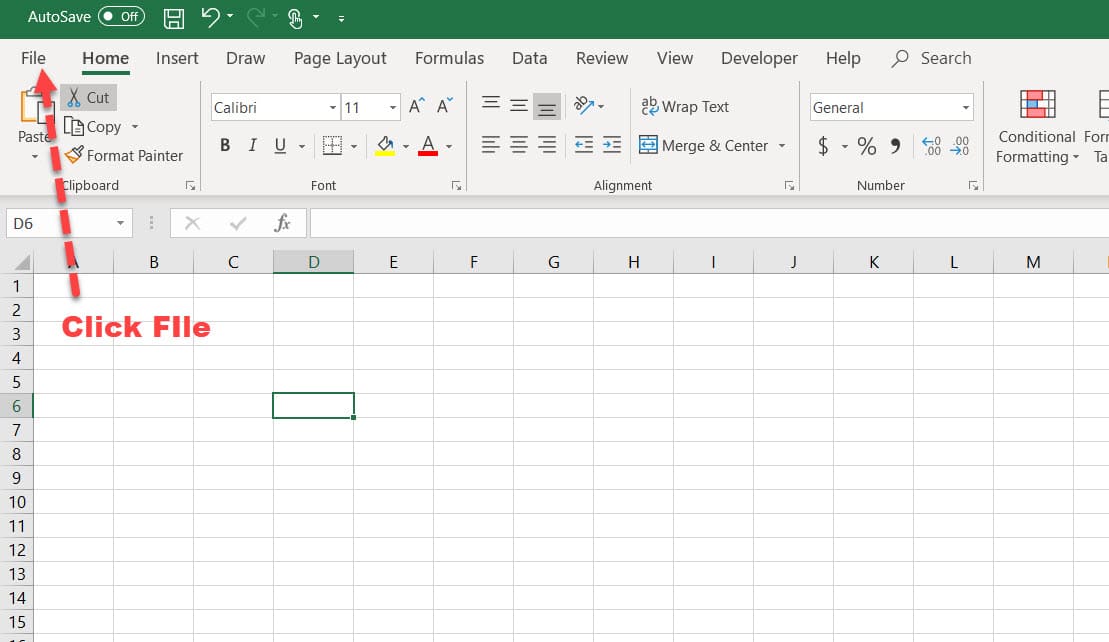
Protect Excel 2013 Sheets Easily: Complete Guide

When working with Microsoft Excel 2013, one of the key features users seek is the ability to protect their data from unintended modifications or unauthorized access. Excel 2013 provides robust tools to secure spreadsheets, ensuring that the data remains safe, consistent, and usable only by those intended. This guide will walk you through the steps to easily protect Excel sheets, highlighting not only how to apply protection but also how to maintain accessibility for legitimate users.
Why Protect Excel Sheets?

Protecting Excel sheets can serve multiple purposes:
- Prevent Data Editing: Protect critical data from being altered accidentally or intentionally.
- Safeguard Formulas: Ensure that the complex calculations and formulas within your Excel files are not tampered with.
- Control Access: You can limit the ability to modify or view certain sections of the workbook to specific users.
Steps to Protect an Excel Sheet

Follow these steps to secure your Excel workbook:
1. Open Your Workbook

Launch Excel 2013 and open the workbook that contains the sheet you want to protect.
2. Select the Sheet

Click on the tab of the sheet you wish to protect. If you’re protecting multiple sheets, remember to repeat the process for each one.
3. Protecting the Sheet

- Go to the Review tab on the Ribbon.
- Click on Protect Sheet. A dialog box will appear.

4. Set Protection Options

- Password: Optionally, set a password to unlock the sheet for editing. Choose a strong password if you’re protecting sensitive information.
- Allow Users to: Check the permissions you want to grant to users while the sheet is protected. For instance, allowing the selection of locked cells or unlocking specific cells for editing.
- Customize the settings according to your needs and click OK.
🔑 Note: Remember to record your password safely. If you lose it, you'll not be able to unprotect the sheet without recovering the password.
5. Understanding Locking and Unlocking Cells

Before protecting the sheet, you might want to lock specific cells:
- Select the cells or range of cells you want to protect or leave unprotected.
- Right-click and choose Format Cells, then go to the Protection tab.
- Uncheck Locked if you want users to be able to edit these cells when the sheet is protected.
6. Protecting the Workbook Structure

- Go to the Review tab again.
- Click Protect Workbook for protecting the workbook’s structure, which prevents adding, deleting, hiding, or unhiding worksheets.
- Optionally, set a password.
Working with Protected Sheets

Once a sheet is protected:
- Users can view the data but cannot edit protected cells without the password.
- Changes in cell formulas or format can only be made by unprotecting the sheet first.
- You can still perform actions like filtering, sorting, or applying auto filters unless you’ve explicitly disallowed them.
Unprotecting a Sheet

- Go to the Review tab.
- Click Unprotect Sheet.
- If a password was set, enter it to unlock the sheet.
After following the above steps to protect your Excel sheets, you'll be able to:
- Secure data from unauthorized edits.
- Share workbooks with confidence, knowing that critical data is safeguarded.
- Maintain collaborative productivity without compromising the integrity of your data.
Remember, though, that Excel's protection is not foolproof against determined efforts to bypass it. Consider additional security measures for highly sensitive data, such as file encryption or external data protection methods.
Can I set different levels of protection for different users?

+
Excel does not natively support different access levels for different users. However, you can mimic this by:
- Creating separate sheets or workbooks for different users with specific permissions.
- Using VBA (Visual Basic for Applications) to implement custom user permissions.
What happens if I forget the password to my protected sheet?

+
If you forget the password, you won’t be able to unprotect the sheet. Password recovery tools exist, but they’re not always effective or recommended due to security concerns. Always keep a backup of your password.
Can I protect parts of the sheet while allowing data entry into specific cells?

+
Yes, you can:
- Lock the entire sheet.
- Unlock the cells where you want data entry by setting the Locked property to unlocked.
- Then, protect the sheet but check the options to allow users to select locked or unlocked cells as needed.