5 Easy Ways to Secure Your Excel Sheets in 2013

If you work with sensitive data in Microsoft Excel 2013, ensuring the security of your spreadsheets is not just important, it's critical. Whether you're dealing with financial data, personal information, or strategic plans, here are five easy yet effective methods to secure your Excel sheets. Let's explore how you can protect your valuable information from unauthorized access or tampering.
1. Password Protect Your Workbook

The first line of defense for your Excel files is to use password protection:
- Open your workbook in Excel 2013.
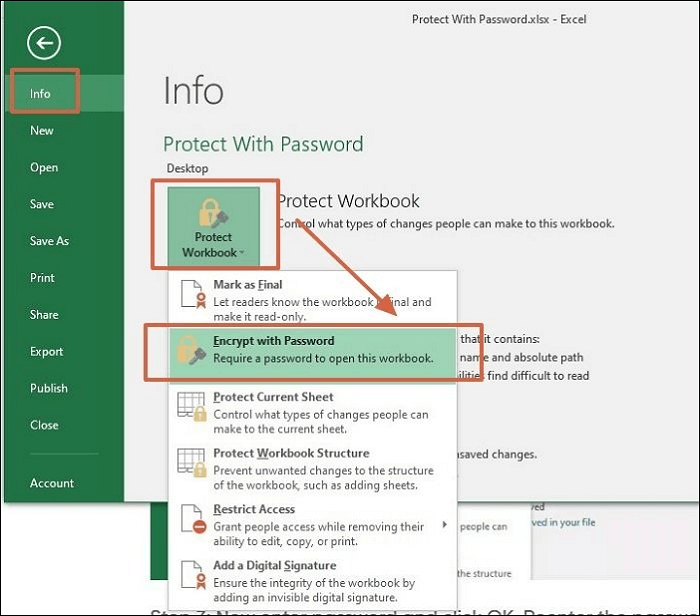
- Go to the File tab and select Info.
- Click on Protect Workbook, then choose Encrypt with Password.
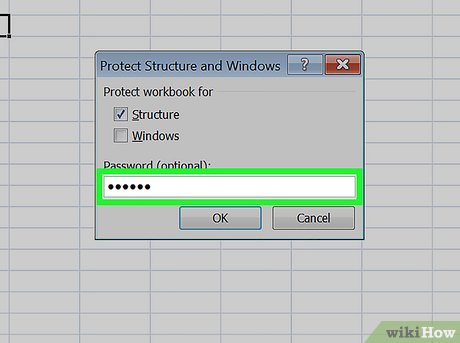
- Enter a strong password and confirm it.
🔑 Note: Remember that while Excel's password protection is effective, it can be cracked by determined hackers. Thus, use complex passwords and consider additional security measures.
2. Lock Cells to Prevent Editing

To prevent users from modifying specific cells:
- Select the cells you want to lock.
- Right-click and choose Format Cells.
- Go to the Protection tab and uncheck Locked for cells that should be editable.
- Select the cells you wish to protect and check Locked.
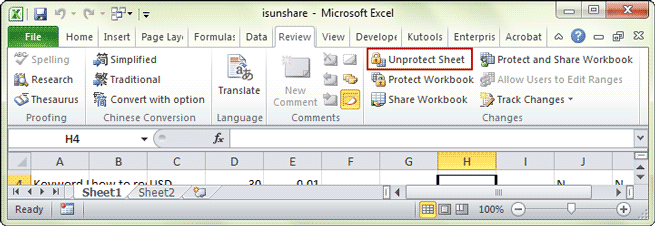
- From the Review tab, select Protect Sheet. Enter a password if needed.
This method keeps your spreadsheet’s layout intact while allowing certain users to modify pre-approved areas.
| Locking Functionality | Description |
|---|---|
| Protect Sheet | Prevents any changes to the protected sheet except for areas you've explicitly left unlocked. |
| Allow Users to Edit Ranges | Lets specific users edit certain ranges by specifying their username or password. |

3. Workbook Sharing with Read-Only

If you need to distribute your workbook:
- Save the workbook.
- Go to File > Save As.
- Choose the location and click Tools next to the Save button.
- Select General Options and check Read-only recommended.
This prompts users to open the workbook in read-only mode, reducing the risk of unintended changes.
4. Digital Signatures

To authenticate the integrity of your document:
- Go to File > Info > Protect Workbook > Add a Digital Signature.
- Set up a digital certificate or use an existing one.
- Sign the workbook and validate the signature.
⚠️ Note: Digital signatures not only verify document origin but also show if the document has been altered since signing.
5. Hide Sheets or Workbooks

To conceal sheets containing sensitive data:
- Right-click on the sheet tab you want to hide.
- Choose Hide or for advanced protection, use Very Hidden from VBA (Visual Basic for Applications).
Hidden sheets can still be accessed with Excel’s unhide feature, while Very Hidden sheets require VBA to reveal.
Ensuring the security of your Excel spreadsheets in 2013 involves a combination of password protection, cell locking, sharing options, digital signatures, and hiding. Each method provides different levels of protection, tailored to the sensitivity of the information within. By employing these techniques, you can rest assured that your data remains confidential and tamper-resistant, ensuring that only authorized users can access or alter your valuable information.
What happens if I forget the password to my workbook?

+
If you forget the password to an encrypted workbook, there are limited options to recover it. Excel does not offer a built-in password recovery tool. Some third-party software can attempt to recover or bypass passwords, but this comes with risks. Always back up your password securely.
Can users bypass cell protection?

+
While Excel’s cell protection features are robust, they can potentially be bypassed if the user knows VBA or has administrative access to the file. However, for typical users, these protections are effective.
How do digital signatures help with document security?

+
Digital signatures help by ensuring that the document has not been altered since it was signed. If any changes are made, the signature becomes invalid, alerting anyone who opens the document to potential tampering.