Protect Your Excel Sheet Easily: No Password Required

Safeguarding your data in Microsoft Excel is not just a matter of privacy but also a critical step in maintaining data integrity and preventing unauthorized changes. Traditionally, password protection has been the go-to method for securing Excel sheets, but what if there was a way to protect your work without the hassle of remembering passwords? This guide will walk you through several methods to protect your Excel sheet without needing passwords, ensuring you can keep your data secure and your workflow efficient.
The Importance of Protecting Your Excel Sheet

Before diving into how to protect your Excel workbook, it's essential to understand why you should do so:
- Prevent Accidental Changes: Accidental deletion or alteration of cells can be devastating, especially when working with large datasets.
- Maintain Data Integrity: Ensuring that the data entered or formulas used are not tampered with by unintended users or colleagues.
- Privacy: Even if you trust your team, you might not want to expose sensitive or confidential information to everyone.
- Control Collaboration: Managing who can edit or just view your spreadsheet to keep your workflow organized and on track.
Now, let's delve into several ways to secure your Excel sheet without resorting to traditional password protection.
Protecting Your Excel Sheet Without a Password

1. Sheet Protection

You can protect an Excel sheet to prevent users from editing or formatting the data:
- Open your Excel workbook.
- Right-click on the sheet tab you wish to protect.
- Select “Protect Sheet…”
- In the Protect Sheet dialog box, you can:
- Select what users can do, like “Select locked cells” or “Format cells”.
- Leave the password field blank.
- Click OK to apply the protection.
This method protects the sheet from being edited by others but does not require a password to unprotect it, allowing you to modify or unprotect the sheet at any time.
🗂 Note: Protecting your sheet this way does not prevent others from accessing other sheets in the workbook. It only restricts the selected sheet.
2. Workbook Structure Protection

If you want to prevent users from adding, deleting, renaming, or moving sheets:
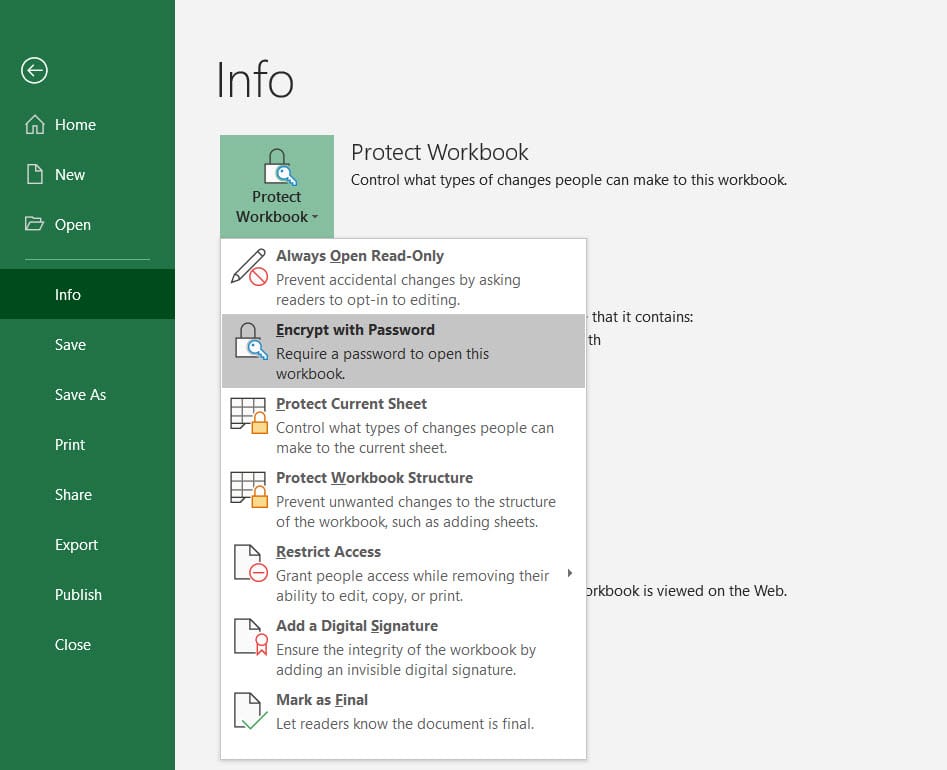
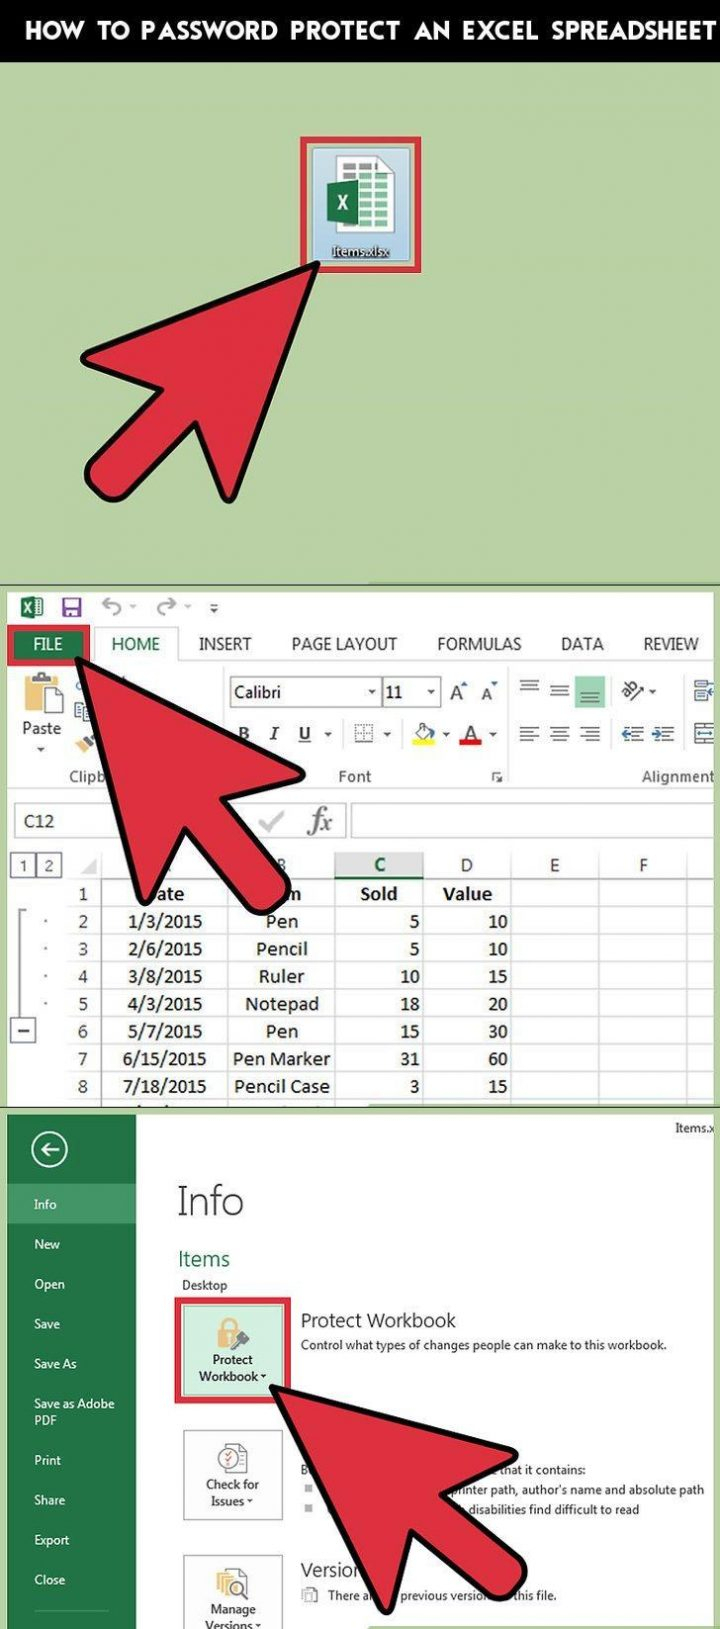
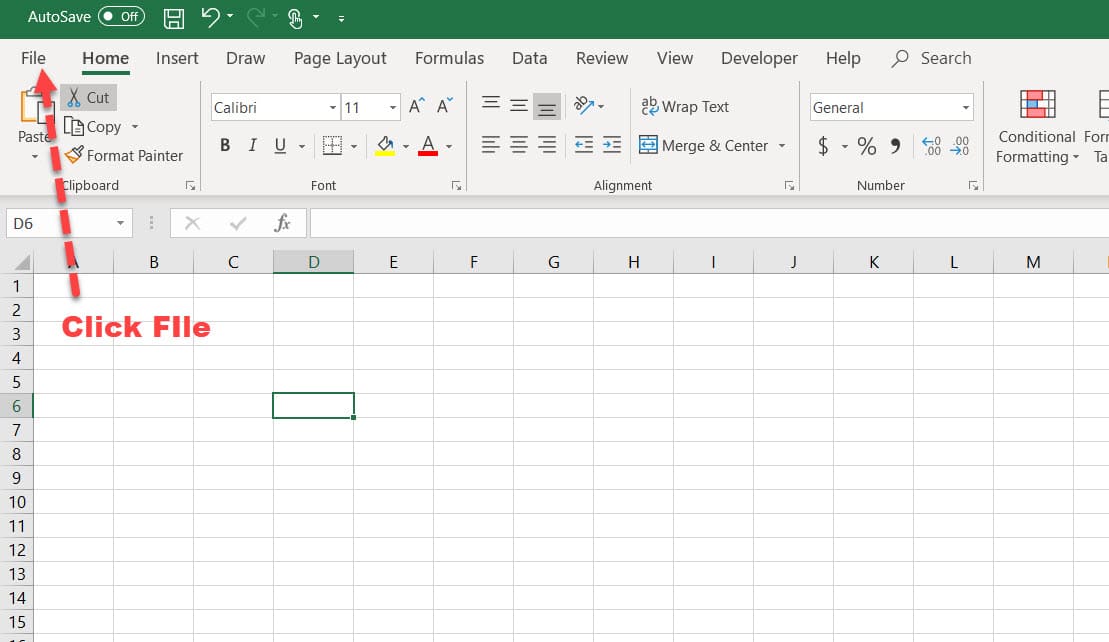
- Go to File > Info > Protect Workbook.
- Choose “Protect Workbook Structure…”
- You can again opt to leave the password field empty.
- Click OK.
Users will not be able to modify the workbook’s structure, but they can still interact with the sheets within the limits you’ve set.
3. Locking Cells

Individual cells can be locked to prevent changes:
- Select the cells you wish to lock.
- Right-click and select “Format Cells”.
- Under the Protection tab, check “Locked”.
- Protect the sheet as described above, and your locked cells will be secure from editing.
🔒 Note: All cells are locked by default, but this has no effect until the sheet itself is protected. You must unlock cells you want to be editable before protecting the sheet.
4. Hiding Sheets

Hiding sheets can add an extra layer of protection:
- Right-click on the sheet you want to hide.
- Select “Hide” from the context menu.
- The sheet will disappear from view, making it less accessible to others.
- Use Unhide from the context menu of any remaining visible sheet to bring it back.
5. Restrict Access Using User Permissions

Excel supports IRM (Information Rights Management) to restrict access to documents:
- You’ll need an IRM system or a SharePoint environment to set up permissions.
- Once set, users can be granted varying levels of access, from read-only to full editing.
🌐 Note: This feature requires an organizational setup with IRM support. It’s not available for standalone home users.
To sum up, protecting your Excel sheet without a password is not only feasible but also offers several layers of security that can cater to different needs. Whether you’re looking to keep accidental changes at bay, maintain data integrity, or control access to your work, these methods provide flexible solutions. You can opt for sheet protection, workbook structure protection, cell locking, hiding sheets, or user permission controls, each suited to different levels of security requirements.
Ensuring your data’s safety doesn’t always necessitate passwords, especially when you’re in an environment where trust is a given, or where you need to share documents freely but still maintain control. Implementing these non-password protection techniques will help you protect your Excel sheets, maintain control, and streamline collaboration without sacrificing ease of access for those who need it.
Can I still make changes to a protected Excel sheet?

+
Yes, you can modify or unprotect an Excel sheet at any time as long as you didn’t set a password. Right-click on the sheet tab and select “Unprotect Sheet.”
What’s the difference between protecting a sheet and protecting a workbook’s structure?

+
Sheet protection restricts modifications within a specific sheet, while workbook structure protection prevents users from adding, moving, deleting, or renaming sheets within the workbook.
Will protecting my Excel sheet prevent users from accessing data in hidden sheets?

+
Sheet protection alone will not prevent users from unhide the sheet or accessing data on hidden sheets. However, workbook structure protection can prevent these actions.